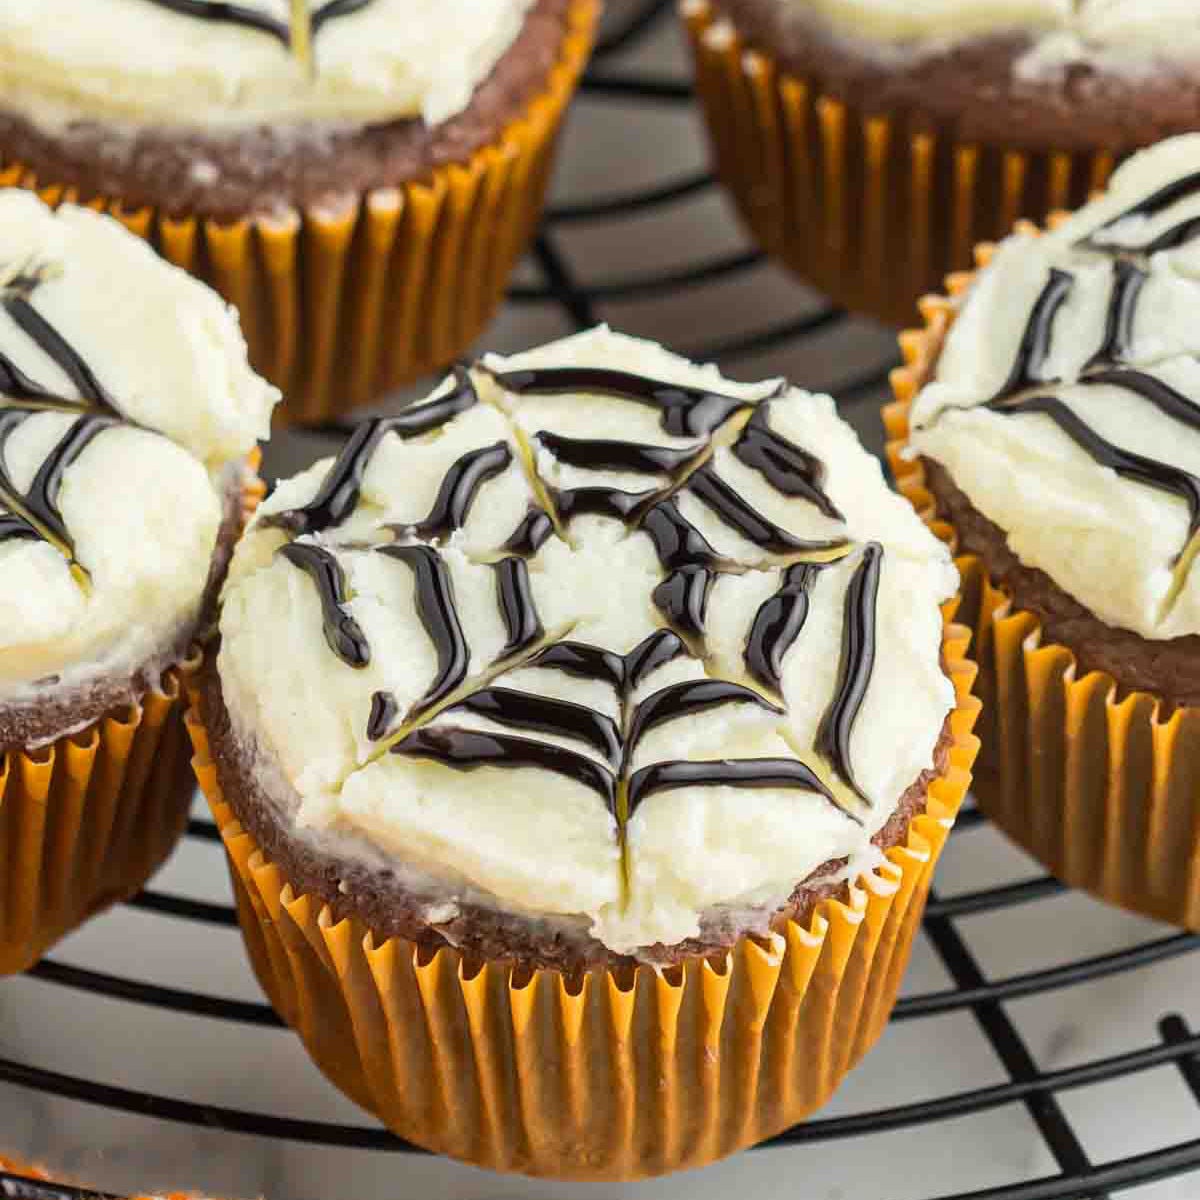
Make these tasty Spider Web Cupcakes for your next Halloween party. It’s such an easy Halloween recipe to make and looks festive for the season.

This easy Halloween dessert starts with a cake mix so it’s super easy. The homemade frosting on top with the cool spider web design takes it up a level. It is the perfect Halloween party treat.
If you love spider themed desserts, try Spider Brownies or Halloween Spider Cookies. We also have Halloween Cupcakes you will love to try. The ideas are endless for fun and delicious Halloween treats.
Table of contents
Why we love this recipe
Spider Web Cupcakes make a great addition to any Halloween party season. It’s great for parties or just a fun treat with the kiddos.
Since it starts with a cake mix, the entire recipe is super easy to put together. The homemade frosting takes it up a level and the spiderweb design completes the look.

Ingredients
Cupcakes
- Chocolate Cake Mix
- Vegetable Oil
- Large Eggs
Frosting
- Unsalted Butter, softened
- Powdered Sugar
- Clear Vanilla Extract
Spider Web Design
- Semi-Sweet Chocolate Chips
- Shortening
Get the complete ingredient list at the bottom of the page.
Variations and Substitutions
- Chocolate icing. Switch things up and decorate using chocolate icing and white chocolate for the spider web. The contrast is so pretty and another fun design to try instead of black cupcakes.
- Homemade cupcakes instead of cake mix. We used a cake mix for ease but you can certainly make homemade cupcakes if you prefer.
- Place a spider on top of cupcakes. Place plastic spiders, spider rings or chocolate spiders on top for even more festive decoration.
- Spider web design. You can also melt white chocolate and dye it with black food coloring for the spider web design on top.
- Different colors of icing. Purple icing is really fun to use and decorate with white or black spiderwebs. Then top with fun sprinkles.
- Mini Cupcakes. Try turning this recipe into mini cupcakes. You won’t have as much space to draw the spiderweb design.
How to make Spider Web Cupcakes
- Step 1. Preheat the oven and add cupcake liners to the pan. You can use yellow, orange or black cupcake liners.
- Step 2. Combine the cake mix ingredients with an electric mixer. You will need a large bowl. Stir together the cake mix, water, vegetable oil and eggs.
- Step 3. Fill the cupcake liners with batter. Pour the batter into the muffin pan cups, filling them approximately ¾ full.
- Step 4. Bake the cupcakes. Bake for 18-21 minutes until a toothpick inserted into the cupcakes comes out clean.
- Step 5. Allow to cool completely. Cool the chocolate cupcakes completely on wire racks.
Frosting

Step 1. Cream together the butter and powdered sugar until combined and smooth. Add in the milk and vanilla extract and mix for 1-2 minutes until the frosting is light and fluffy.

Step 2. Frost the halloween spider web cupcakes. Add the frosting to each of the cupcakes.
How to decorate
- Step 1. Melt the chocolate. Place the chocolate chips and shortening in a microwave safe bowl. Heat in 30 second intervals, stirring after each interval, until fully melted.
- Step 2. Put the mixture in a piping bag. Move the mixture into a piping bag or a ziplock bag with a corner cut off one end of the bag.

Step 3. Make the spiderwebs. Pipe 3 concentric circles of the melted chocolate onto each frosted cupcake.

Step 4. Then start at the center of the with a toothpick draw 5-6 times through the circles to the outside edge of the cupcakes. This will make a spider web design.
- Step 5. Continue to decorate. Continue this process until all the cupcakes are prepared and decorated with spider webs.
- Step 6. Allow to set. Let sit until the chocolate re-hardens. Then the cupcakes are ready to serve and enjoy!
Storage
Refrigerate the leftover cupcakes in an airtight container for up to 3-4 days.
Any longer than this and the cupcake texture will change and not taste as fresh.
Expert Tips
- Allow to cool before decorating. The cupcakes need to completely cool before decorating. They should not even be a little warm as the icing will slide off and not look pretty.
- Let the spider web harden. The topping needs time to set before storing. Allow to harden before serving so the design stays intact.
- Don’t overfill the cupcakes. We like to use a large cookie scoop or ice cream scoop, so they are all filled the same. This helps them to cook evenly as well.

Can I make these cupcakes in advance?
Yes, but we suggest waiting to decorate until ready to serve. The plain cupcakes can be frozen up to 3 months before using.
Allow to cool completely and place inside a storage container that is suitable for freezing. When ready to use, allow to thaw overnight in the fridge. Then decorate as normal.
This is a great way to save a little time when getting things ready for a party or busy occasion.
More easy Halloween Cupcake Recipes
Tasty Halloween Dessert Recipes
Make this fun spider web cupcakes recipe for Halloween. Then please leave a comment!
Spider Web Cupcakes
Ingredients
For the Cupcakes:
- 1 pkg Chocolate Cake Mix 16 ounces
- 1 1/4 cup Water
- 1/3 cup Vegetable Oil
- 3 Large Eggs
For the Frosting:
- 3/4 cup Unsalted Butter softened
- 2 1/4 cup Powdered Sugar
- 3 Tbsp Milk
- 1 tsp Clear Vanilla Extract
For the Spider Web Design:
- 1 cup Semi-Sweet Chocolate Chips
- 1 Tablespoon Shortening
See how we calculate recipe costs.
Instructions
For the Cupcakes:
- Preheat the oven to 350 degrees Fahrenheit and line 2 cupcake pans with liners.
- In a large mix bowl, stir together the cake mix, water, vegetable oil and eggs.
- Pour the batter into the cupcake liners, filling them approximately ¾ full.
- Bake for 18-21 minutes until a toothpick inserted into the cupcakes comes out clean.
- Cool completely on wire racks.
For the Frosting:
- Cream together the butter and powdered sugar until combined and smooth.
- Add in the milk and vanilla extract and mix for 1-2 minutes until the frosting is light and fluffy.
- Frosting each of the cupcakes:
For the Decorations:
- Place the chocolate chi9ps and shortening in a microwave safe bowl. Heat in 30 second intervals, stirring after each interval, until fully melted.
- Move the mixture into a piping bag or a ziplock bag with a corner cut off one end of the bag.
- Pipe 3 circles of the melted chocolate onto each frosted cupcake. Then start at the center of the with a toothpick draw 5-6 times through the circles to the outside edge of the cupcakes to make a spider web design.
- Continue this process until all the cupcakes are prepared.
- Let sit until the chocolate re-hardens. Then the cupcakes are ready to serve and enjoy!
