Make a fun and crunchy Popcorn Cake with this easy recipe. Perfect for parties, holidays, or movie nights, this sweet treat combines popcorn, marshmallows, and chocolate for a crowd-pleasing dessert.
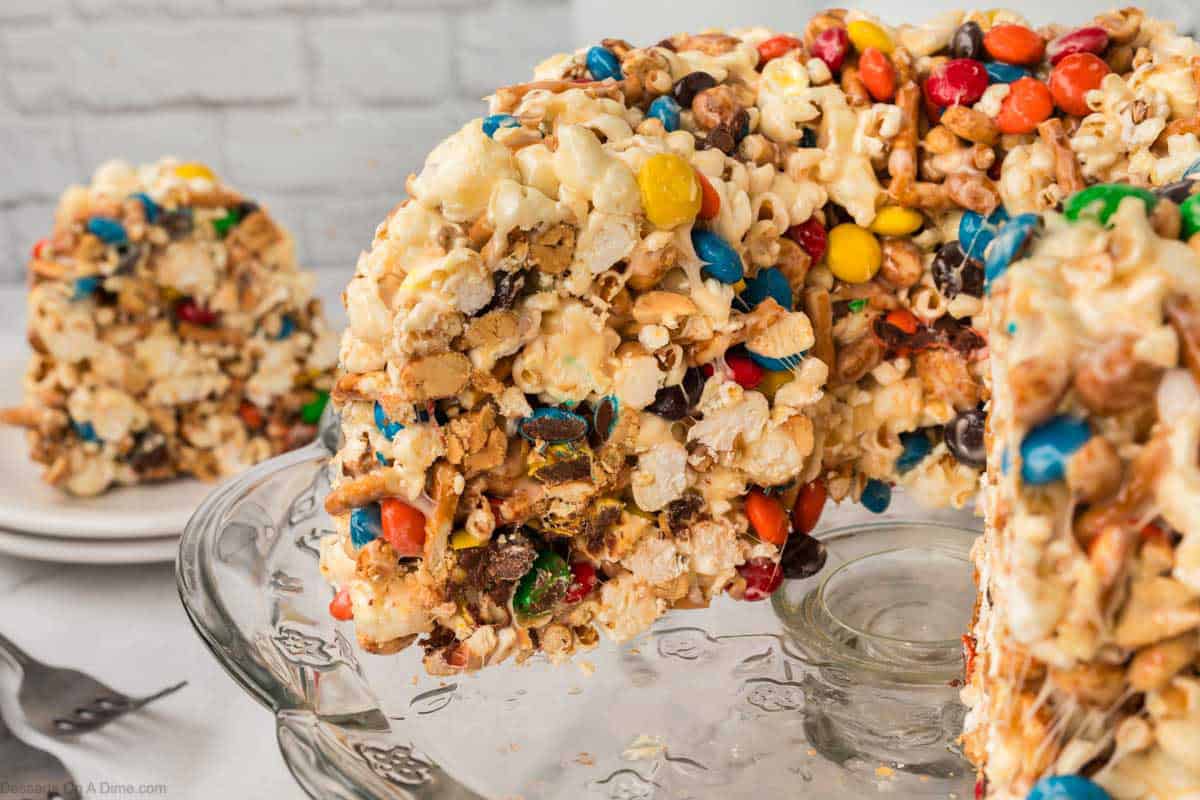
Popcorn Cake is a fun, sweet treat that’s perfect for parties, holidays, or a cozy movie night. Made with popcorn, marshmallows, and chocolate, it’s easy to prepare and loved by kids and adults alike.
Crunchy, gooey, and full of flavor, this popcorn cake is a crowd-pleasing dessert that’s as playful as it is delicious. You might also like to try Popcorn Ball Recipes and Popcorn Bars Recipe.
For another fun cake idea, try Magic Cake.
Table of contents
Why We Love This Recipe
- Crunchy and sweet: Combines popcorn and marshmallows for the perfect texture.
- Easy to make: Minimal ingredients and simple steps for a quick treat.
- Kid-friendly: Fun, hands-on dessert that everyone can enjoy for a fun alternative to traditional cake.
- Versatile: Perfect for parties, movie nights, or holiday celebrations.
- Crowd-pleasing: This no bake popcorn cake is a dessert that impresses without extra stress.
Ingredients
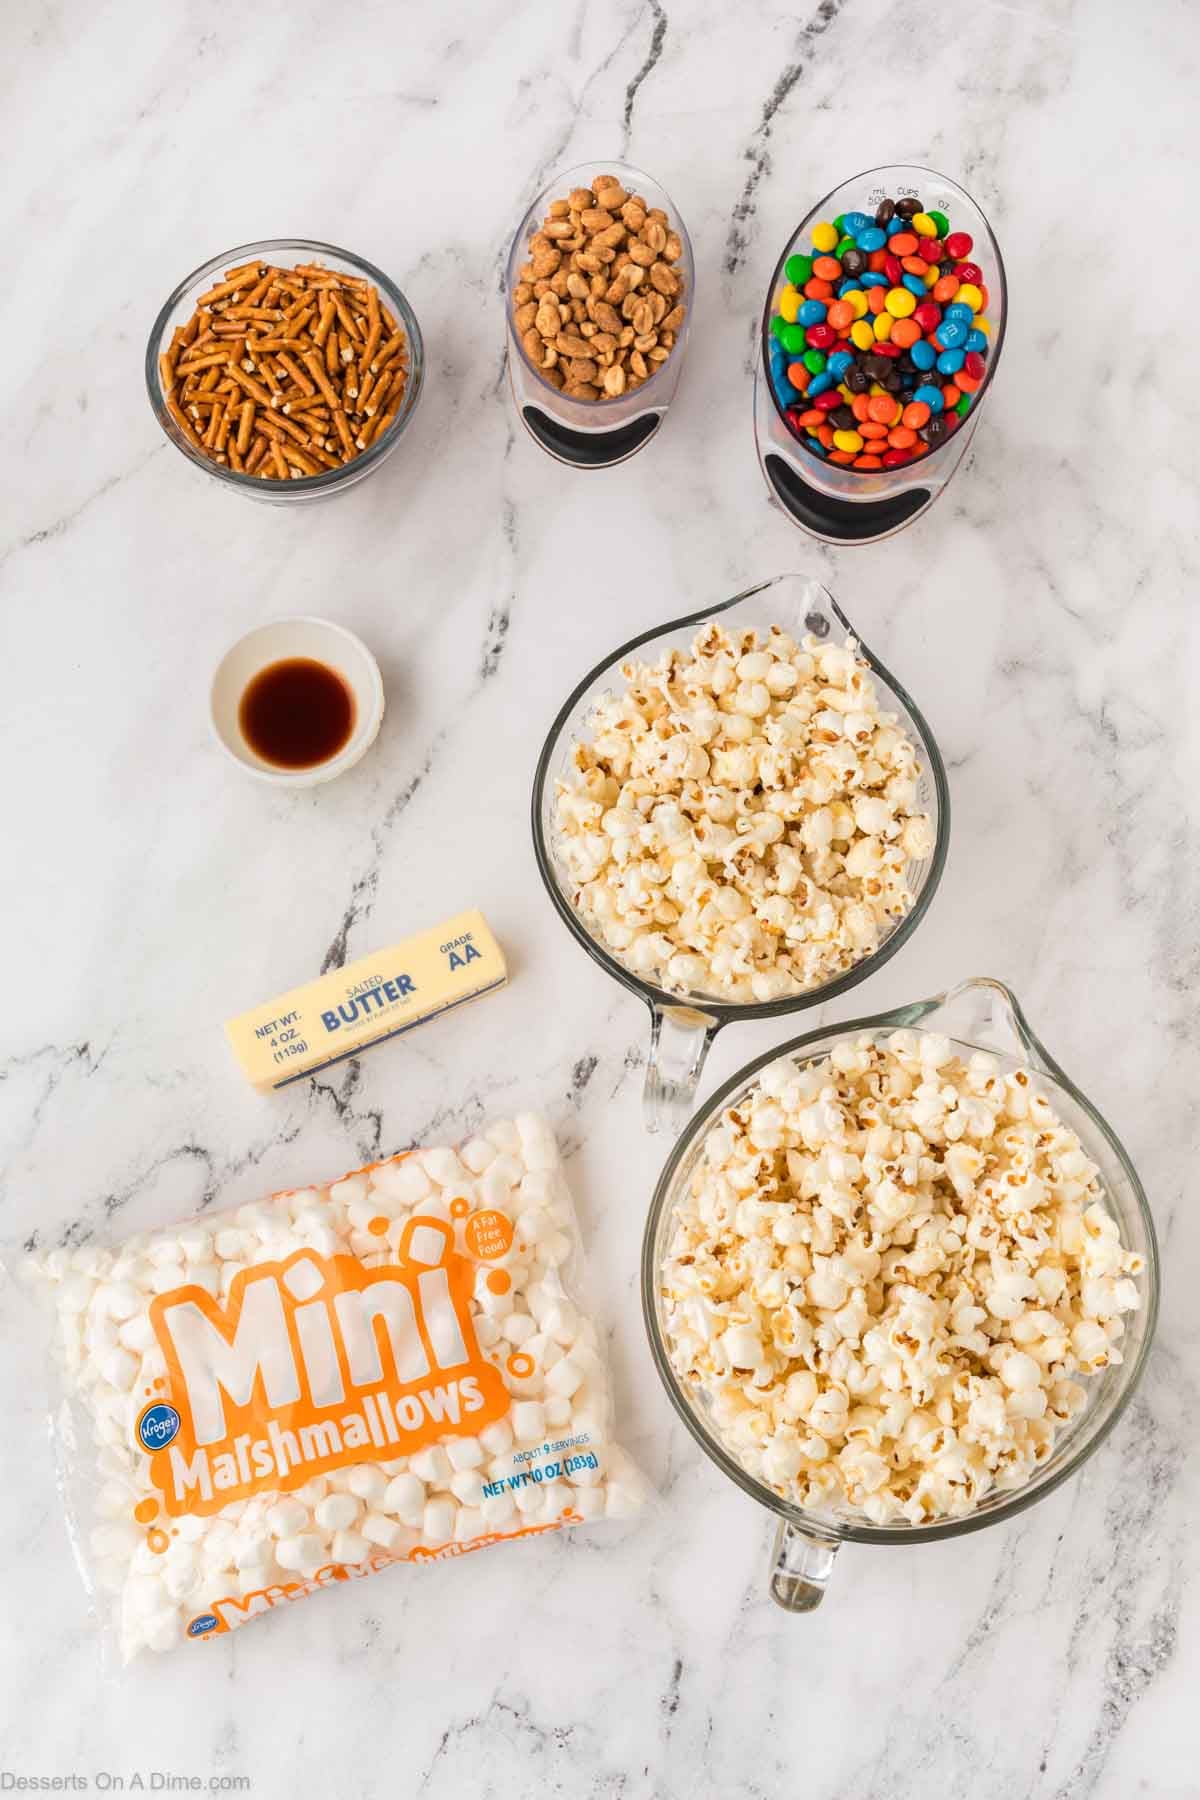
- Butter – adds richness and helps bind the marshmallows to the popcorn; also used for greasing the pan
- Marshmallows – melts into a gooey binder that holds the popcorn together
- Vanilla extract – enhances sweetness and adds a warm flavor note
- Popped popcorn – the base of the cake; unsalted, plain, or lightly salted works best
- M&M’s – adds color, sweetness, and a chocolatey crunch
- Pretzel sticks – broken into pieces for a salty, crunchy contrast
- Peanuts – lightly salted to balance the sweetness and add texture
Variations
- Chocolate Lovers: Drizzle melted chocolate over the top or fold in chocolate chips.
- Nut-Free: Replace peanuts with extra pretzels or candy to keep it safe for nut-free households.
- Fruity Twist: Add dried fruit like cranberries, raisins, or banana chips for a sweet and chewy contrast.
- Seasonal Fun: Swap M&M’s for holiday-themed candies (red and green for Christmas, pastel for Easter) or for birthdays. Try other candies such as Reeses Pieces or Peanut M&M candy.
- Spicy Sweet: Sprinkle a pinch of cinnamon or chili powder over the melted marshmallow for a unique flavor kick.
- Caramel Crunch: Drizzle caramel sauce over the finished cake for an extra gooey treat.
Step By Step Instructions

Step 1. Prepare a bundt pan with melted butter, making sure to cover all the grooves well. Set aside for later. You can also use a tube pan.

Step 2. Melt the butter and marshmallows in a medium to large saucepan over medium heat. Make sure to stir constantly until completely melted and smooth. Then remove from heat and stir in the vanilla extract.
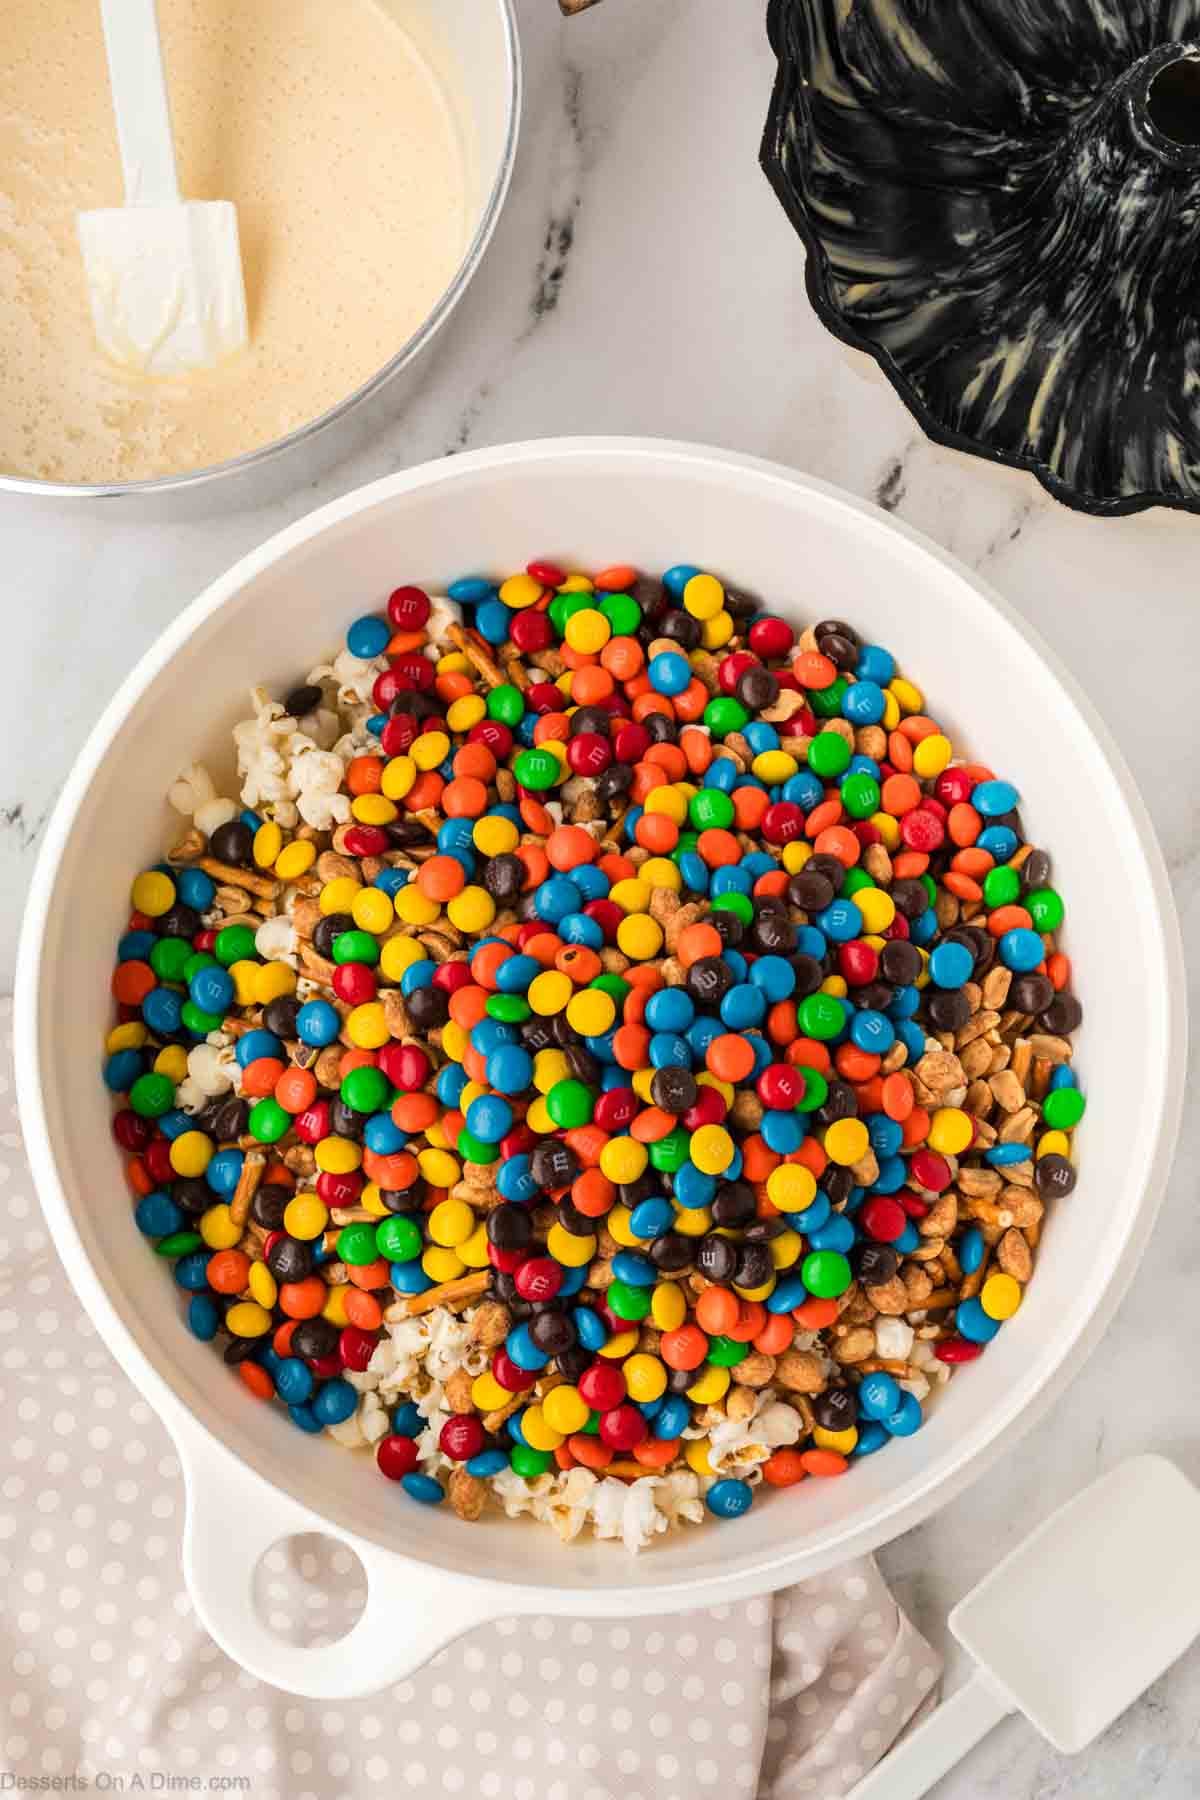
Step 3. Get out a large bowl. Add the popcorn, pretzel pieces, peanuts, and M&M’s and carefully toss to combine.
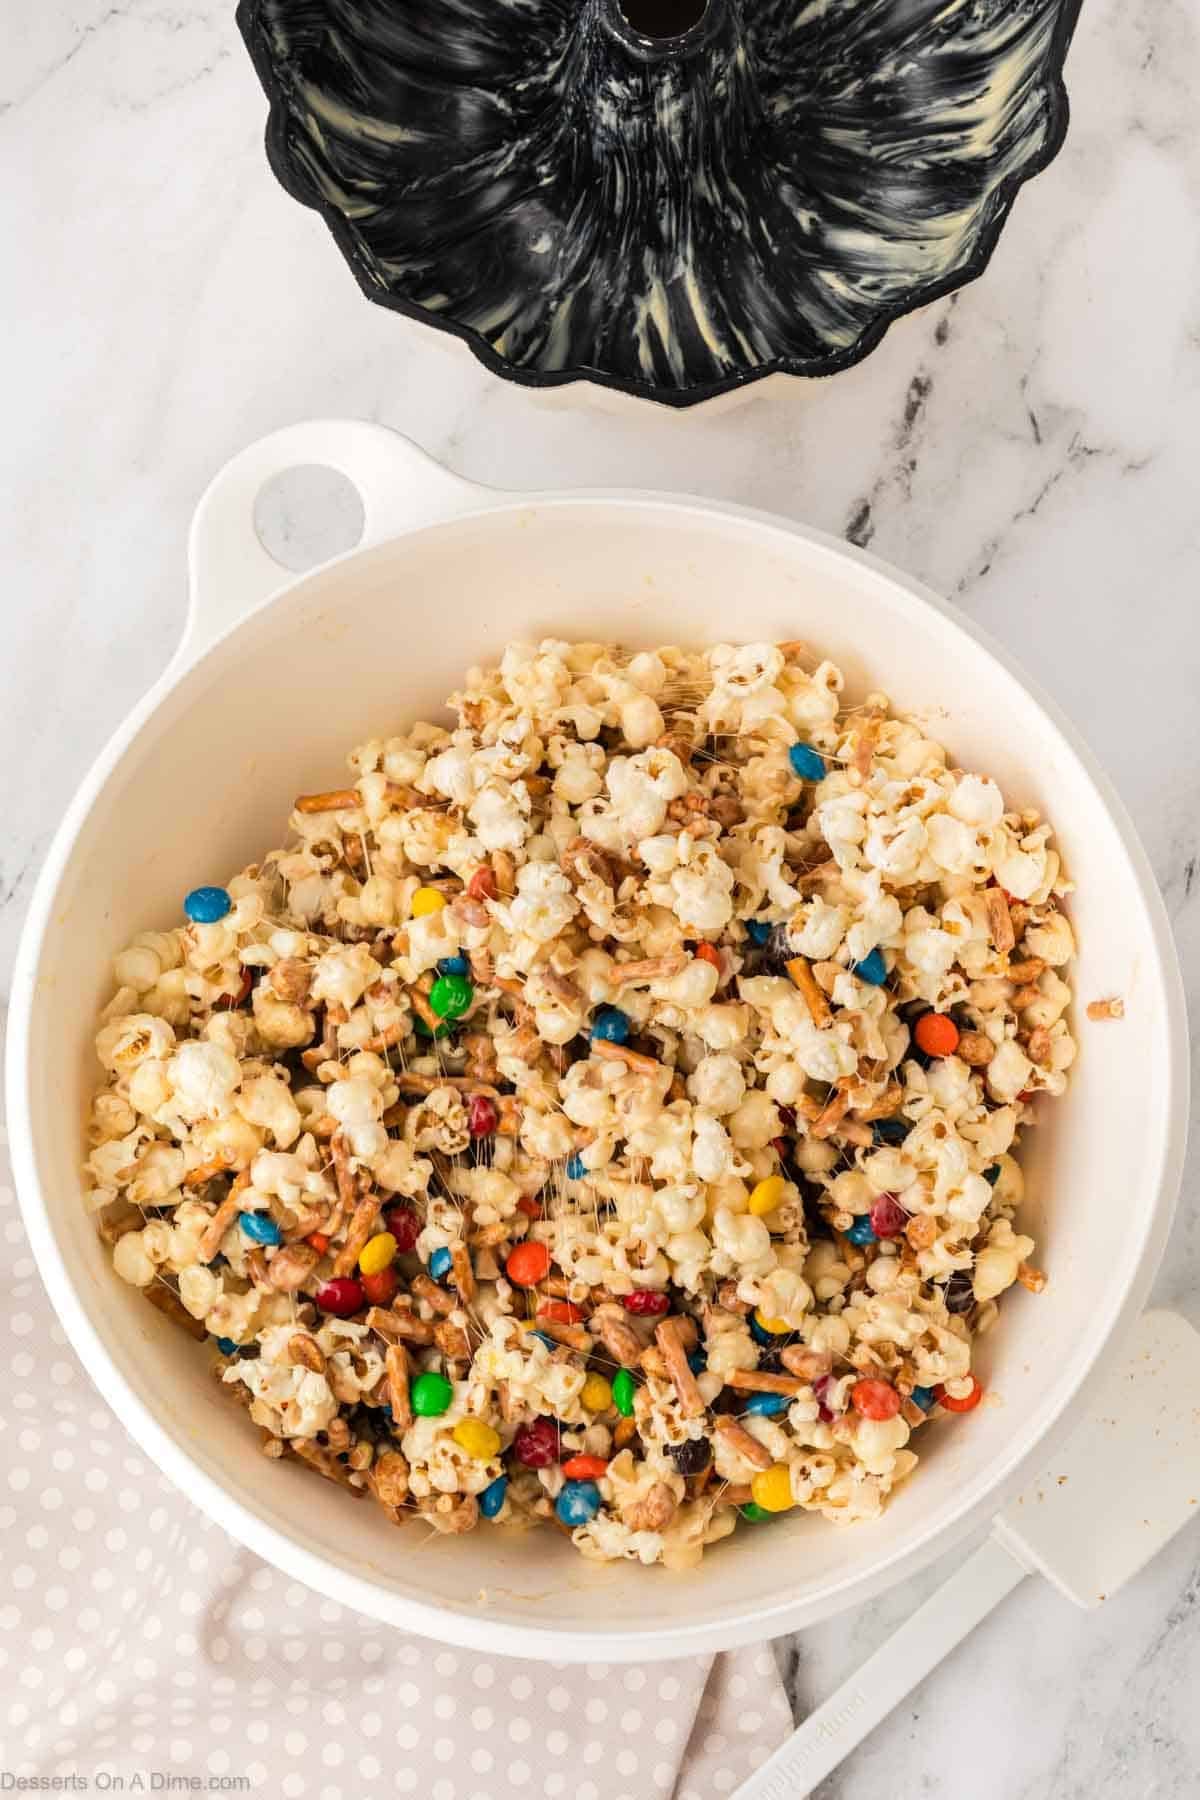
Step 4. Next, spread the marshmallow mixture over the popcorn mixture. Fold together using a spatula.

Step 5. Transfer the mixture into the prepared bundt pan.
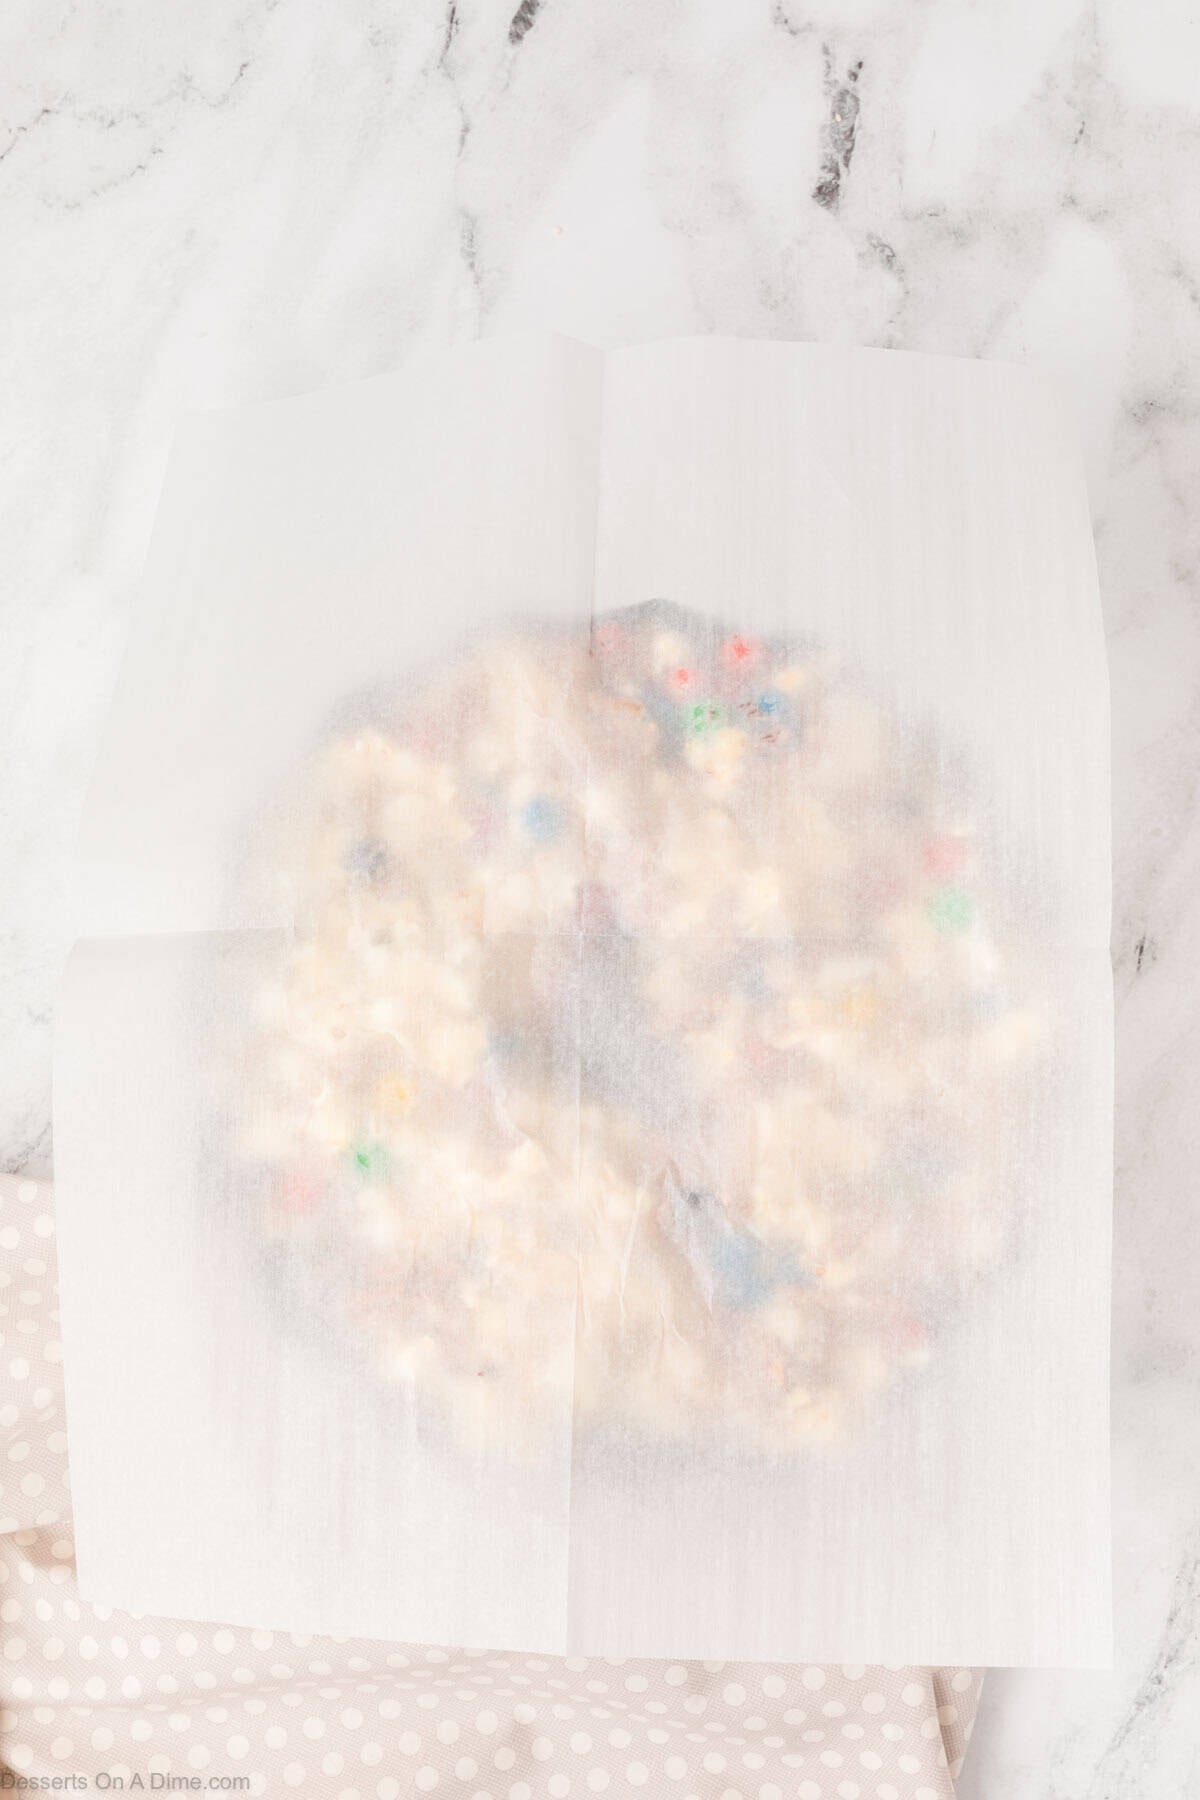
Step 6. Place a piece of parchment paper over the top and press the mixture firmly into the pan to help it hold its shape and prevent sticking.
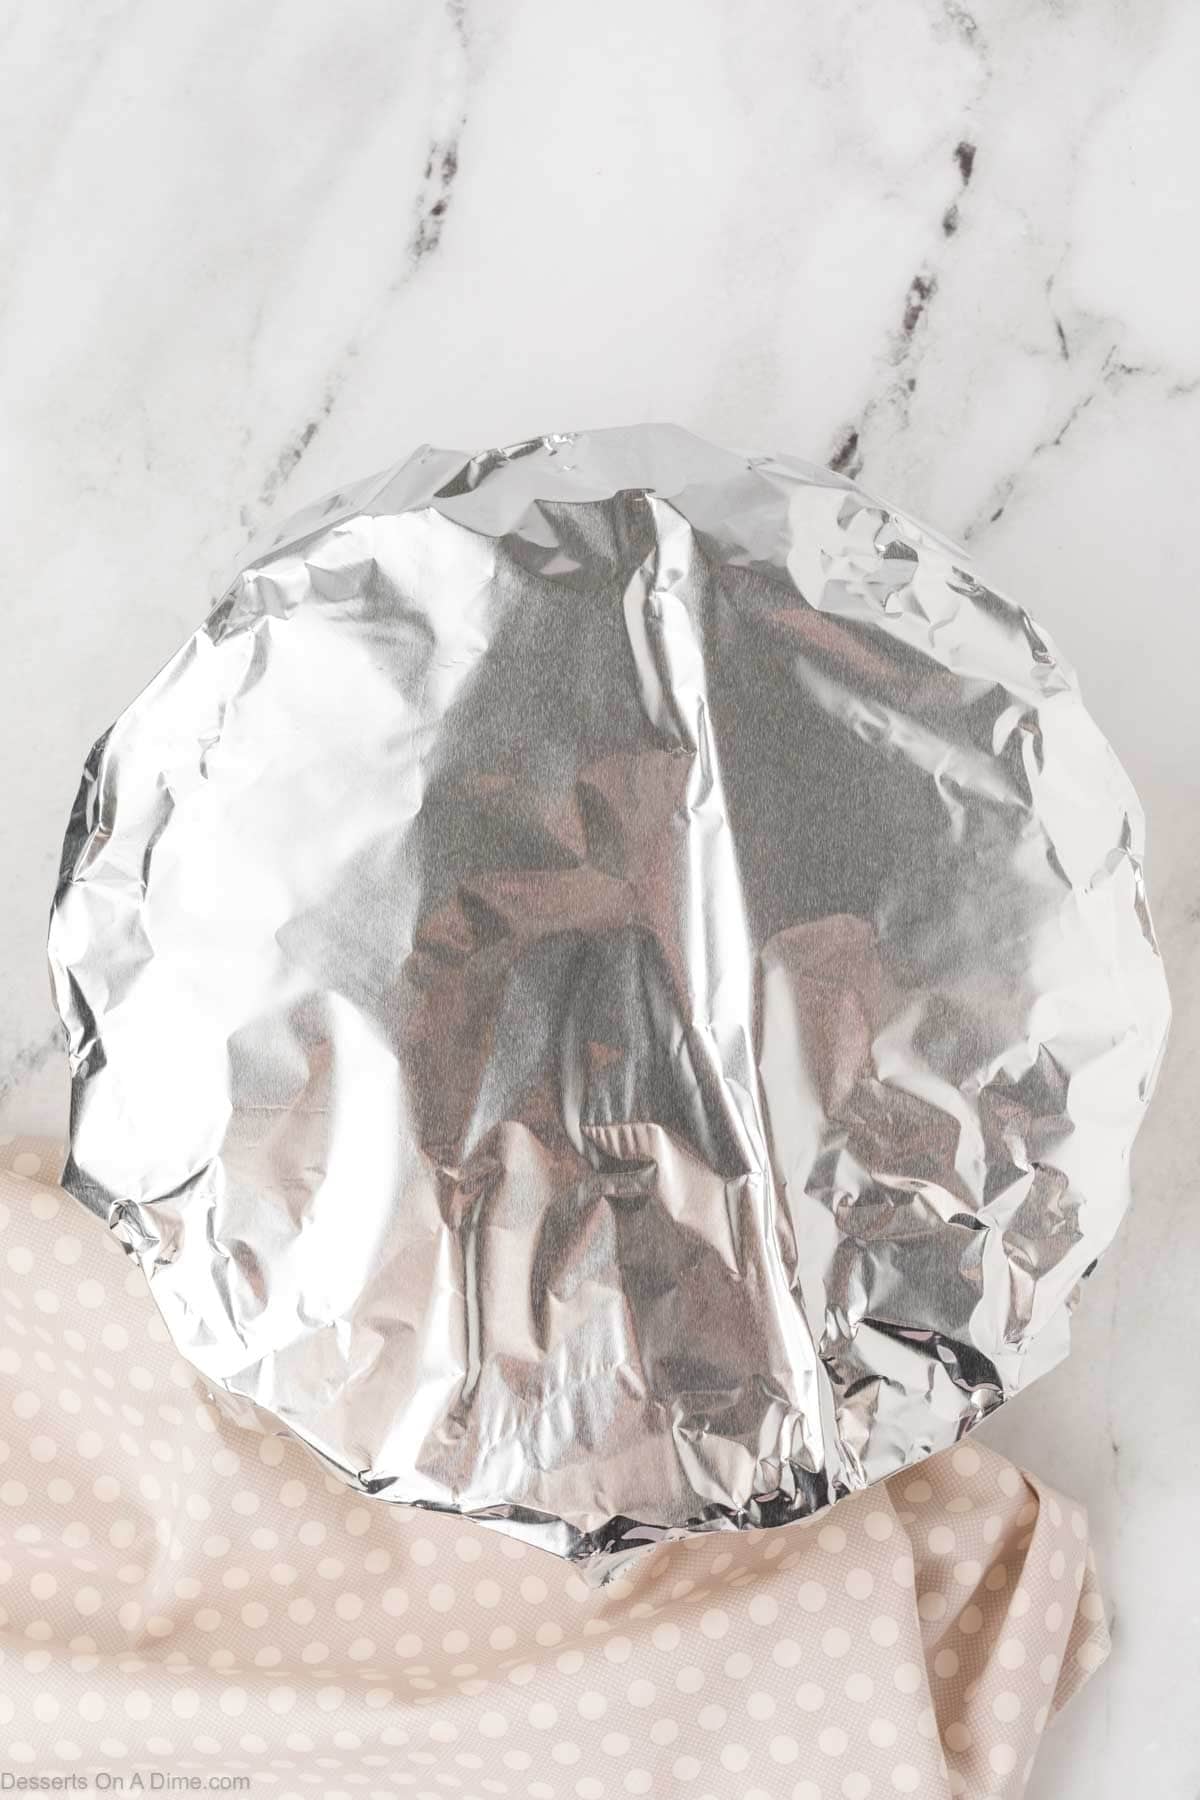
Step 7. Cover loosely with foil and allow the popcorn cake to cool for at least 1 hour. This helps the cake firm up, so it releases and slices cleanly.
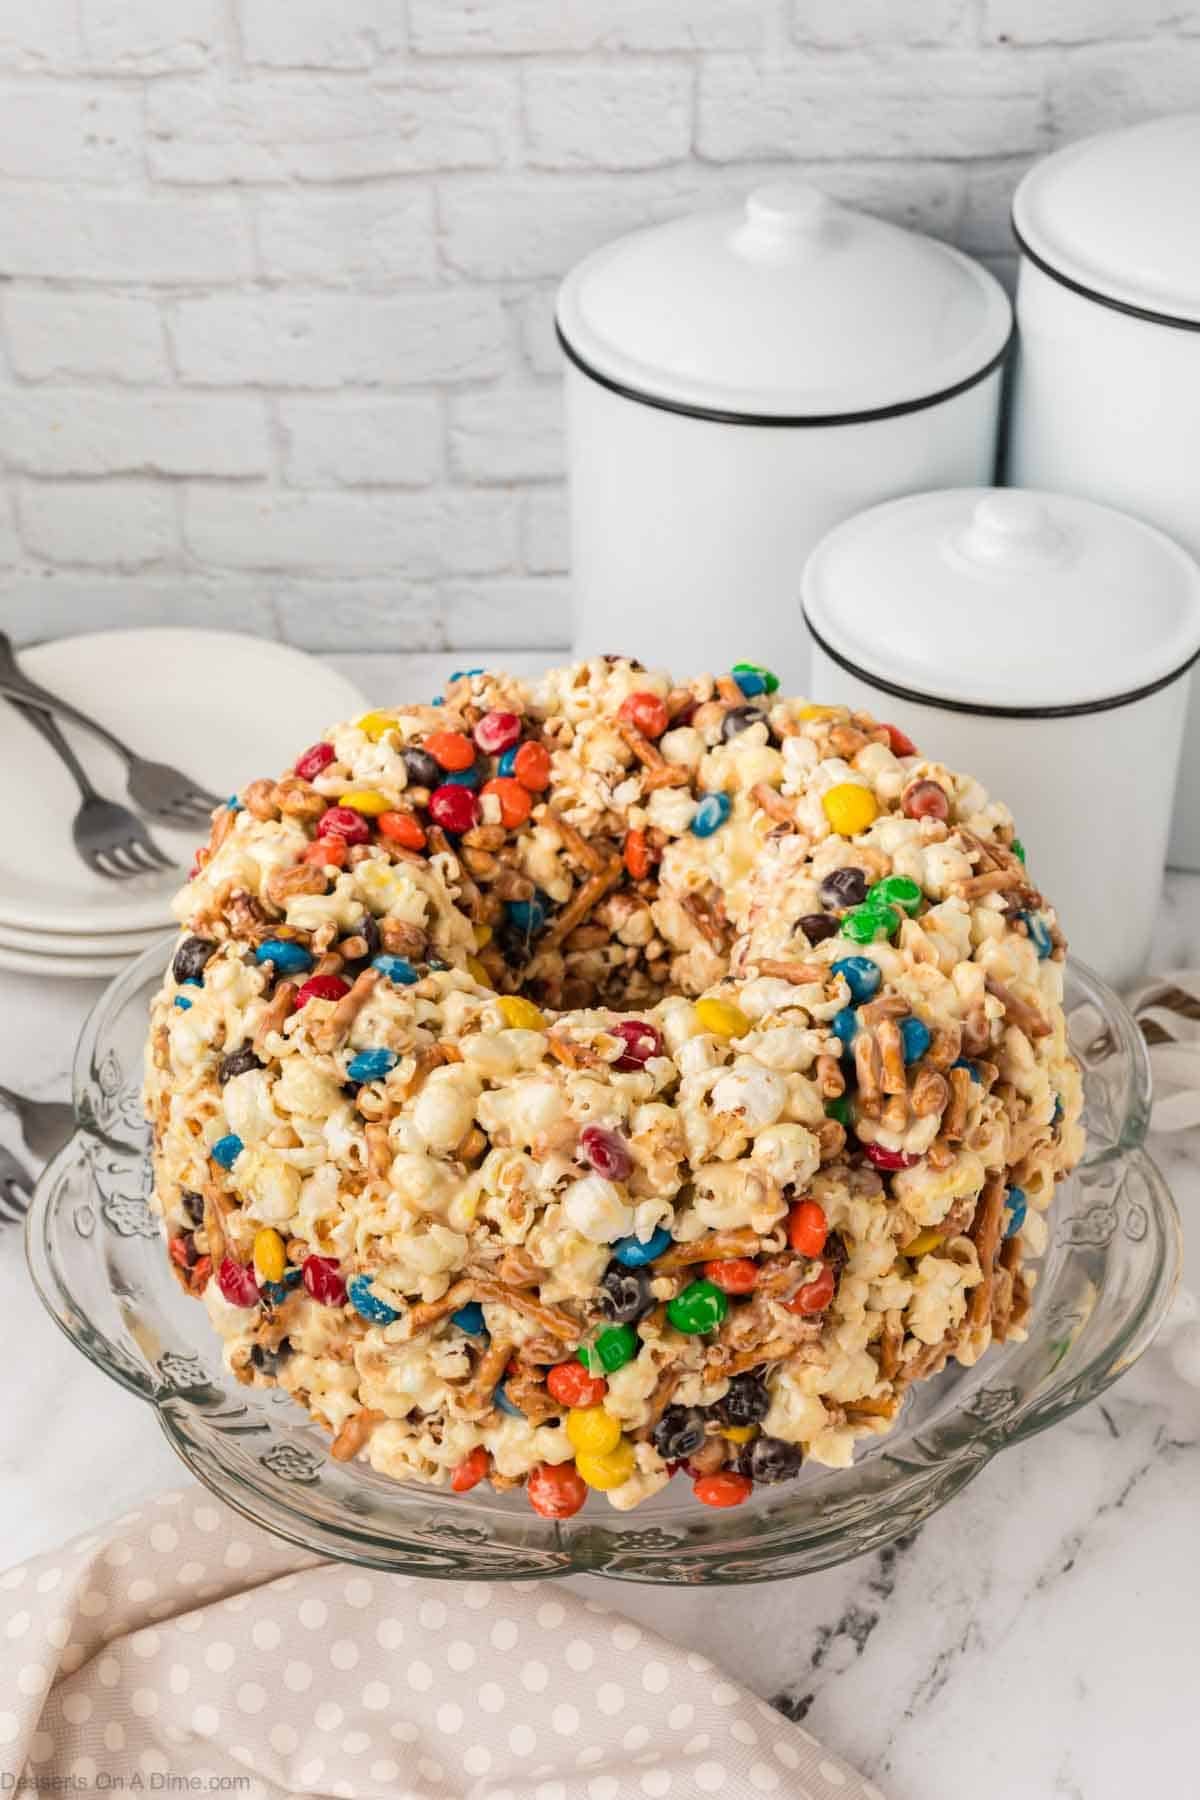
Step 8. When you are ready to serve the cake, carefully run a butter knife around the edges of the pan to loosen the cake. Turn the pan upside down onto a serving plate and lift the pan away.
Storage
Room temperature: Store the popcorn cake in an airtight container for up to 3–4 days to keep it crisp and fresh.
Avoid humidity: Keep it away from moisture, or the popcorn may become soggy.
Freezing: Wrap tightly in plastic wrap and place in a freezer-safe container for up to 1 month. Thaw at room temperature before serving.
Pro Tips
- Use fresh popcorn: Freshly popped popcorn is light, airy, and less likely to become chewy. Remove any unpopped kernels if not using pre-popped popcorn.
- Grease the pan well: Prevents sticking and makes removing the cake easier.
- Melt marshmallows slowly: Heat butter and marshmallows gently to avoid burning or clumping.
- Mix quickly: Combine the popcorn and marshmallow mixture while it’s still warm for even coating.
- Add mix-ins carefully: Fold in M&M’s, pretzels, and peanuts gently to prevent crushing.
- Press lightly: When shaping in the pan, press the mixture lightly to hold together without compacting.
- Store airtight: Keeps popcorn crisp and prevents it from getting stale.

More Easy Popcorn Recipes
Ready to make a sweet and crunchy treat everyone will love for a fun dessert? Try this Popcorn Cake recipe today, then leave a comment to share your favorite mix-ins and give the recipe a star rating if you enjoyed it!

Popcorn Cake
Ingredients
- 8 tablespoons butter plus extra for greasing the pan
- 1 16-ounce bag marshmallows (2 cups)
- 1 teaspoon vanilla extract
- 12 cups popped popcorn (Unsalted butter, plain or lightly salted popcorn are best for this recipe.)
- 2 cups M&M’s
- 1½ cups pretzel sticks broken into pieces
- 1 cup peanuts lightly salted
See how we calculate recipe costs.
Instructions
- Generously coat a bundt pan with melted butter, making sure to cover all the grooves well. Set aside.
- In a medium saucepan over medium heat, add the butter and marshmallows. Stir constantly until completely melted and smooth.
- Remove from heat and stir in the vanilla extract.
- In a very large mixing bowl, add the popcorn, pretzel pieces, peanuts, and M&M’s. Gently toss to evenly distribute everything.
- Pour the warm marshmallow mixture over the popcorn mixture. Using a spatula, carefully fold everything together until all the ingredients are coated.
- Transfer the mixture into the prepared bundt pan. Place a piece of parchment paper over the top and press the mixture firmly into the pan to help it hold its shape and prevent sticking.
- Cover the pan loosely with foil and allow the popcorn cake to cool and set for at least 1 hour. This helps the cake firm up, so it releases and slices cleanly.
- When ready to serve, run a butter knife carefully around the edges of the pan to loosen the cake.
- Turn the pan upside down onto a serving plate and lift the pan away. The cake should release easily.
- Then the cake is ready to slice, serve and enjoy!
