Delicious, fun, and easy to make, these Cakesicles are bite-sized cake pops on a stick, perfect for parties, holidays, or gift-giving. Decorate with chocolate, sprinkles, or icing for a festive and creative treat everyone will love.
Cakesicles are a fun and festive twist on traditional cake pops, transforming moist cake into bite-sized treats on a stick. Covered in chocolate and decorated with sprinkles, icing, or candy, these mini desserts are perfect for parties, holidays, or gift-giving.
Easy to make and endlessly customizable, cakesicles are a crowd-pleasing treat that’s as fun to make as it is to eat. The kids also enjoy Strawberry Yogurt Popsicles, Strawberry Crunch Bars Recipe and Banana Popsicles Recipe.
What's in this post: Cakesicles
What Are Cakesicles?
A cakesicle is a bite-sized piece of cake shaped like a popsicle and served on a stick. Essentially, it’s a cake pop in popsicle form—moist cake is mixed with frosting, molded into the shape of a popsicle, coated in chocolate or candy melts, and decorated with sprinkles, icing, or other toppings.
Cakesicles are perfect for parties, holidays, or gifting because they’re both fun to make and fun to eat. They are tasty alone or try serving with Cotton Candy Ice Cream.
Ingredients

Cakesicle Filling
- Prepared cake – Use any type of cake you like, homemade or store-bought. Choose your favorite flavor for the base.
- Frosting – Use your favorite frosting to bind the cake and add flavor. Creamy, spreadable frosting works best.
Chocolate Shell
- White candy melts or melting chocolate – Use whichever you prefer to coat the cakesicles.
- Sprinkles – Any type, color, or style can be used to decorate your cakesicles.
- Equipment – A Cakesicle mold is needed to shape the cake into popsicle forms.
Jump to recipe below for complete ingredient list and instructions.
Variations
- Cake Mix: Use any cake flavor you love, such as chocolate, strawberry, funfetti, vanilla, or more.
- Frosting: Pair different cakes with different frostings. Try homemade buttercream frostings, Cinnamon Buttercream, or Cinnamon Cream Cheese Frosting.
- Topping: Add fondant, edible glitter spray, or any decorations you like.
- Coating: Swap white chocolate for milk or dark chocolate melts. Chocolate coating pairs especially well with chocolate cake for a richer taste.
- Seasonal: Customize for holidays by changing sprinkles or candy melts—perfect for Christmas cakesicles, Valentine’s Day, Easter, or any celebration.
How To Make Cakesicles

Step 1. Bake the box cake mix. Then crumble it once cooled. Make sure it is completely cool or the frosting will melt. Add the frosting to the crumbled cake. The cake crumbs should hold together when you pinch it but not be sticky.

Step 2. Use a microwave safe bowl and melt the candy melts or melting chocolate based on the package instructions. Once melted, spread 1 tablespoon of melted white chocolate into each popsicle mold.

Step 3. Make sure to get the bottom of the cavity and sides of the mold. You only want a thin layer of chocolate. Insert the popsicle sticks and remove before the melting chocolate sets. Chill for 3-5 minutes in the freezer if you’re using candy melts and the fridge if using chocolate.

Step 4. Press the cake filing into the molds. I used 1 tablespoon of the cake filling. Leave at least 1/16 of an inch at the top for the extra coating of chocolate.

Step 5. Spread about a teaspoon of white chocolate thinly over the top of the cake popsicles. Repeat until all of the cakesicles are covered.

Step 6. Remove any excess chocolate by scraping the top with an offset spatula. Chill for about 2 minutes until the candy layer hardens.

Step 7. Remove the cakesicles from the mold.

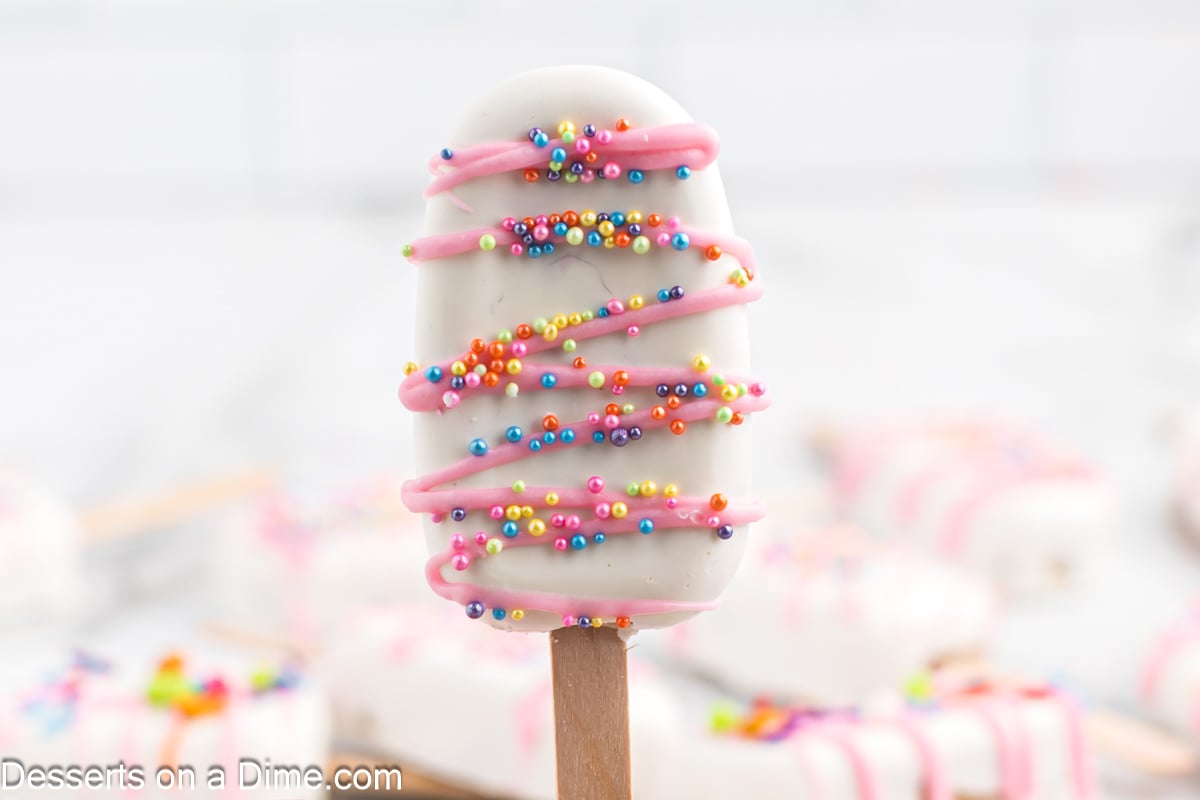
Step 8. Drizzle candy melts in any color you prefer. Then add sprinkles and allow to set.

Pro Tips
- Add toppings while chocolate is wet: Apply sprinkles, crushed candy, or other decorations immediately after coating the cakesicles. Drizzle extra chocolate or candy melts over the surface first to help the toppings stick. Colored candy melts can add a fun pop of color.
- Handle with care: Once the chocolate hardens, it’s easy to leave fingerprints, so handle the cakesicles gently or use a utensil to move them.
- Cool the cake completely: Make sure your cake is fully cooled before mixing with frosting. Warm cake will melt the frosting and affect the texture of your cakesicles.
- Melt chocolate gradually: Heat chocolate or candy melts in short intervals (about 30 second intervals), stirring between each interval. Overheating can burn the chocolate and ruin the coating.
- Coat the molds, don’t dip: For cleaner and easier results, brush or spoon melted chocolate into the cakesicle molds rather than dipping the finished cake pieces. This gives a smooth, even coating and avoids mess.
- Use the right consistency: The cake-and-frosting mixture should be firm enough to hold its shape when molded. If it’s too soft, chill it for a few minutes before pressing into the molds.
- Work quickly with candy melts: Candy melts set fast, so have your molds and decorations ready before coating.
Frequently Asked Questions
Room Temperature: Store finished cakesicles in an airtight container at room temperature for 2–3 days. Keep them in a cool, dry place away from direct sunlight to prevent the chocolate from melting or sweating. Place parchment paper in between the layers.
Refrigerator: Cakesicles can be stored in the fridge for up to 1 week. Let them come to room temperature before serving for the best texture and flavor.
Freezing: Wrap cakesicles individually in plastic wrap or place them in a single layer in a freezer-safe container. Freeze for up to 1 month. Thaw in the refrigerator or at room temperature before serving.
This might be the result of overstuffing the molds. You only want to add a little bit of the cake mixture and do not push down.
Another trick is to let the chocolate come to room temperature slightly before filling with the mixture and chilling again.
About a tablespoon goes on the bottom of the mold. It needs to be spread evenly. Then about a teaspoon goes on top.
More Cake Pop Recipes
Make these fun and festive cakesicles at home and wow your family and friends! Try different cake flavors, coatings, and decorations, share your creations in the comments, and don’t forget to rate the recipe. Perfect for parties, holidays, or just a sweet treat anytime!

Cakesicles
Ingredients
Cakesicle Filling:
- 1 9×13-inch prepared cake room temperature
- ½ cup frosting up to ¼ cup more if necessary
Chocolate Shell:
- 3 cups candy melts or melting chocolate
- Sprinkles optional
See how we calculate recipe costs.
Instructions
For the Cake Filling:
- Using a mixer or your hands, crumble the cake. Make sure the cake is at room temperature to keep the frosting from melting.
- Add 1 tablespoon of frosting at a time to the crumbled cake and mix until you get the consistency you prefer. The filling should hold together when you pinch it, but it should not be sticky.
For the Chocolate Shell:
- Melt the candy melts or melting chocolate based on the package instructions. Put 1 tablespoon of melted white chocolate into each popsicle mold.
- Paint it in a thin layer to the mold’s bottom and sides.
- Insert the popsicle sticks and remove before the melting chocolate set to remove any remaining chocolate from that area in the mold.
- Repeat creating 4 chocolate shells in your popsicle mold.
- Put the mold in the freezer if you’re using Candy Melts or the refrigerator if you’re using melting chocolate.
- Chill for 3 to 5 minutes until the candy hardens.
- Scoop out 1 tablespoon of the cake filling and press it into the candy shell, leaving at least 1/16 of an inch at the top for the extra coating of chocolate.
- Continue this process until all the molds are filled.
- Spoon a teaspoon or so of white chocolate thinly over the top.
- Scrape off any extra white chocolate using an offset spatula.
- Repeat covering all the cakesicles.
- Chill for about 2 minutes until the candy layer hardens
- Unmold the cakesicles.
- Decorate the cakesicles by drizzling more candy melts on top (I love using a different color) and topping with sprinkles (if you prefer).
