
Candy corn is the surprising secret behind this Homemade Butterfinger Recipe. Melted with peanut butter and dipped in chocolate, it creates a sweet, crisp-chewy candy bar with just 3 ingredients and no candy thermometer required. At just $0.52 per bar, it’s an easy and budget-friendly homemade treat.
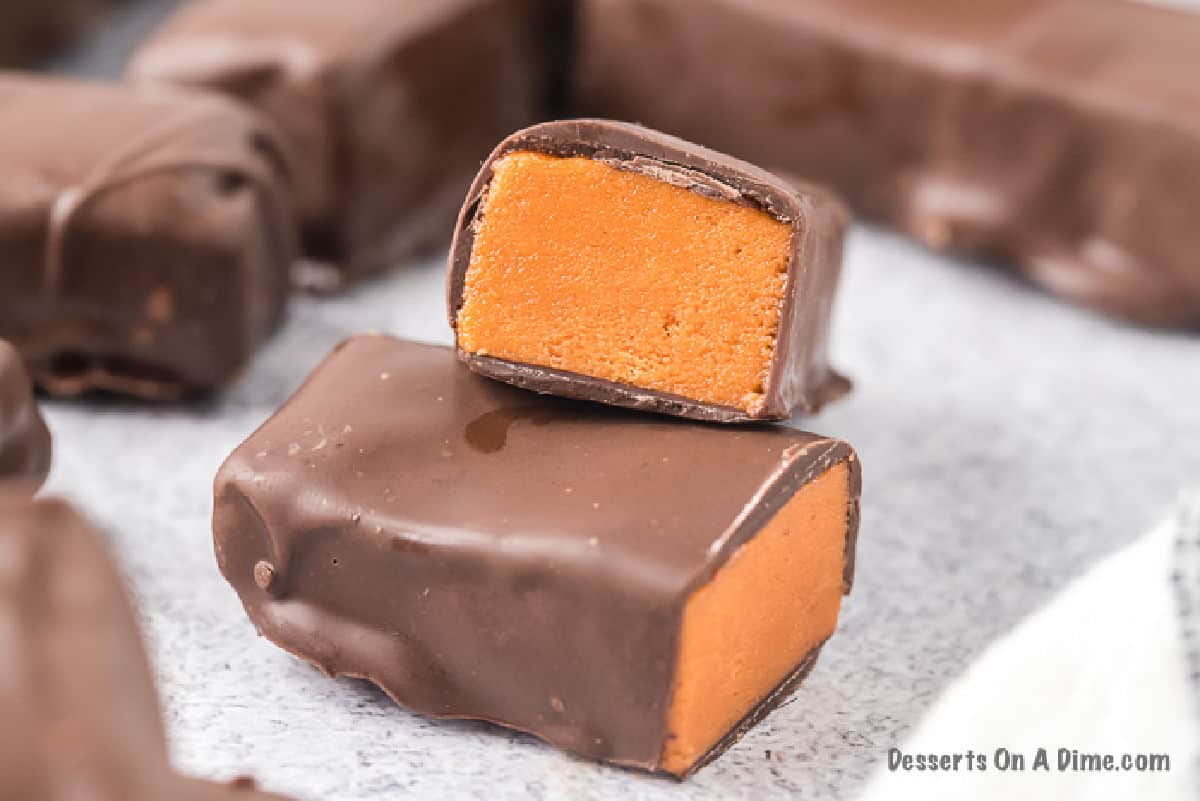
It’s also a genuinely great way to use up leftover Halloween candy corn instead of letting it go to waste. With 8 kids in our family, we usually have plenty of seasonal candy around, so I love finding creative ways to turn extras into a completely new dessert. This recipe is a fun one to make when you have leftover candy corn after Halloween.
Why You’ll Love This Recipe!

- Just 3 ingredients – Simple ingredients make these candy bars easy to prepare.
- Only $0.52 per bar – A budget-friendly homemade treat.
- No candy thermometer – No complicated candy-making equipment required.
- Uses leftover candy corn – A fun way to turn extra Halloween candy into something new.
- Chocolate-covered – A rich chocolate coating pairs perfectly with the sweet peanut butter center.
- Easy to make – Melt, mix, cut, and dip for homemade candy bars everyone will enjoy.
After more than 14 years of creating recipes, I still enjoy recipes that make you look twice at a familiar ingredient. Turning candy corn into homemade candy bars is such a fun kitchen experiment, and it’s always satisfying when a simple idea turns into a treat that everyone wants to try.
This recipe is perfect to pair with Butterfinger Cake, Butterfinger Cookies, Homemade Butterfinger Ice Cream and Butterfinger Balls.
What are Butterfingers?
A real Butterfinger candy bar has a crisp, layered peanut-butter center, made mostly from sugar, corn syrup, and roasted peanuts, wrapped in a chocolatey coating. That crunchy, flaky texture is actually created by a candy-making process, not just peanut butter on its own.
This homemade version is a simplified copycat that swaps that process for one clever trick: melted candy corn. It creates a similar sweet, crisp-chewy bite using just three ingredients you already have, or picked up on clearance after Halloween.
Ingredients
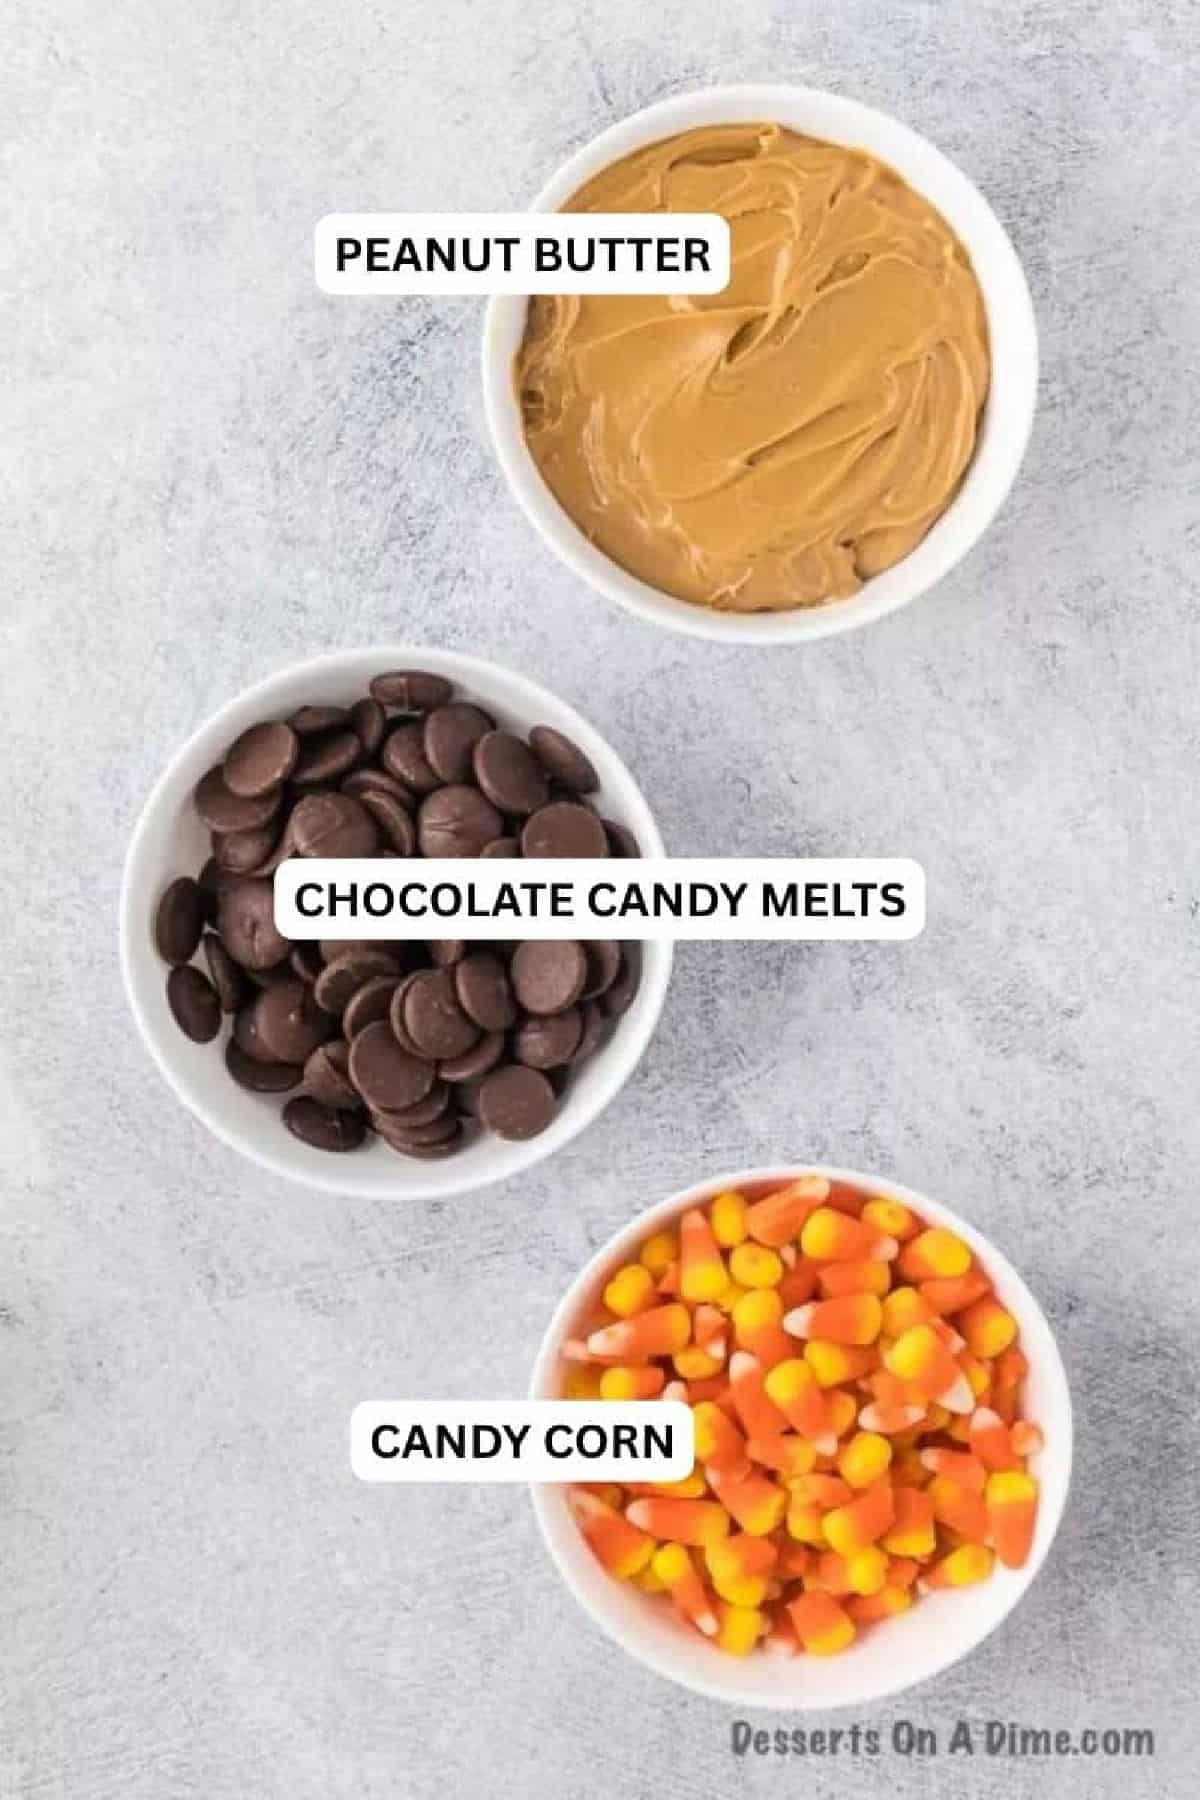
- Candy Corn. Use fresh candy corn, not a bag that’s been sitting in the pantry since last Halloween. Fresh candy corn melts smooth; stale or dried-out candy corn is the most common reason these bars turn out too hard to bite into.
- Creamy Peanut Butter. Regular creamy peanut butter (like Jif or Skippy) gives the most reliable, smooth filling. Natural peanut butter can separate and change the texture, so it’s not recommended here.
- Chocolate Candy Melts. These melt smoothly and set with a clean snap, which makes dipping easier than trying to temper real chocolate. Chocolate chips or almond bark will also work if that’s what you have on hand.
Find the complete recipe list and nutrition information at the bottom of the page.
Variations
- White Chocolate: Use melted white chocolate wafers instead of milk chocolate for a sweeter variation.
- Crunchy Peanut Butter: Creamy peanut butter gives the smoothest texture, but crunchy peanut butter adds extra texture and crunch.
- Butterfinger Bites: Cut the bars into smaller pieces to make bite-sized treats for parties or snacking.
- Sea Salt: Sprinkle a little sea salt over the chocolate for a sweet and salty combination.
- Decorate: Add colorful sprinkles for holidays, birthdays, or special occasions. Try red and green for Christmas or pastel sprinkles for Easter.
How to Make Homemade Butterfingers
Step 1. First, line an 8X8 baking dish with foil or parchment paper. This will help make clean up easy and also help to lift the mixture out of the pan. If you have trouble getting the parchment paper to stay in the pan, use binder clips to hold it down.

Step 2. Next, put the candy corn in a microwave safe bowl. Heat in 30 second intervals, stirring with a wooden spoon between each one. Stop as soon as the candy corn can be stirred smooth — it should look glossy, not gritty. Overheating it past this point is the most common reason these bars turn out too hard to bite into, so it’s better to stop a little early and give it one more short interval than to overdo it. Once melted, add the peanut butter immediately.

Step 3. Then pour the melted candy corn mixture evenly into the 8X8 pan. You may need to use a spatula to smooth it out.

Step 4. After the mixture has hardened, use a knife to slice the mixture into bars.

Step 5. Melt the chocolate. Then dip the bars in the melted chocolate. Remove any excess chocolate from the bars with 2 forks. Place on a baking sheet lined with parchment paper.
Recipe Tips
- Peanut Butter. Stick with regular creamy peanut butter rather than natural or freshly-ground styles. Natural peanut butter tends to separate and can leave the filling oily instead of smooth.
- No candy melts on hand? Chocolate chips or almond bark both work as a substitute — just melt them the same way, in the microwave in short intervals.
- Candy Corn. Stick with traditional candy corn for the classic Butterfinger flavor. There are many fun flavors available, but the original works best.
- Cutting: A sharp knife or pizza cutter makes cutting the candy mixture into bars quick and easy. Just make sure whichever tool you use is nice and sharp.
Storage
Store the butterfingers in an airtight container at room temperature for 5 to 6 days if you like a slightly chewier bite, or in the refrigerator for up to 2 weeks for a firmer, crispier texture — whichever you prefer.
To freeze, place the finished bars in a single layer in an airtight, freezer-safe container with parchment between layers, and freeze for up to 2 months. Thaw at room temperature for a few minutes before serving.
FAQ
This almost always comes down to one of two things: the candy corn, or the ratio. Old or dried-out candy corn, or candy corn that’s been microwaved too long, sets up much harder than fresh candy corn melted just until smooth. If your last batch was tough to bite into, try a fresh bag and stop microwaving as soon as it’s smooth and glossy.
If your candy corn was fresh and it’s still too firm, try stirring in an extra tablespoon or two of peanut butter next time. It softens the set without changing the flavor. And remember, storage plays a role too: these are naturally chewier at room temperature and firmer in the fridge, so if you like a softer bite, that’s where to keep them (see Storage above).
Yes — cashew butter works as a swap for the peanut butter and gives a similar texture.
Yes. Freeze the bars in a single layer in an airtight container with parchment between layers for up to 2 months. Thaw at room temperature before serving.

Try More Easy Candy Recipes


Try Homemade Butterfinger Candy recipe for a delicious treat. Please leave a comment once you make this recipe.

Homemade Butterfingers
Ingredients
- 2 cups Candy Corn
- 1 ½ cups Creamy Peanut Butter
- 2 cups Chocolate Candy Melts

See how we calculate recipe costs.
Instructions
- Line an 8X8 baking pan with foil or parchment paper.
- Place the candy corn in a microwave safe dish. Heat in 30 second intervals, stirring between each interval until the candy corn is fully melted.
- Then stir in the creamy peanut butter immediately. If the peanut butter does not melt completely than heat in the microwave for 15-20 seconds.
- Spread the mixture evenly into the 8X8 pan. Let the mixture cool completely and re-harden.
- Then use a knife to slice the mixture into approximately 16 bars.
- Then melt the chocolate candy melts in the microwave in 30 second intervals (stirring between each interval) until fully melted.
- Dip the candy bars in the chocolate until they are fully coated.
- Place the candy bars on a parchment line baking sheet and let them set (1-2 hours at room temperature).
- Then serve and enjoy!

Does no one today know how to give a recipe? What ever happened to a concise recipes without pages of useless information? Why give directions without ingredients and amounts first? It takes forever to gather the recipes, then try to print without using 10 or 12 pages to print what should go on a small recipe card. I appreciate the offer of a good recipe, but all the hassle of getting it is not worth it.
Cile – Thank you for your feedback. At the very top of the page, you can click on “jump to recipe” and it will take you directly to the printable recipe. Hope this helps!