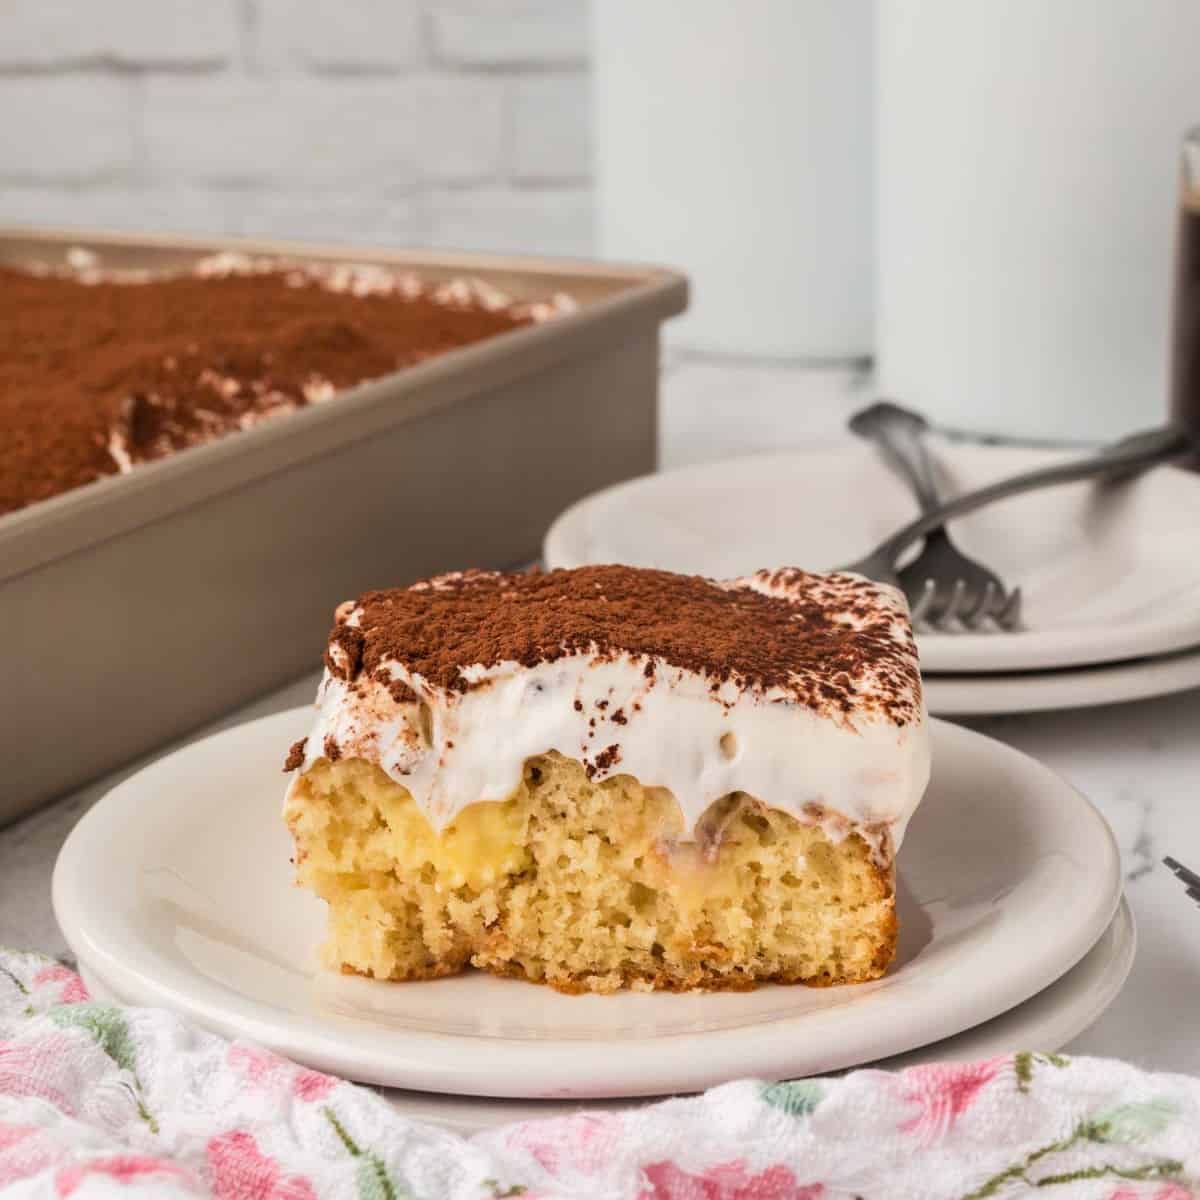
Tiramisu Poke Cake is an easy dessert inspired by the classic Italian treat. Made with cake, coffee flavor, and a creamy topping, this simple recipe delivers rich tiramisu flavor in every bite.

Tiramisu Poke Cake is a rich and creamy dessert inspired by the classic Italian favorite. Soft cake is soaked with coffee flavor and topped with a smooth, creamy layer that makes every bite deliciously moist.
It’s an easy coffee-flavored dessert that delivers all the flavors of traditional tiramisu without the extra steps. We love to make poke cakes and also love Boston Cream Poke Cake and Cannoli Poke Cake.
Table of contents
Why We Love This
- Easy version of a classic dessert – Enjoy the flavors of traditional tiramisu in a simple poke cake that’s much easier to prepare.
- Rich coffee flavor – The cake absorbs the coffee mixture, giving every bite that signature tiramisu taste.
- Moist and creamy texture – The poke cake method keeps the cake soft while the creamy topping adds a smooth, decadent finish.
- Great make-ahead dessert – This cake tastes even better after chilling, making it perfect for preparing ahead of time.
- Perfect for gatherings – It’s a crowd-pleasing dessert that’s great for holidays, potlucks, or family dinners.
- Simple ingredients – You can create this impressive dessert with basic ingredients that are easy to find.
Ingredients

Cake
- French Vanilla Cake Mix – This forms the base of the cake and adds a light vanilla flavor that pairs perfectly with the coffee and creamy topping. You can also use a white cake mix.
- Whole Milk – Helps create a moist, tender cake while adding a bit of richness to the batter.
- Eggs – Eggs provide structure and help the cake bake up soft and fluffy.
- Oil – Keeps the cake moist and gives it a soft texture that works well for absorbing the coffee mixture in a poke cake.
Optional Coffee Soak
- Strong Brewed Coffee – Adds the classic tiramisu flavor to the cake. The coffee soaks into the holes of the poke cake, giving it a rich, slightly bold taste that balances the sweetness of the dessert. Let the coffee cool before pouring it over the cake.
Filling
- Instant Vanilla Pudding Mix – Creates a smooth, creamy layer that adds richness and sweetness to the cake while helping give it a soft, moist texture.
- Whole Milk – Used to prepare the pudding, making it thick and creamy so it can soak into the cake perfectly.
- Espresso Powder – Adds a deeper coffee flavor that enhances the tiramisu-inspired taste of the dessert. A small amount goes a long way in boosting the coffee notes.
Topping
- Heavy Cream – Whipped to create a light, fluffy topping that adds richness and a creamy texture to the tiramisu poke cake.
- Powdered Sugar – Sweetens the whipped cream and helps it hold its structure when combined.
- Sour Cream – Adds a subtle tang and extra creaminess, balancing the sweetness of the cake and coffee layers.
- Unsweetened Cocoa Powder – Sprinkled over the top to give the classic tiramisu chocolate flavor and a beautiful finishing touch.
Step By Step Instructions
Step 1. Start by preheating oven to 350 degrees. Then spray a 9×13-inch baking pan with cooking spray. Set the prepared pan aside for later.
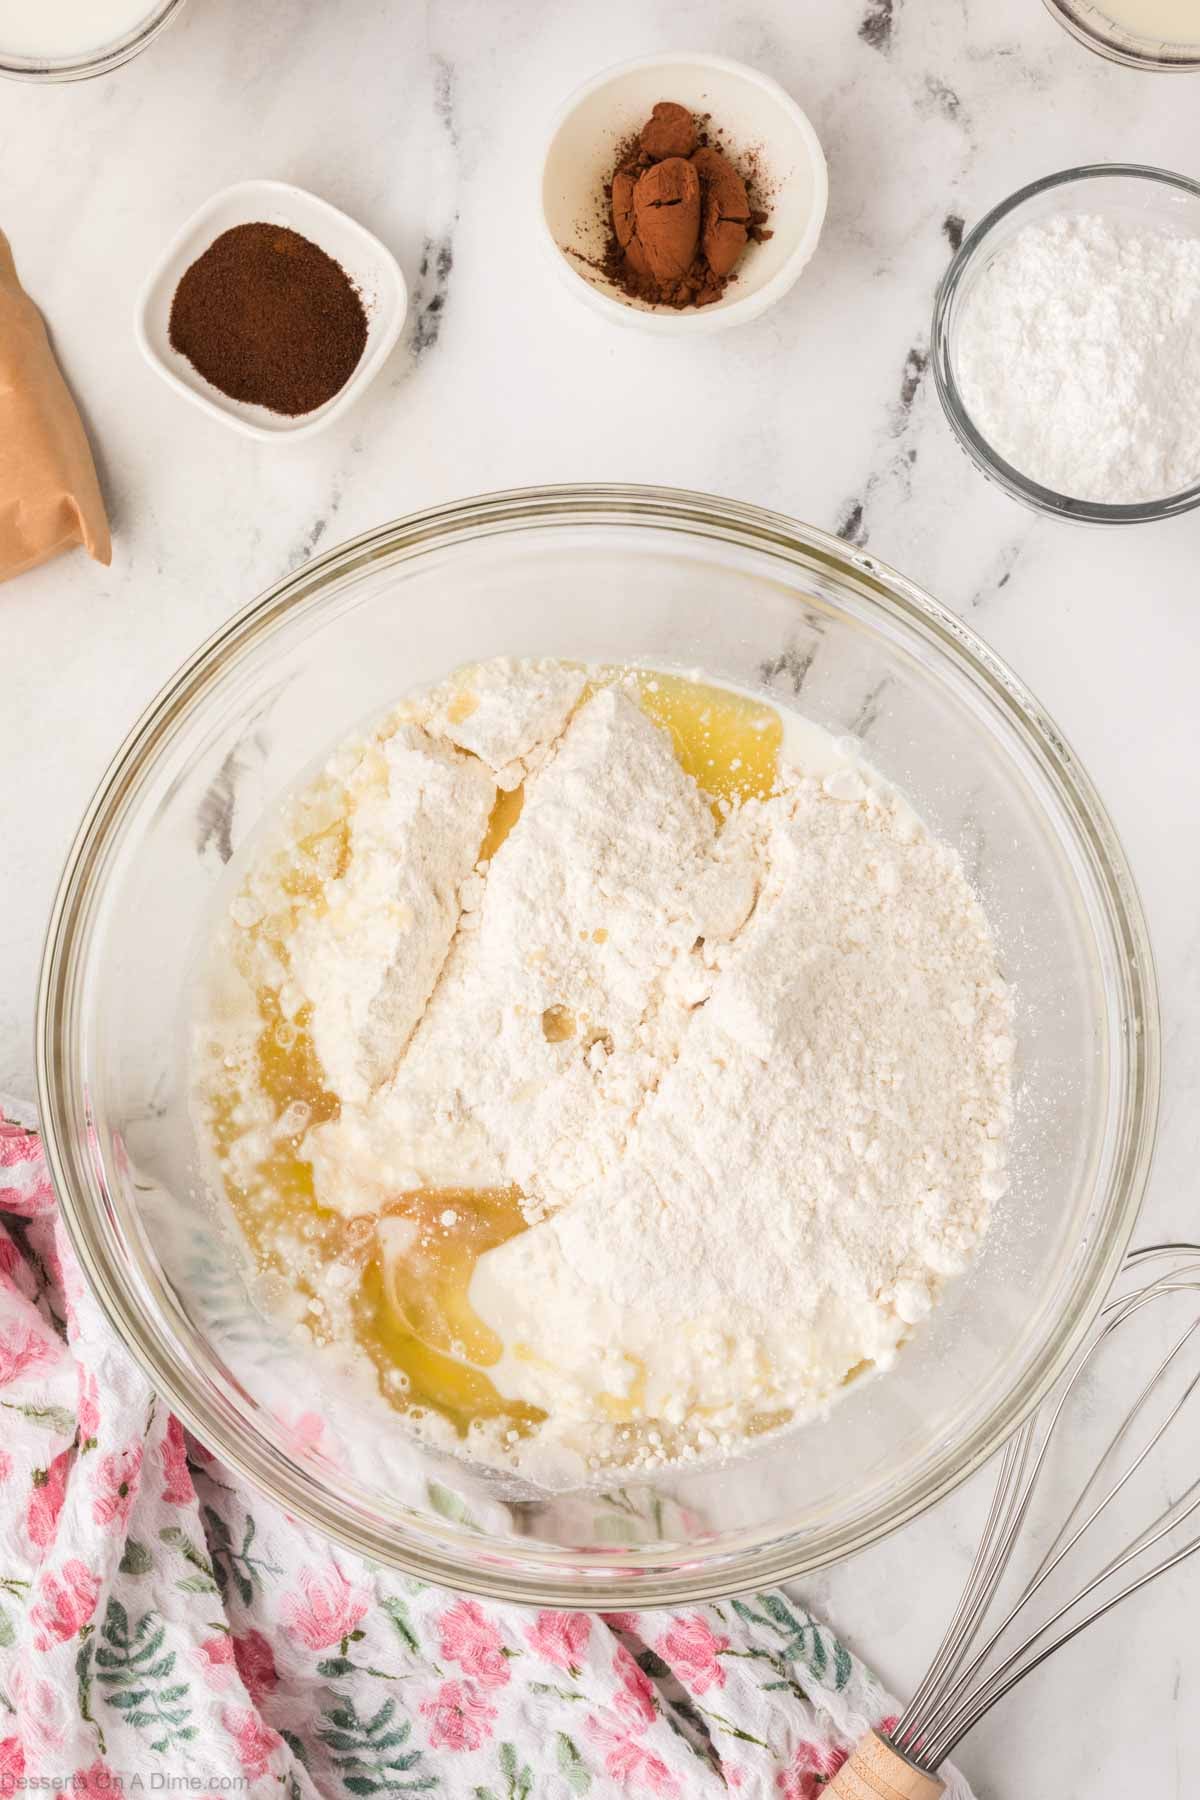
Step 2. Use a large mixing bowl and whisk together the cake mix, milk, eggs, and oil until smooth.
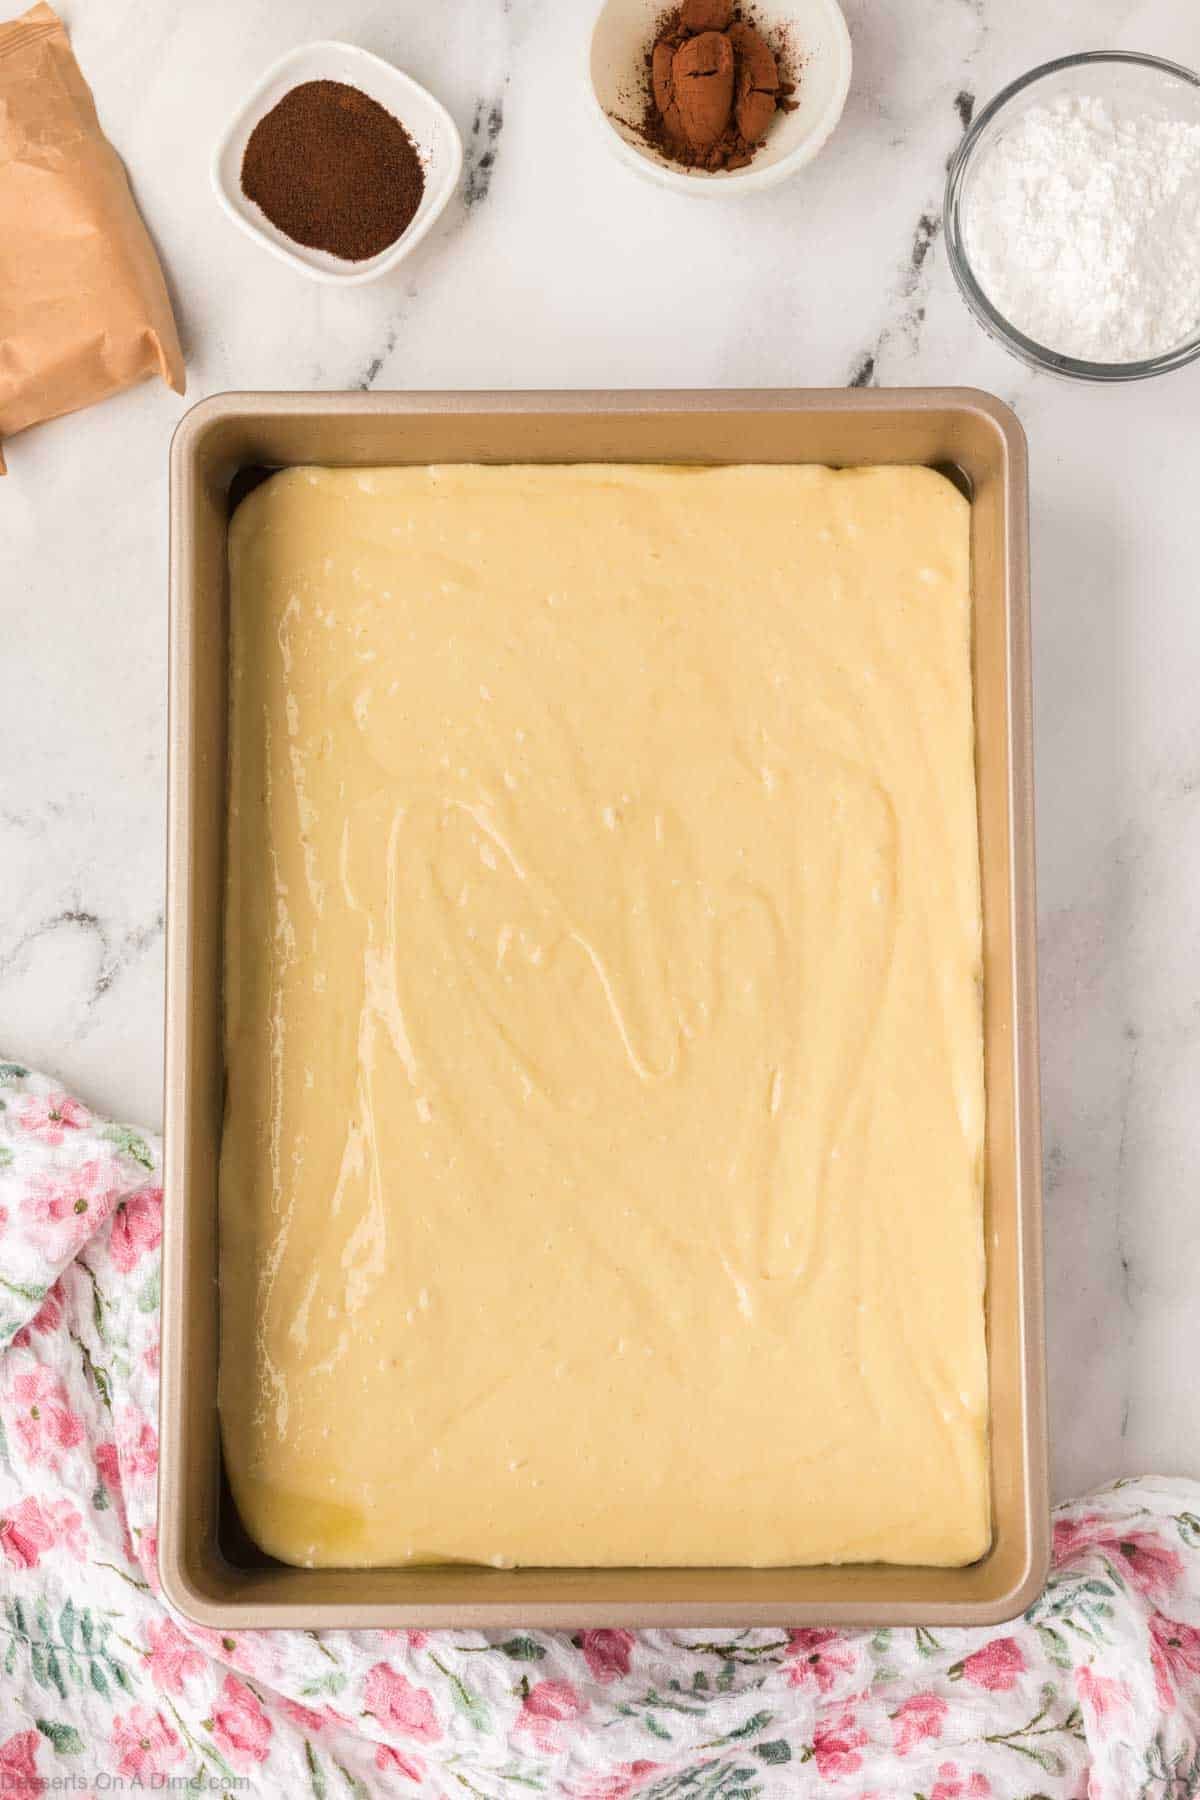
Step 3. Pour the batter into the prepared dish. Allow to bake for about 25 minutes or according to package directions. It should be lightly golden, and a toothpick inserted in the center comes out clean.
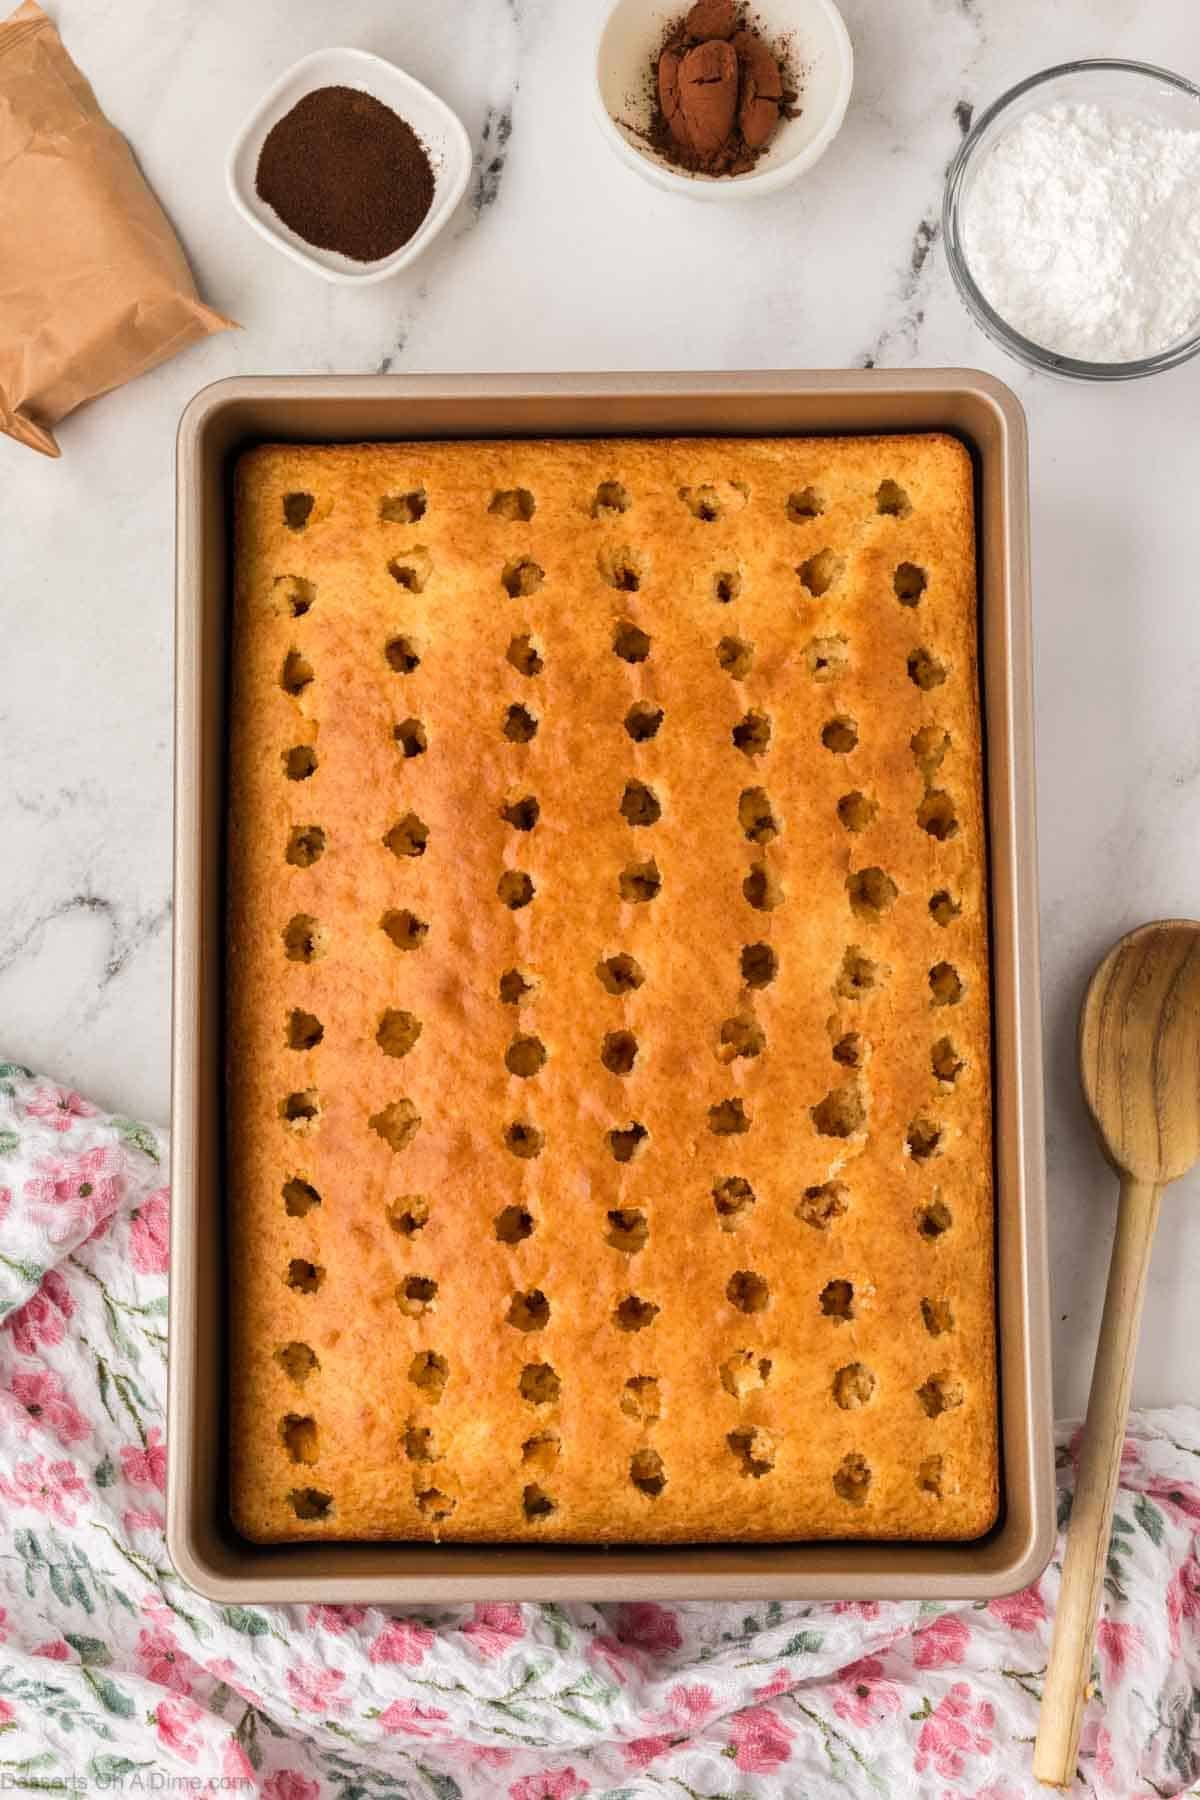
Step 4. Poke holes on the surface of the cake while warm. You can use the handle of a wooden spoon. Try to space the holes about 1–1½ inches apart. Then let the cake cool completely.

Step 5. If you plan to use the optional coffee soak, go ahead and do that now. Drizzle or brush 2–3 tablespoons cooled brewed coffee evenly over the cake.
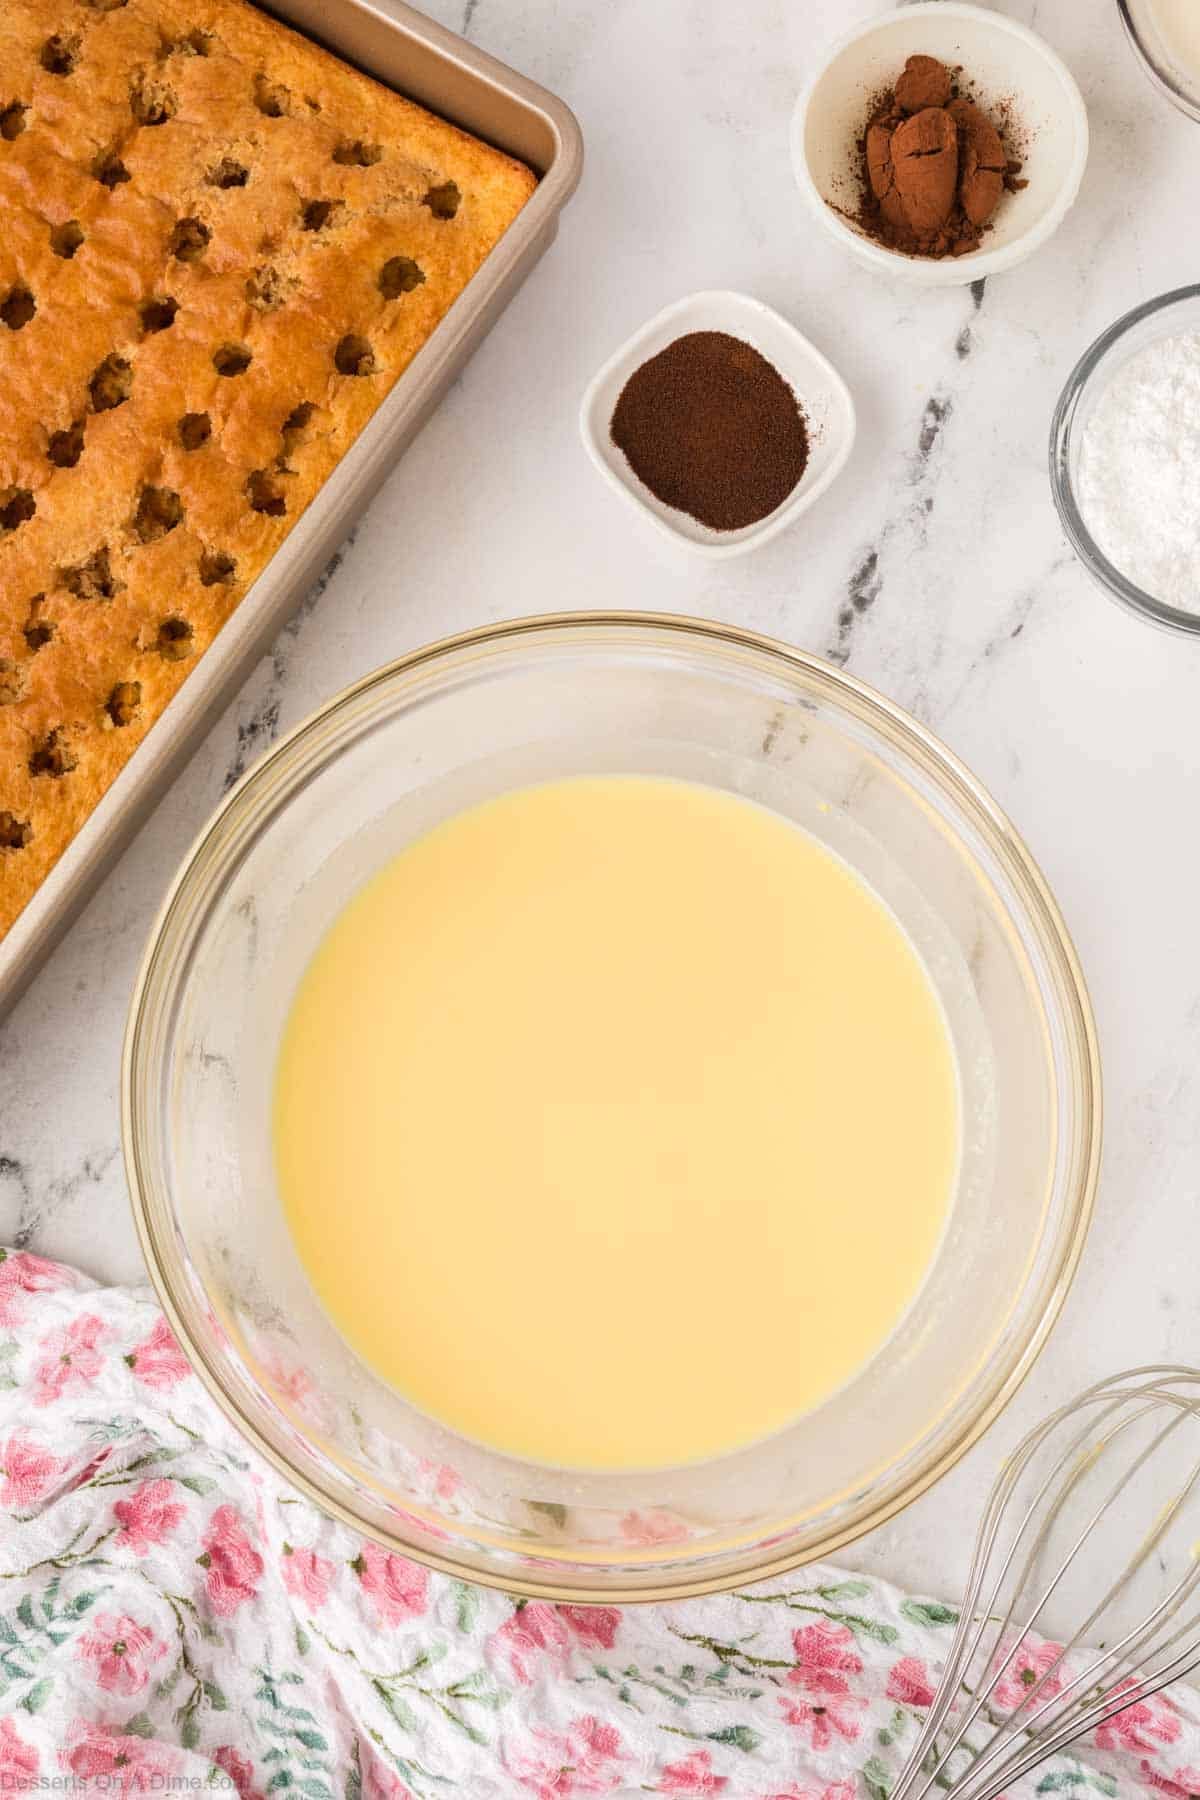
Step 6. Get out a medium bowl, whisk together vanilla pudding mix and milk until smooth with a hand mixer.
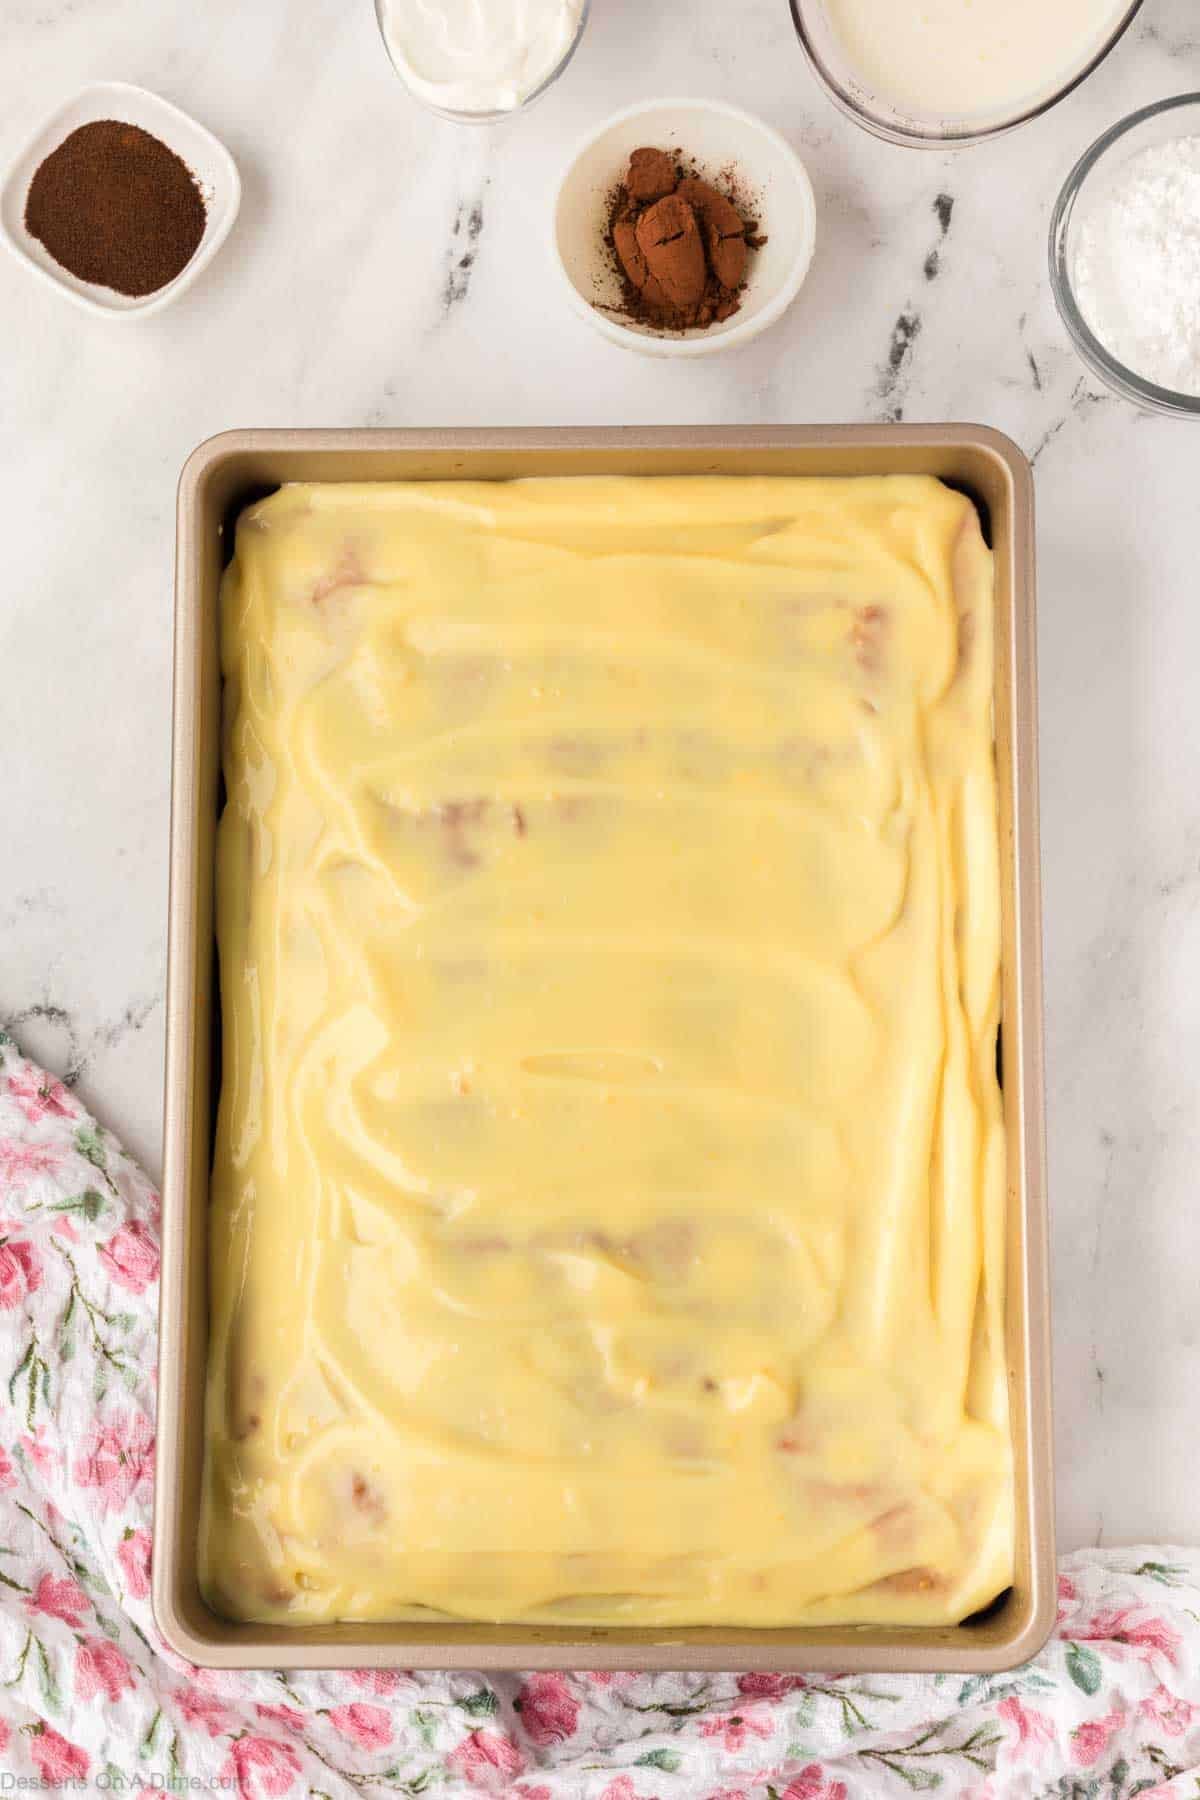
Step 7. Once combined, spread over the cooled cake. Press carefully into the holes.
Step 8. Top with espresso powder. Place in the fridge and let set for 10–15 minutes.
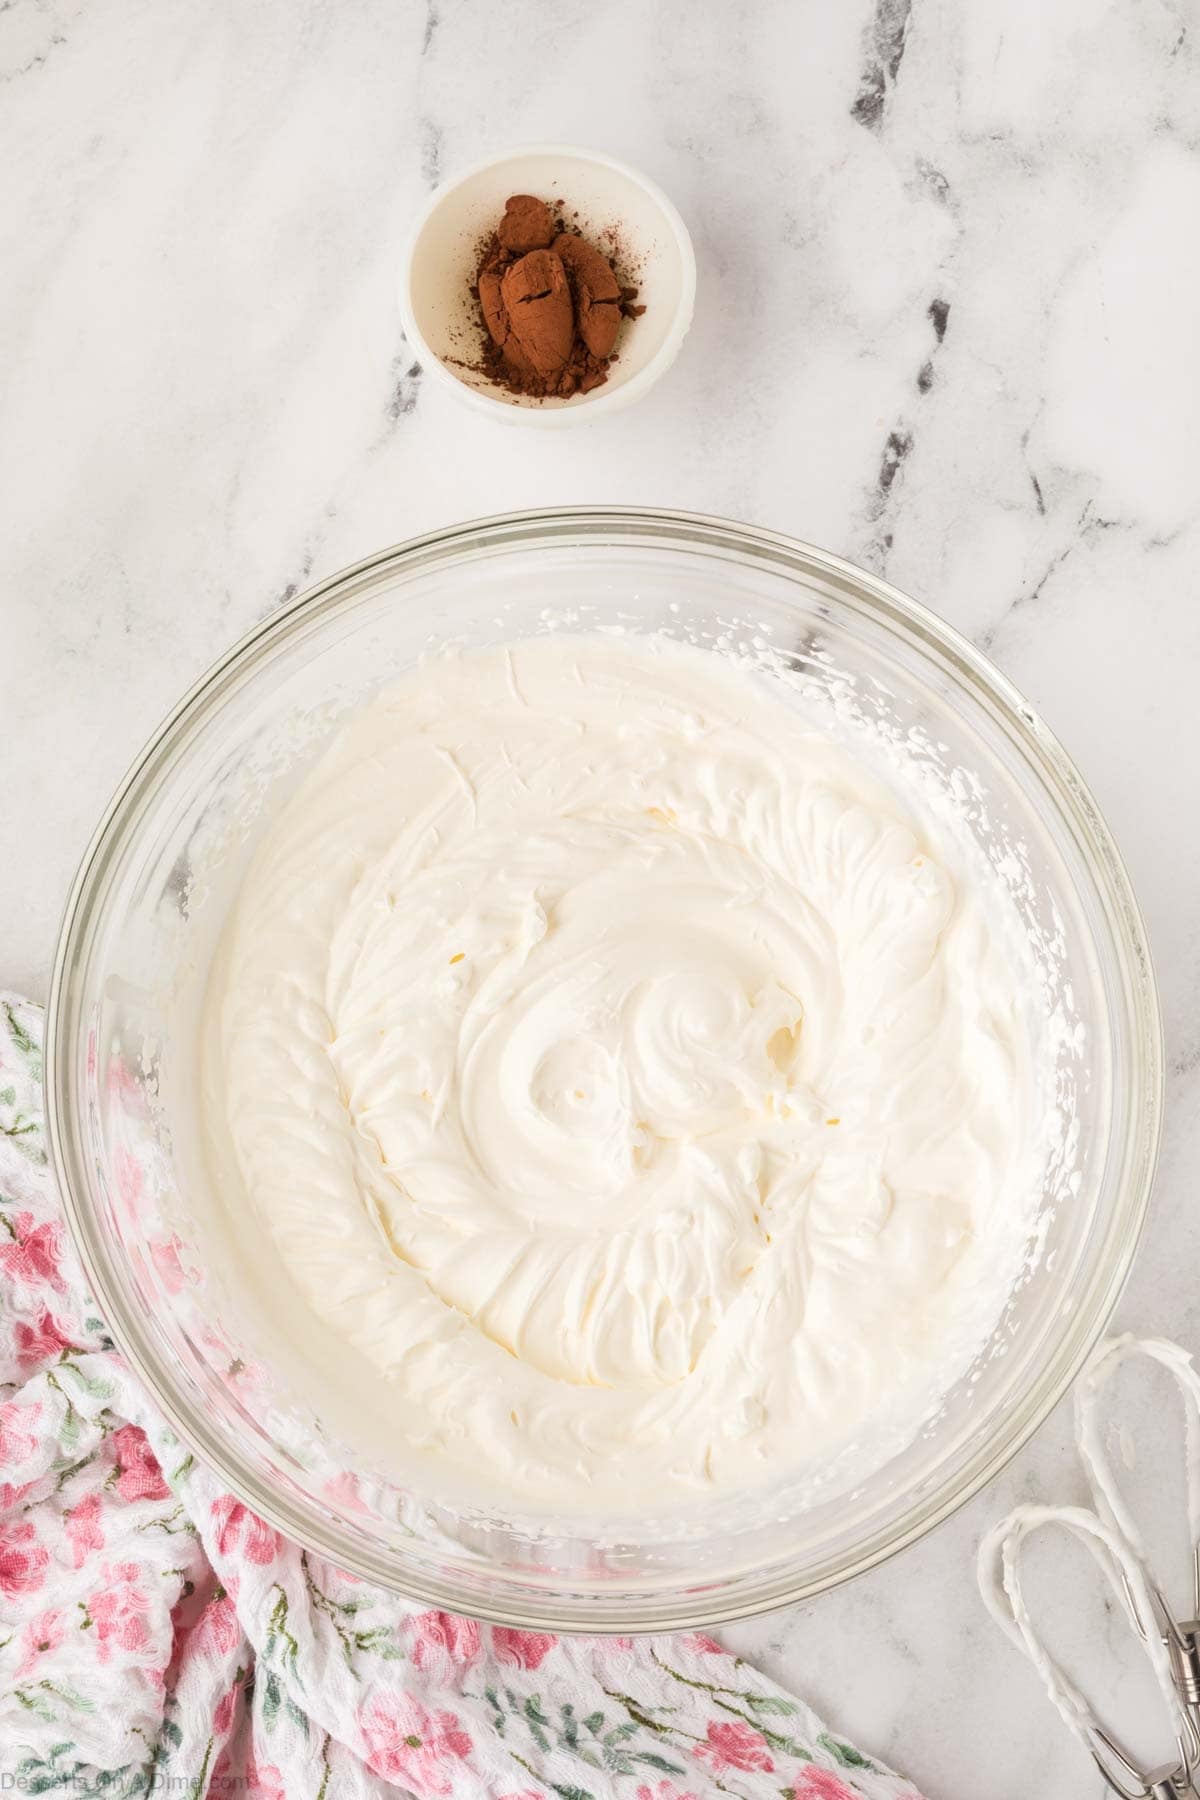
Step 9. Get out a large bowl and beat heavy whipping cream, powdered sugar, and sour cream until stiff peaks form. This will take about 3–5 minutes using an electric mixer.

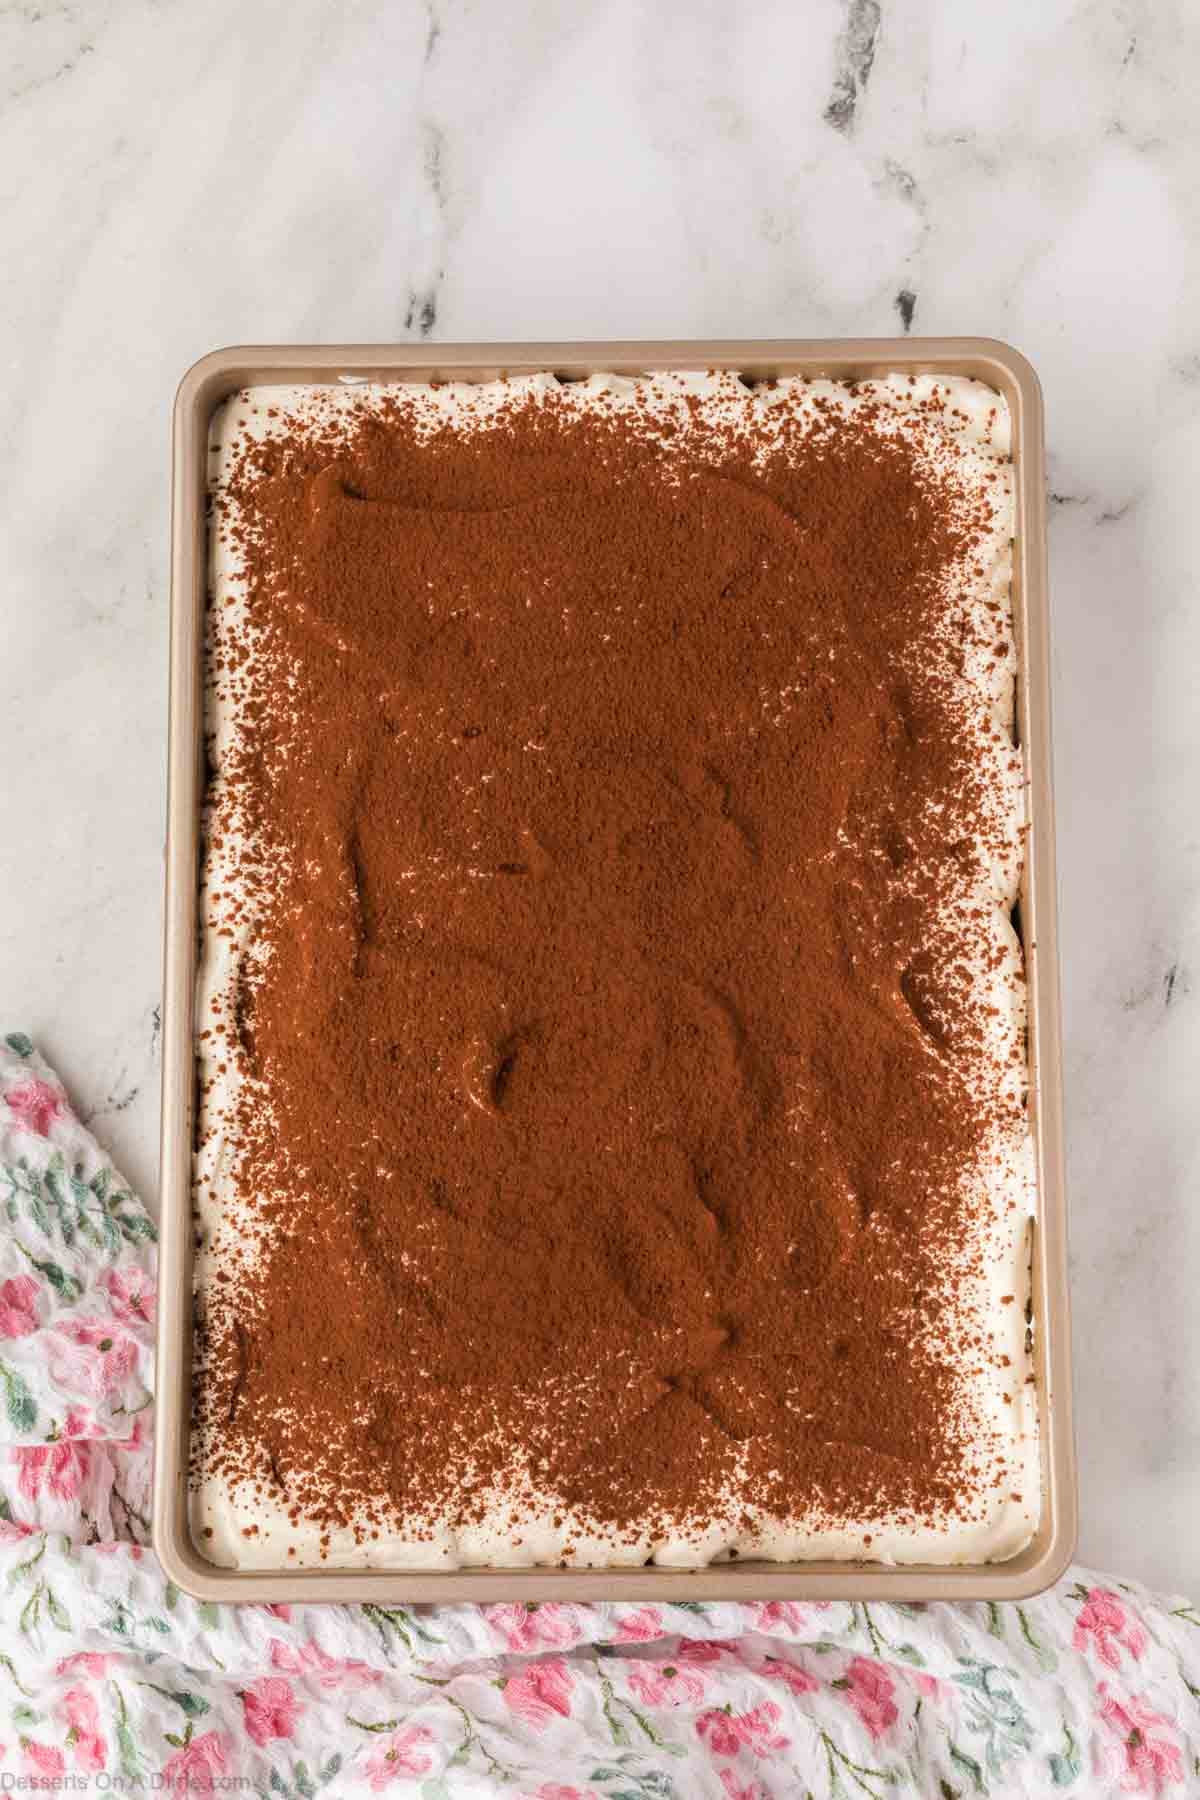
Step 10. Spread the frosting evenly over the entire cake.
Step 11. Finally, dust with cocoa powder. It is easiest to use a fine-mesh sieve. Then refrigerate at least 1 hour before slicing. It is best served chilled.

Pro Tips
- Even Coffee Soak – Let the coffee soak evenly into the cake holes for maximum flavor without making the cake too strong.
- Cool Cake First – Always allow the cake to cool completely before adding the pudding layer to prevent it from becoming watery.
- Instant Pudding Only – Use instant pudding mix rather than cook-and-serve pudding to ensure the filling sets properly and maintains a creamy texture.
- Chill Overnight – For the best flavor and texture, chill the cake overnight so the layers meld together beautifully.
- Refrigerate for Freshness – Store covered in the refrigerator for up to 4 days to keep the cake moist and delicious.
- Clean Slices – Wipe the knife between cuts to achieve neat, professional-looking slices.
- Optional Extras – Sprinkle additional cocoa powder, shaved chocolate, or a light dusting of espresso powder on top for a more decadent presentation.
- Room Temperature Serving – Let slices sit at room temperature for 10–15 minutes before serving if you prefer a softer, creamier texture.
Storage
Refrigerator: Store the leftover pieces of tiramisu poke cake in an airtight container or cover tightly with plastic wrap. It will keep up to 4 days in the fridge.
Chilling Enhances Flavor: The cake tastes best after chilling overnight, which allows the coffee and creamy layers to fully meld together.
Serving Tips: Remove from the fridge about 10–15 minutes before serving if you prefer a softer, creamier texture.
Freezing: While not ideal for long-term storage due to the creamy layers, you can freeze portions for up to 1 month. Wrap tightly in plastic wrap and place in a freezer-safe container. Thaw overnight in the refrigerator before serving.
More Poke Cake Recipes
Be sure to leave a star rating and comment to let us know how it turned out and share this decadent Tiramisu Poke Cake recipe with friends and family. Serve chilled or slightly warmed with a dusting of cocoa or a scoop of ice cream for an extra indulgent treat!
Tiramisu Poke Cake
Ingredients
Cake:
- 1 box French vanilla cake mix ($1.28)
- 1 cup whole milk ($0.43)
- 3 large eggs ($0.52)
- ⅓ cup oil ($0.32)
Optional Coffee Soak:
- 2 –3 tablespoons strong brewed coffee ($0.05), cooled
Filling:
- 1 3.4-ounce box instant vanilla pudding mix ($0.98)
- 2 cups whole milk ($0.86)
- 2 teaspoons finely ground espresso powder ($0.45)
Topping:
- 1½ cups heavy cream ($2.76)
- ½ cup powdered sugar ($0.28)
- ½ cup sour cream ($0.99)
- 3 teaspoons unsweetened cocoa powder ($0.14)
See how we calculate recipe costs.
Instructions
- Preheat the oven to 350°F and spray a 9×13-inch baking pan with nonstick cooking spray.
- In a large bowl, whisk together 1 box French vanilla cake mix, 1 cup whole milk, 3 large eggs, and ⅓ cup oil until smooth. Pour the batter into the prepared baking pan.
- Bake for about 25 minutes, or according to the package directions, until the cake is lightly golden and a toothpick inserted in the center comes out clean.
- While the cake is still warm, use the handle of a wooden spoon to poke holes across the cake, spacing them about 1–1½ inches apart. Let the cake cool completely.
- If using, spoon or brush 2–3 tablespoons strong brewed coffee (cooled) evenly over the cake, allowing it to soak into the holes.
- In a medium bowl, whisk together 1 (3.4-ounce) box instant vanilla pudding mix and 2 cups whole milk until smooth and slightly thickened. Spread the pudding evenly over the cooled cake, gently pressing it into the holes. Sprinkle 2 teaspoons finely ground espresso powder evenly over the pudding layer. Refrigerate for 10–15 minutes to set.
- In a large bowl, beat 1½ cups heavy cream, ½ cup powdered sugar, and ½ cup sour cream until stiff peaks form, about 3–5 minutes. Spread the whipped topping evenly over the cake.
- Dust the top with 3 teaspoons unsweetened cocoa powder using a fine-mesh sieve. Refrigerate for at least 1 hour before slicing. Serve chilled.

Looks delicious and easy.
Janet – Thank you! Let me know once you try it! I hope you enjoy!