Cheesecake Factory Red Velvet Cheesecake is the perfect recipe for all your special occasions. This copycat cheesecake recipe is delicious and easy to make.

If you love Red Velvet Cake and Cheesecake than you will love this copycat recipe. Cheesecake Factory cheesecake is always so delicious, and my favorite is their red velvet cheesecake.
The ultimate Red Velvet cake Cheesecake is perfect for all your special occasions especially if you love red velvet desserts. If you love red velvet, you might also like Red Velvet Sheet Cake Recipe with buttermilk and unsweetened cocoa powder or Red Velvet Mug Cake Recipe. The kids also enjoy Red Velvet Cake Pops.
What's in this post: Cheesecake Factory Red Velvet Cheesecake Recipe
What is Red Velvet Cake Cheesecake?
A red velvet cheesecake is the perfect combination of creaminess and tartness. Starting with a red velvet cake mix makes this copycat even easier. We love that it has many layers and it is so eye pleasing.
It is the perfect cake to prepare ahead of time. Impress your guest with the perfect cheesecake for Valentine’s Day, Christmas and more. It’s creamy, delicious and easy to make.
For a healthier alternative, try Keto Fat Bomb Recipes.
Ingredients

Red Velvet Cake
- Red Velvet Cake Mix
Cheesecake Layer
- Cream Cheese
- Granulated Sugar
- Vanilla Extract
- Heavy Whipping Cream
Cream Cheese Frosting
- Cream Cheese
- Powdered Sugar
- Vanilla Extract
For Garnish
- White Chocolate

Step by step instructions
- Step 1 – Prepare the red velvet cake based on the package instructions with dry ingredients and wet ingredients in 2 9” cake pans.
- Step 2 – Bake them based on the instructions in a preheated oven until the cakes are just starting to pull away from the pans. A toothpick inserted should come out clean. Cover with aluminum foil if the cakes start to get too brown.

Step 3. Place the cakes on a wire rack and allow to cool.
Step 4. While the cakes cool, make the cheesecake. Beat the cream cheese and sugar. Then add in the heavy whipping cream and the vanilla extract.

Step 5. Reduce the speed on the mixer to low and add the eggs one at a time. Slowly add in the sugar. Combine until smooth.

Step 6. Pour the batter into the springform pan. Bake at 325 degrees F for 40 minutes. Then turn the oven off and let the cheesecake sit in the oven for an additional 20 minutes.
Step 7. Place the cheesecake on a wire rack to cool. Then place the cheesecake in the freezer for 1 hour or overnight.

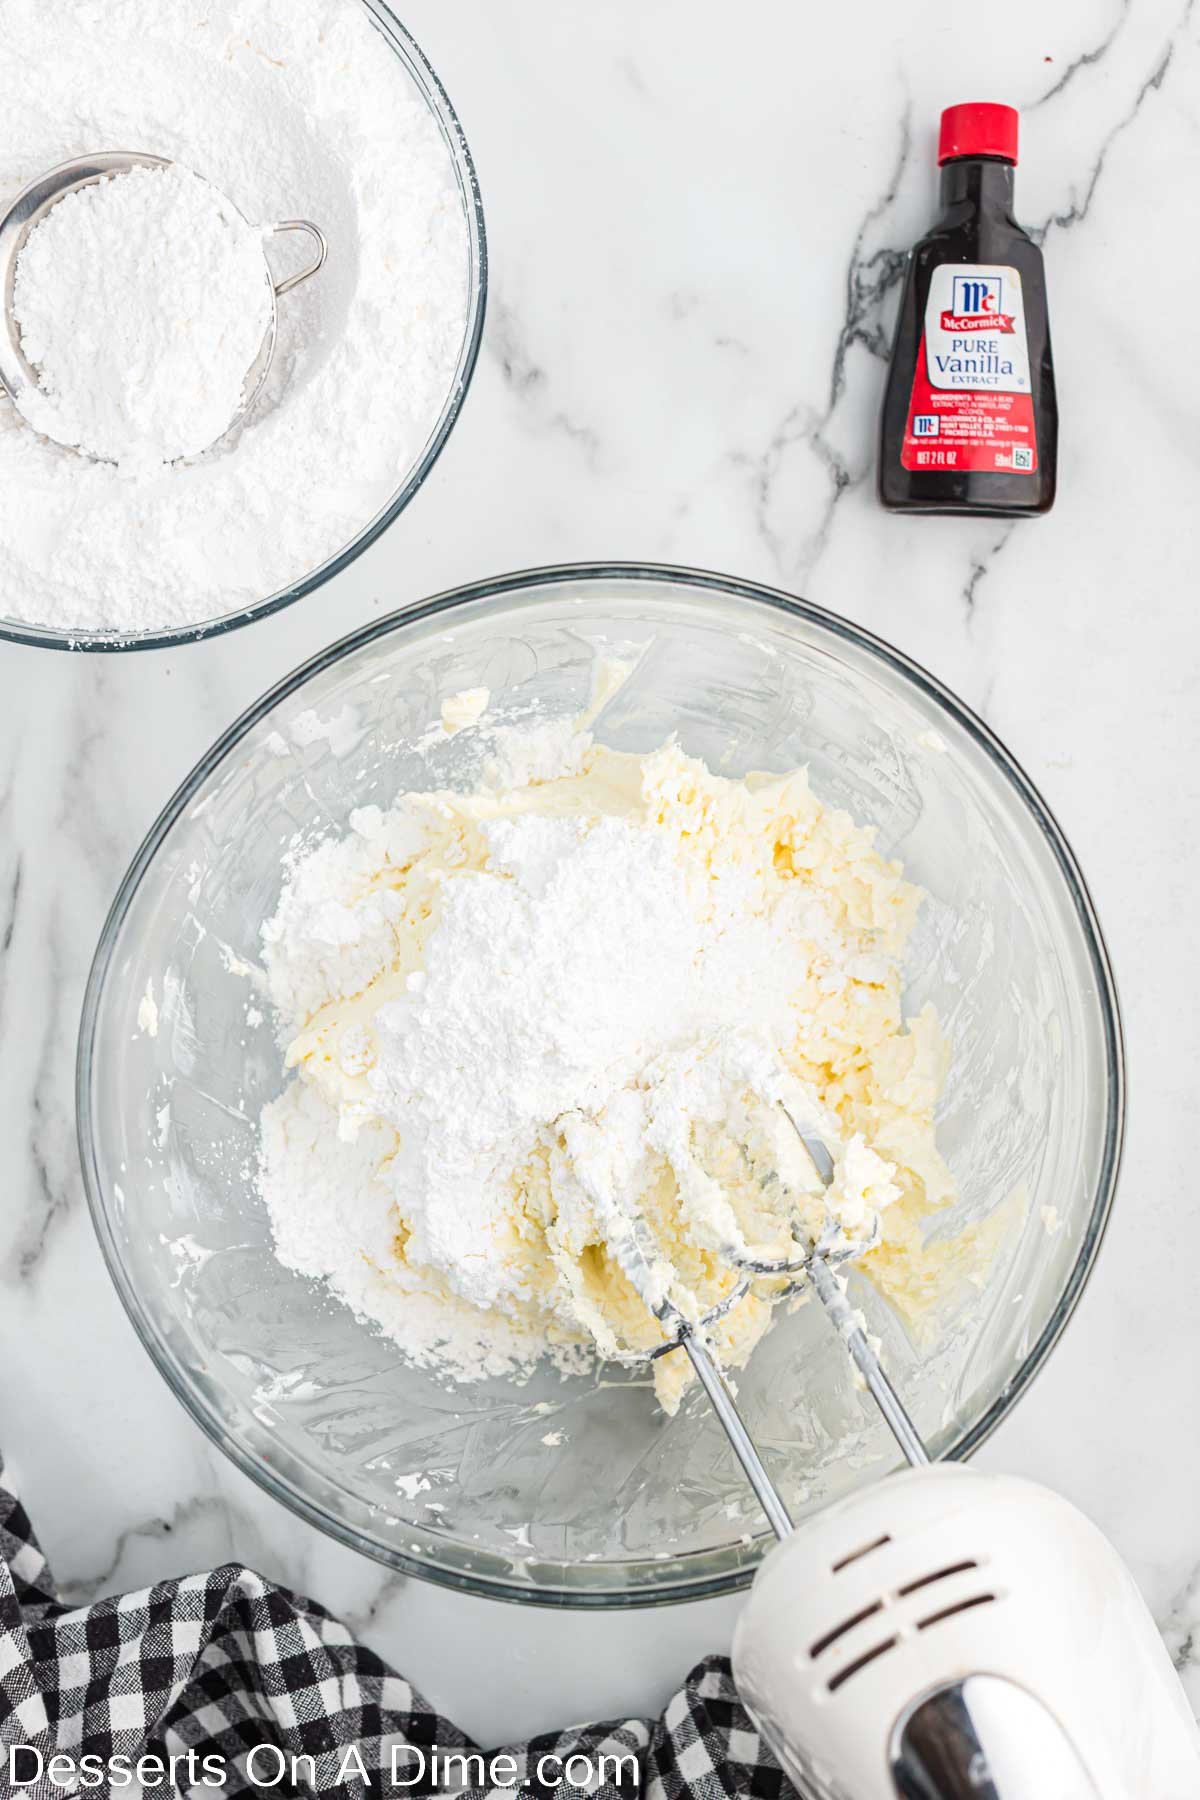
Step 8. Make the cream cheese frosting from scratch in a large mixing bowl with electric mixer. Beat the cream cheese until smooth and add the butter and tablespoons vanilla extract. Slowly add the powdered sugar and combine. Scrape the sides of the bowl. No teaspoon salt needed.
Assemble the cake

Step 9. Assemble the cake. Start by cutting the round portion of the cakes off the top with a serrated knife to make the cakes level.

Step 10. Next, place 1 of the red velvet cakes on a serving platter. Then top with cream cheese frosting.

Step 11. Remove cheesecake from the pan and place on the red velvet cake layer. Top the cheesecake layer with cream cheese icing as well. Place the 2nd red velvet cake on top and evenly spread the remaining frosting on the top and the sides of the cake.

Step 12. Garnish the layers of red velvet cake with white chocolate shavings onto the sides of the cake. Slice and enjoy.
How to Store Red Velvet Cheesecake
Store the cake in the refrigerator until ready to serve. We recommend placing on a cake pan and covering with the cake cover dome. Cover the exposed cake portion with a plastic wrap. This keeps it moist while storing.
Leftovers should last refrigerated, covered for up to 5 days.
Recipe Tips
- Round Cake Pans – We used a set of round 9″ cake pans to make this cake. This gives you the pretty layers that red velvet is known for.
- Mixer – You certainly can use a hand mixer but we love our stand mixer. It gets a ton of use and to this day is such a good investment. We bake a lot so it is so handy and we love our mixer.
- Cool Completely – Make sure the cake is really cool before icing. I use a set of these baking racks and they are great!
- Leveling Cakes – After baking your cakes, they may have a dome on the top. I like to slice off the top so that the cakes stack evenly. This makes it easy to frost and looks so beautiful displayed.
- Room Temperature Ingredients – Before planning on making this cake, we like to set out the ingredients to bring them to room temperature. The ingredients mix better when they are at room temperature.
- Laying Cake – When placing your cakes on top of each, make sure you are gentle with them. They can break easily as the cakes bake up soft and moist.
- Springform Pan – We recommend using a springform pan when making the cheesecake.
- Cheesecake – Allow cheesecake to sit in oven with door closed after baking for about 20 minutes.
- Red Velvet Cake – We did not add anything to the cake mix, but for a creamier texture, add in sour cream. There is no need to add in cocoa powder or red food coloring when using a red velvet cake mix.
Frequently Asked Questions
If you do decide to freeze the cheesecake, freeze the entire cheesecake as a whole. Make sure to wrap in plastic wrap and then in foil and place in a freezer safe bag. If stored properly in the freezer, the cake will last about a month.
We love to make cream cheese frosting with making a red velvet cake. It combines all the sweet, tangy, and creamy flavors that goes perfectly with a red velvet cake.
It is also easy to make with simple ingredients.
More Cheesecake Recipes
- No Bake Blueberry Cheesecake Recipe
- Chocolate Chip Cookie Cheesecake Recipe
- Easy No Bake Cheesecake Recipe
- Strawberry Cheesecake Tacos
Make this Red Velvet Cheesecake Cake recipe. Please leave a comment and star recipe rating once you make it.

Cheesecake Factory Red Velvet Cheesecake
Ingredients
For the Red Velvet Cake:
- 1 box Red Velvet Cake Mix (15 oz)
- Ingredients to prepare the cake based on the package instructions.
For the Cheesecake Layer:
- 16 oz cream cheese softened at room temperature
- 1 cup Granulated Sugar
- 2 Tbsp cornstarch
- 3 large Eggs
- 1 Tbsp Vanilla Extract
- 1/4 cup Heavy Whipping Cream
For the Cream Cheese Frosting:
- 2 8- oz packages of cream cheese softened at room temperature
- 6 cups powdered sugar sifted
- 1 cup unsalted butter
- 2 tsp Vanilla Extract
- For Garnish:
- White Chocolate
See how we calculate recipe costs.
Instructions
For the Red Velvet Cake:
- Prepare the red velvet cake based on the package instructions in 2 9” cake pans.
- Bake them based on the instructions until the cakes are just starting to pull away from the pans.
- Allow the cake to cool in the pans for 10-15 minutes, then transfer them to a wire rack to cool completely.
For the Cheesecake:
- Preheat the oven to 325 degrees F and line the bottom of a 9-inch springform pan with parchment paper and spray the sides of the pan with a non-stick cooking spray.
- Using a hand held mixer or stand up mixer, beat the cream cheese until smooth and creamy. Then add in the heavy whipping cream and the vanilla extract. Reduce the speed on the mixer to low and then slowly add in the eggs one at a time until they are all combined.
- Keep the mixer on low and then slowly add in the sugar and cornstarch. Increase the speed on the mixer and mix for 2-3 minutes until smooth.
- Pour the cheesecake batter into the springform pan. Bake at 325 degrees F for 40 minutes.
- Then turn the oven off, do not open the door and let the cheesecake sit in the oven for an additional 20 minutes.
- Allow the cheesecake to cool on a wire rack and then place the cheesecake in the freezer for 1 hour.
For the Frosting:
- In a large bowl, beat the cream cheese for the frosting until smooth.
- Then add in the butter and continue to mix until creamy.
- Gradually add in the powdered sugar (1 cup at a time), mixing between each addition until smooth.
- Then stir in the vanilla extract.
To Assemble the Cake:
- Cut the round portion of the cakes off the top of the red velvet cakes with a serrated knife to make the cakes level.
- Place 1 of the red velvet cakes on a serving platter or cake stand. Then top it with the cream cheese frosting.
- Carefully remove the ring from the springform pan and flip the cheesecake upside down onto the frosted layer of the red velvet cake. Then remove the bottom of the springform pan and the parchment paper.
- Top the cheesecake layer with cream cheese icing as well. Place the 2nd red velvet cake on top and evenly spread the remaining frosting on the top and the sides of the cake.
- Shave the white chocolate and place the white chocolate shavings onto the sides of the cake.
- Cover and chill the cake until you are ready to serve and enjoy!
