
Cherry Yum Yum has rich and delicious layers of cream cheese, graham crackers, and cherry pie filling. This classic Southern dessert costs about $8.74 for the entire recipe, or just $0.73 per serving, making it an affordable treat for potlucks, holidays, and church suppers.

My family loves desserts that are easy to share, and Cherry Yum Yum is a great choice for family dinners and holiday gatherings. I enjoy making it ahead of time, so dessert is ready to serve when everyone gathers around the table.
Why You’ll Love This Recipe!

- Classic layered dessert. Cherry Yum Yum has a buttery graham cracker crust, fluffy cream cheese filling, and sweet cherry pie filling.
- Easy to make. The crust bakes for just 10 minutes, and the remaining layers require no baking.
- Crisp graham cracker crust. A quick bake helps the crust hold together and adds a nice texture.
- Easy to customize. Swap the cherry pie filling for blueberry or another favorite fruit filling.
- Great for sharing. This 9×13-inch dessert makes 12 servings for family dinners, potlucks, and holidays.
After years of baking for my family and sharing desserts at gatherings, I’ve found that layered desserts are always a welcome addition to the table. I like how this Cherry Yum Yum combines a crisp graham cracker crust with creamy filling and sweet cherries for a dessert that looks beautiful when sliced.
You may also like to try Cherry Strudel Recipe and Cherry Cheesecake Tacos.
Ingredients
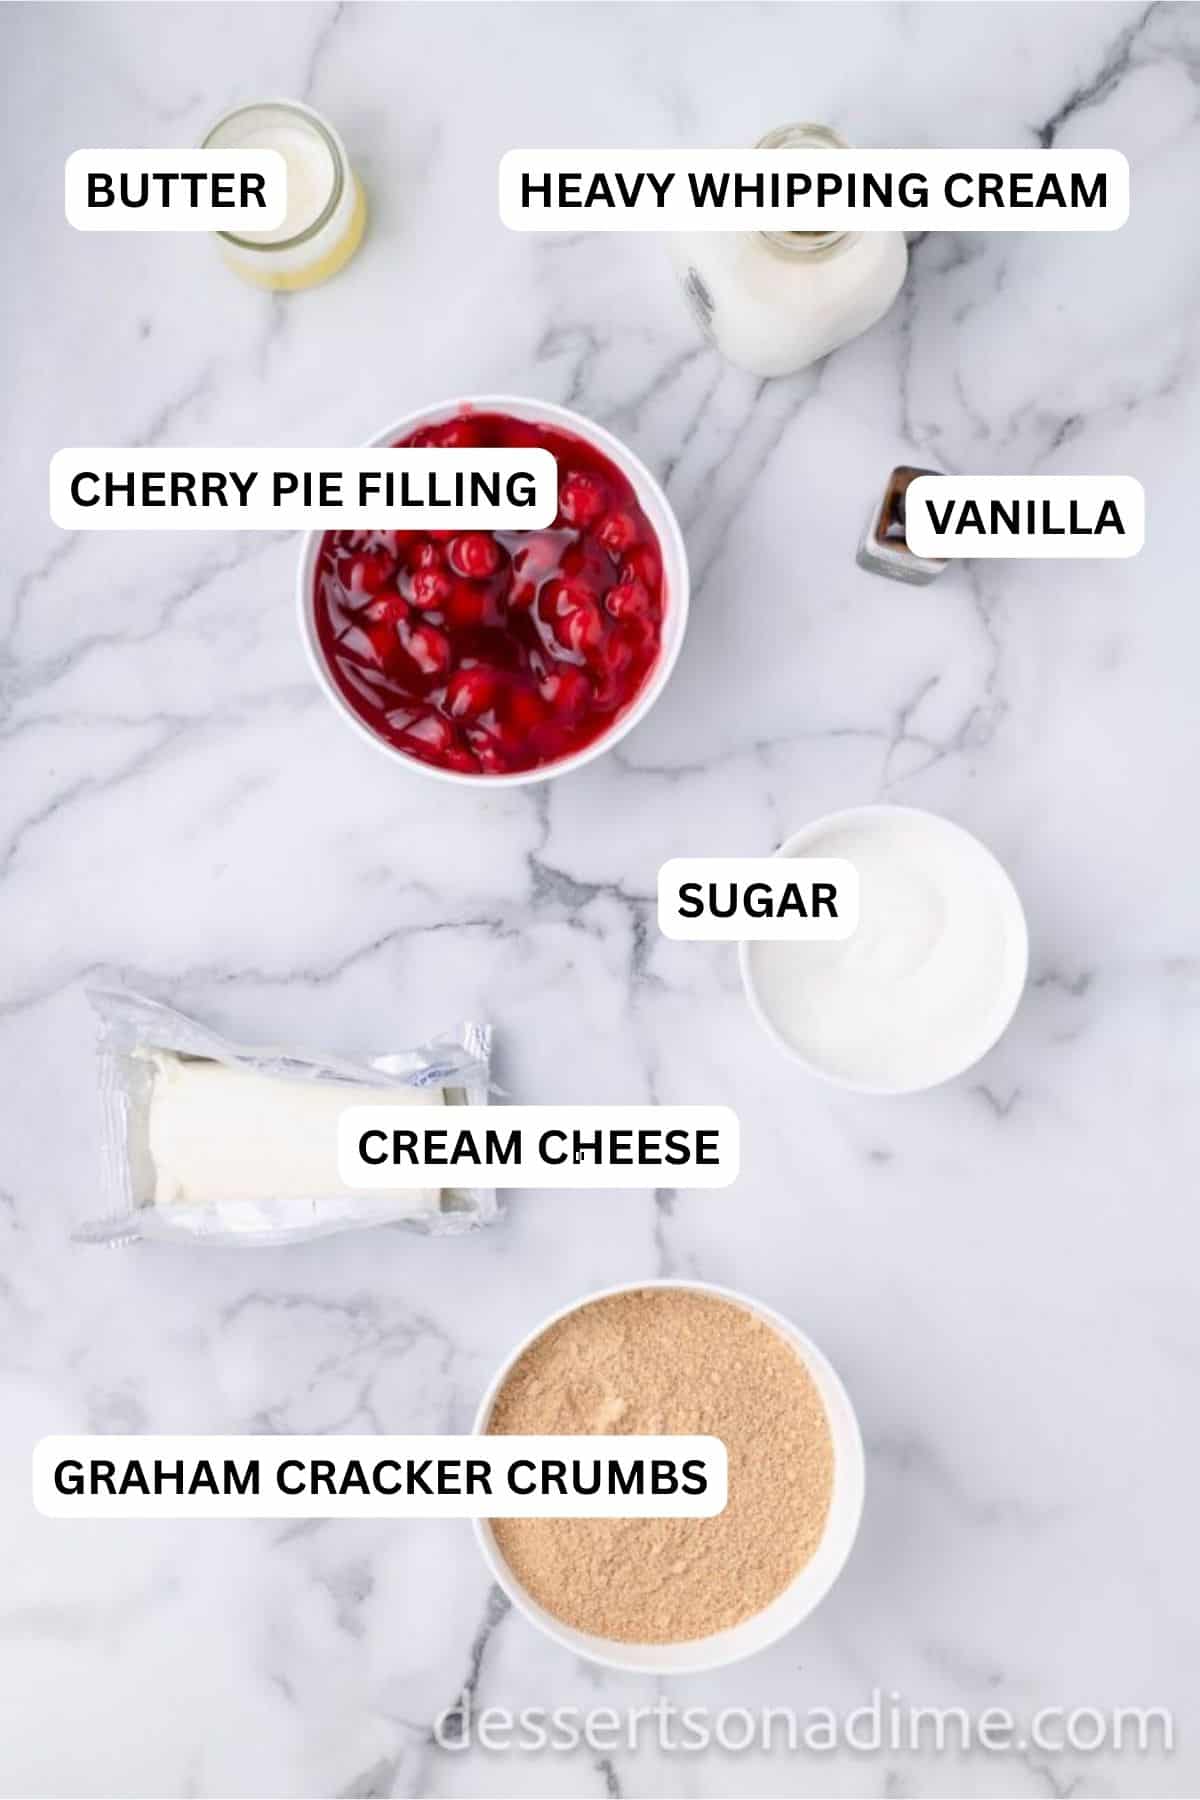
Crust
- Graham Cracker Crumbs. Buy them already crushed, or crush about 12 full sheets. Save 2 tablespoons for the top.
- Butter. Melted butter holds the crumbs together into a crisp crust
Filling
- Cream Cheese. Soften it at room temperature so the filling is smooth with no lumps.
- Sugar and Vanilla. Sweeten the cream cheese layer.
- Heavy Whipping Cream. Whipped until stiff, it makes the filling light and fluffy. Keep it very cold so it whips up fast.
- Cherry Pie Filling. One 21-oz can. Store-bought works great or use our Homemade Cherry Pie Filling.
You can find the complete ingredient list at the bottom in the recipe card.
Step By Step Instructions

Step 1. Preheat the oven to 350°F. Set aside 2 tablespoons of graham cracker crumbs for the top. Stir the rest of the crumbs with the melted butter until it looks like wet sand.

Step 2. Press the crumb mixture firmly into the bottom of a 9×13 baking dish. Bake for 10 minutes, then let it cool completely before adding the filling.

Step 3. Stir together the cream cheese, sugar, and vanilla extract in a large bowl with an electric mixer. Beat for 1 minute at medium-high speed.

Step 4. Get out a separate bowl that is chilled. Add the heavy cream and beat with an electric hand mixer or stand mixer until stiff peaks form.

Step 5. Gently fold the whipped cream into the cream cheese mixture with a spatula until no streaks remain. Folding (instead of beating) keeps it light and fluffy.

Step 6. Carefully spread half of the mixture over the cooled crust. It needs to be completely cool so you don’t ruin the crumb layer underneath.

Step 7. Top the cream cheese layer with the cherry pie filling.

Step 8. Finally, add the remaining cream cheese and whipped cream mixture on top.

Step 9. Spread out the cream cheese layer. Then sprinkle with the reserved graham cracker crumbs.

Step 10. Cover and refrigerate at least 4 hours, or overnight for the best flavor and cleanest slices.
Pro Tips
- Soften the cream cheese all the way. If it’s even slightly cold, you’ll get small lumps that won’t beat out once the whipped cream goes in. Cutting it into cubes helps it soften faster.
- Fold, don’t beat. Once the whipped cream goes in, switch to a spatula. A mixer knocks out the air and leaves a runny filling.
- Chill fully before slicing. Four hours is the minimum. If your first slice slumps, give it another hour or two.
- Taking it to a potluck? Keep it in the fridge until you leave and cover it with a lid or foil. It’s a cream dessert, so don’t leave it sitting out for more than 2 hours.
Heavy Cream, Cool Whip, or Dream Whip?
- Heavy cream (our recipe): Fresh, rich flavor. Whip 2 cups cold heavy cream to stiff peaks and fold it in.
- Cool Whip: The easiest shortcut. Skip the heavy cream and fold in one 8-oz tub of thawed Cool Whip.
- Dream Whip: The old-fashioned version many people grew up with. Beat 2 envelopes Dream Whip with 1 cup cold milk until fluffy, then beat in the cream cheese mixture.
All three make a fluffy, sliceable filling. Pick the one that fits your budget and what’s in your fridge.
Variations
- Change the Pie Filling. Replace the cherry pie filling with blueberry, strawberry, peach, or apple pie filling for a different flavor.
- Use Almond Extract. Substitute almond extract for the vanilla extract to add a sweet, nutty flavor that pairs well with the cherries.
- Add Chopped Nuts. Stir chopped pecans or walnuts into the cream cheese filling or sprinkle them over the top for extra crunch.
- Try a Chocolate Crust. Use chocolate graham crackers in place of regular graham crackers for a chocolate twist.
- Make Individual Desserts. Layer the crust, cream cheese filling, and cherry topping in small dessert cups or jars for individual servings.
- Add Fresh Fruit. Top the finished dessert with fresh cherries, sliced strawberries, or blueberries just before serving.
- Make a Mixed Berry Version. Combine blueberry and strawberry pie fillings for a colorful fruit layer.
Frequently Asked Questions
Cover the dish with plastic wrap or foil and refrigerate up to 3 days.
Only the crust has to bake. Everything else is completely no bake.
Yes and I actually prefer it made in advance. It needs at least 4 hours to chill and overnight is even better. I almost always make it in advance to save time and it tastes better too.
You can freeze it for up to a month in an airtight container and thaw it overnight in the fridge. The cream layers hold up well, but the cherry filling can get a little watery after thawing, so it’s best served within a day.
Yes. Halve every ingredient for an 8×8 or 9×9 pan, and use about half a can of cherry pie filling. You can also layer it in small cups or jars for individual servings.
A 9×13 won’t fit a store-bought pie crust, but you can split the filling between two 9-inch graham cracker crusts. Skip the baking step and go straight to the filling.
More Cherry Desserts


This decadent Cherry Yum Yum is a must try recipe. Once you make it, please come back and leave a star rating and comment.

Cherry Yum Yum
Ingredients
For the Crust:
- 1 ½ cups graham cracker crumbs divided
- 6 tablespoons unsalted butter melted and slightly cooled
For the Filling:
- 8 ounces cream cheese, softened at room temperature
- 2 cups Heavy whipping cream, chilled
- 21 oz. cherry pie filling
- 1 teaspoon vanilla extract
- ½ cup granulated sugar

See how we calculate recipe costs.
Instructions
- Preheat the oven to 350 degrees Fahrenheit.
- Combine melted butter and graham cracker crumbs (reserve 2 tablespoons for topping) in a medium bowl, then mix well.
- Press the crust mixture into the bottom of the 9X13 baking dish. Bake the crust for 10 minutes. Let the crust cool completely before topping with the filling mixture.
- Combine the cream cheese, sugar, and vanilla extract in a large bowl with an electric mixer. Beat for 1 minute at medium-high speed.
- Add the heavy cream to a separate chilled bowl and beat with an electric mixer until stiff peaks form. Then gently fold the whipped cream into the cream cheese mixture.
- Evenly spread half of the cream cheese mixture over the cooled crust without ruining the crumb layer underneath.
- Over the layer of cream cheese, spread the cherry pie filling. Add the remaining cream cheese and whipped cream mixture on top. Then sprinkle with the reserved graham cracker crumbs.
- Cover and chill for at least 4 hours or overnight.
- Slice, serve and enjoy!
