
This yummy recipe makes it easy to enjoy a Starbucks Marshmallow Dream Bar any day of the week — for a fraction of what you’d pay in the store. A single bar at Starbucks runs about $2.50, and this recipe makes an entire 9×13 pan of them for around $4.45 total. That’s roughly 12 bars for less than the price of two.
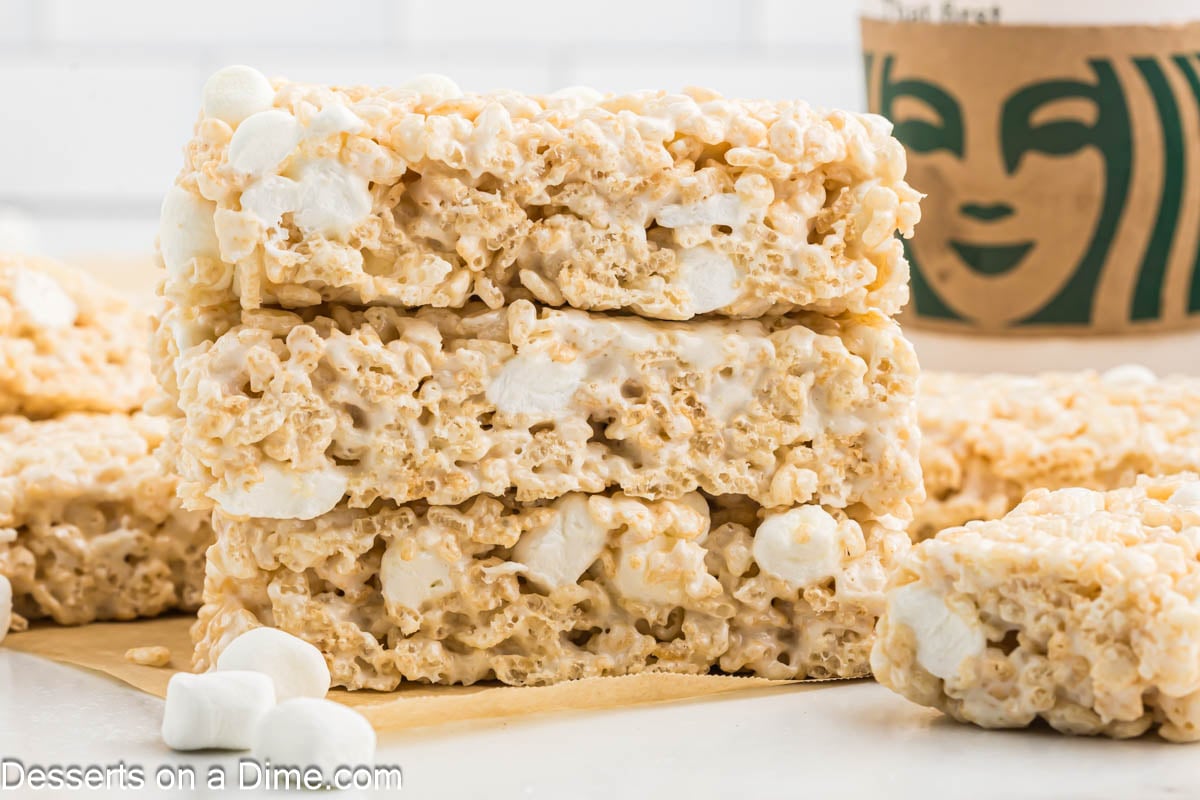
The trick that makes these taste like the real thing (not just a plain Rice Krispie treat) is folding in a handful of marshmallows that never get melted — they stay soft and gooey in every bite, just like the ones from the store. These are perfect for lunch box treats, an after-school snack, or dessert any night of the week.
Why You’ll Love This Recipe!

- Just 5 ingredients – Butter, corn syrup, Rice Krispies, marshmallows, and vanilla — probably already in your kitchen
- No oven needed – Everything happens in one pot on the stove
- Tastes like the real thing – The extra unmelted marshmallows fold in just like the Starbucks version
- Great for lunch boxes – Cuts into neat squares that hold up well packed for school or work
- Stays soft, not hard – Using medium-high heat (not high) and not overpacking the pan keeps these from turning into a dense, hard block
After years of baking for my family and keeping 8 kids happy with plenty of sweet treats, I’ve learned that making favorites at home can save a lot of money. These homemade Starbucks Marshmallow Dream Bars are a fun copycat treat for $0.37 per bar that gives you that chewy, gooey marshmallow goodness without having to make a trip to Starbucks.
You may also want to try making Starbucks Lemon Cake Pop Recipe, Starbucks Brownies Recipe and Starbucks Pumpkin Scones Recipe.
Ingredients
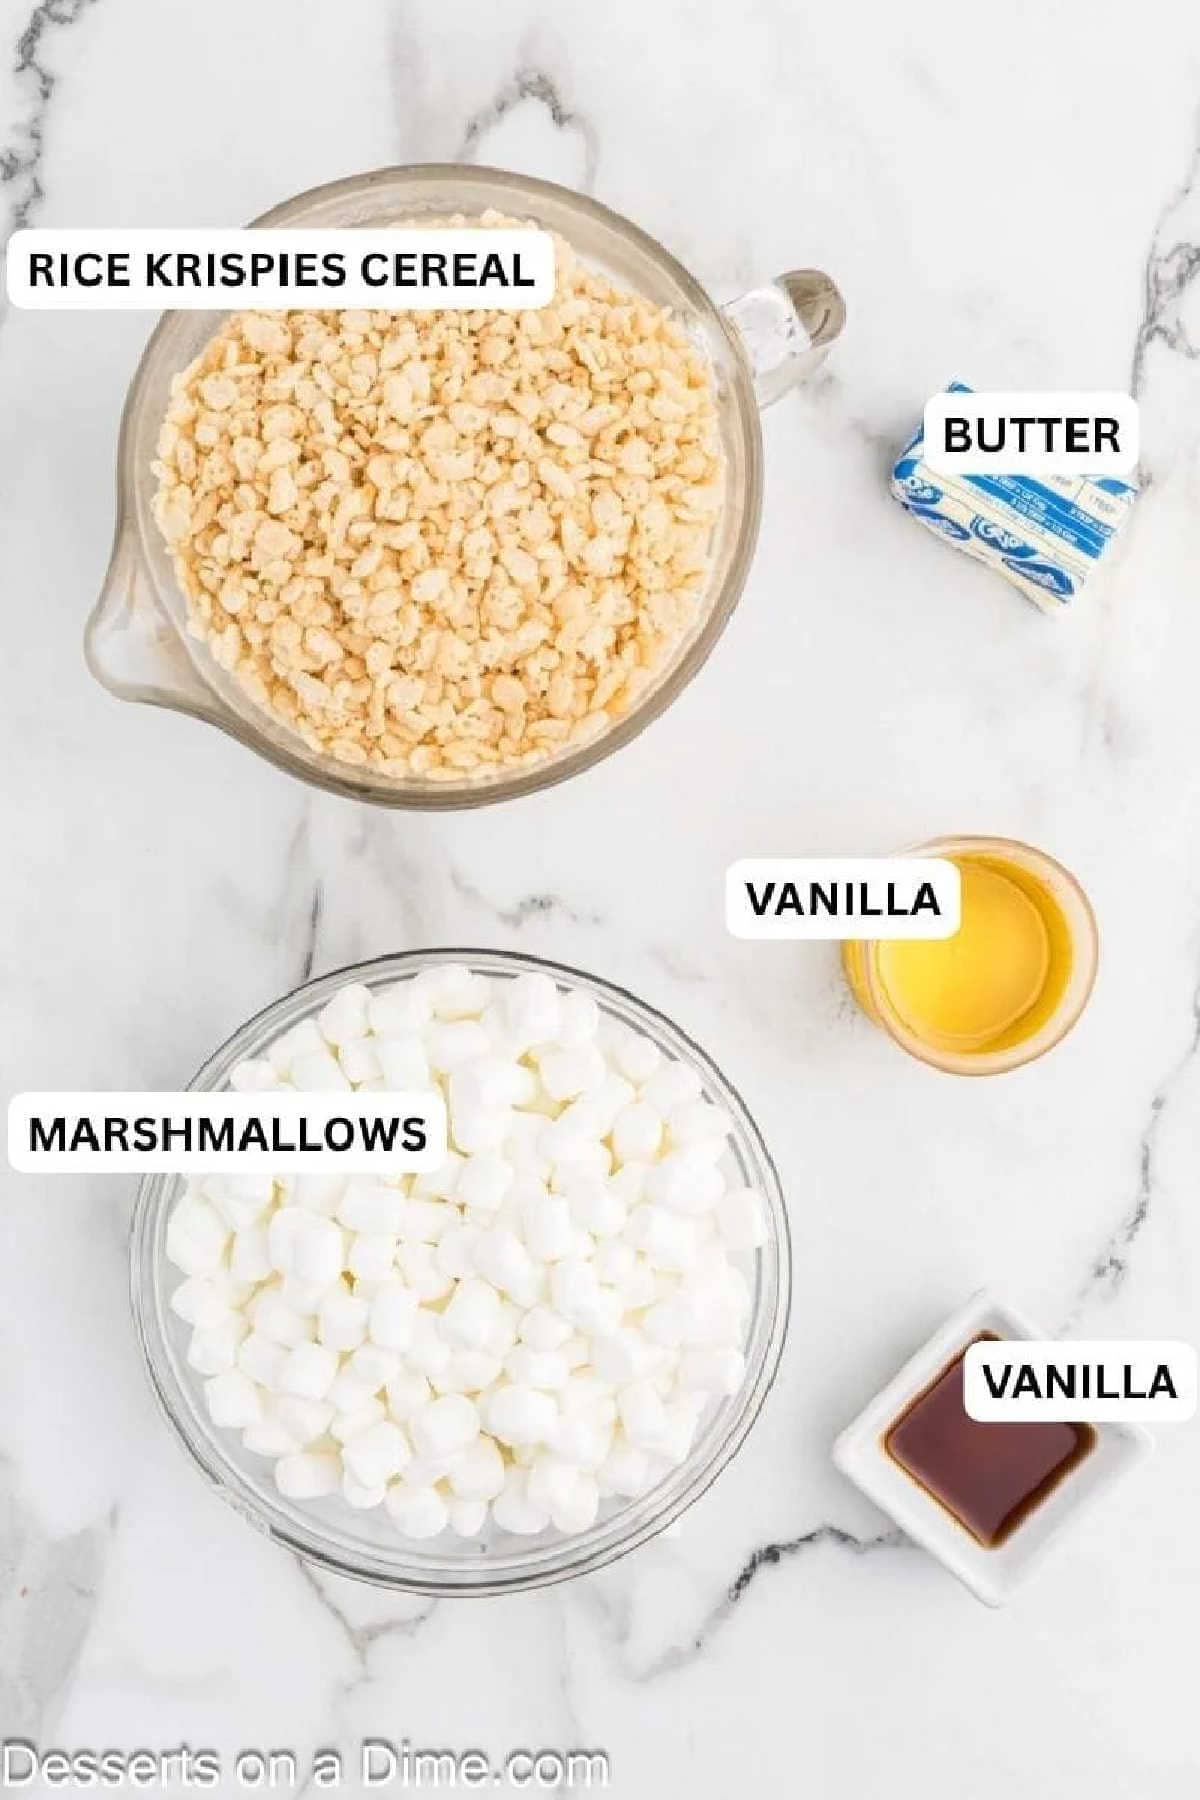
- Corn Syrup. This is the secret to keeping these bars soft and chewy for days instead of turning hard and dry — several copycat versions skip it entirely, but it’s a big part of why this one holds up better than a basic Rice Krispie treat.
- Unsalted Butter. Lets you control the salt in the recipe; if you only have salted butter, that’s fine too, just skip adding any extra salt.
- Rice Krispies Cereal. It needs to be fresh for best taste and texture.
- Mini marshmallows, divided. Melting most of them creates the base, while folding in the reserved marshmallows raw is what gives you those soft, gooey pockets in every bite.
- Pure Vanilla Extract. Rounds out the sweetness; imitation vanilla works in a pinch, but pure vanilla gives the best flavor.
Find the entire ingredient list at the bottom of the page.
Step By Step Instructions
Step 1. Prepare the baking dish. Grease a 9X13 baking pan and then set aside.

Step 2. Melt the butter and corn syrup together over medium-high heat, stirring until the mixture is smooth and combined.

Step 3. Add the marshmallows (reserving the rest for later) and stir constantly until they’re fully melted and the mixture looks glossy and smooth, with no lumps.

Step 4. Work quickly here — the mixture starts to set up fast once it’s off the heat. Remove from the heat, stir in the vanilla extract, then immediately mix in the Rice Krispies cereal until everything is evenly coated. Fold in the reserved marshmallows last, working fast so they stay soft instead of melting into the mix.

Step 5. Spread the mixture into the prepared pan. I like to use a piece of wax paper to press the Rice Krispies into the bottom of the pan. It is helpful to spray the wax paper with cooking spray so that it doesn’t stick. Allow to cool and cut into bars. You can also top with sea salt if desired.
Pro Tips
- Do not refrigerate the bars. They are best left to cool at room temperature so that they remain gooey and delicious!
- Don’t skip the extra marshmallows. This makes the recipe taste just like Starbucks.
- Fresh cereal and marshmallows. If you use cereal or marshmallows that are stale, it will make the texture hard.
- Don’t press the mixture too hard. Pressing hard pushes out the air pockets that keep these light and chewy — gently spread and pat the mixture into the pan instead of packing it down, or you’ll end up with a dense, tough bar instead of a soft one.
- For clean squares, use a knife sprayed with cooking spray (or run it under hot water and dry it off) between cuts — the marshmallow keeps things sticky otherwise.
- Making a bigger batch? This recipe doubles easily in a half sheet pan (13×18) — just note it may take a little longer to set fully at room temperature.
Storage
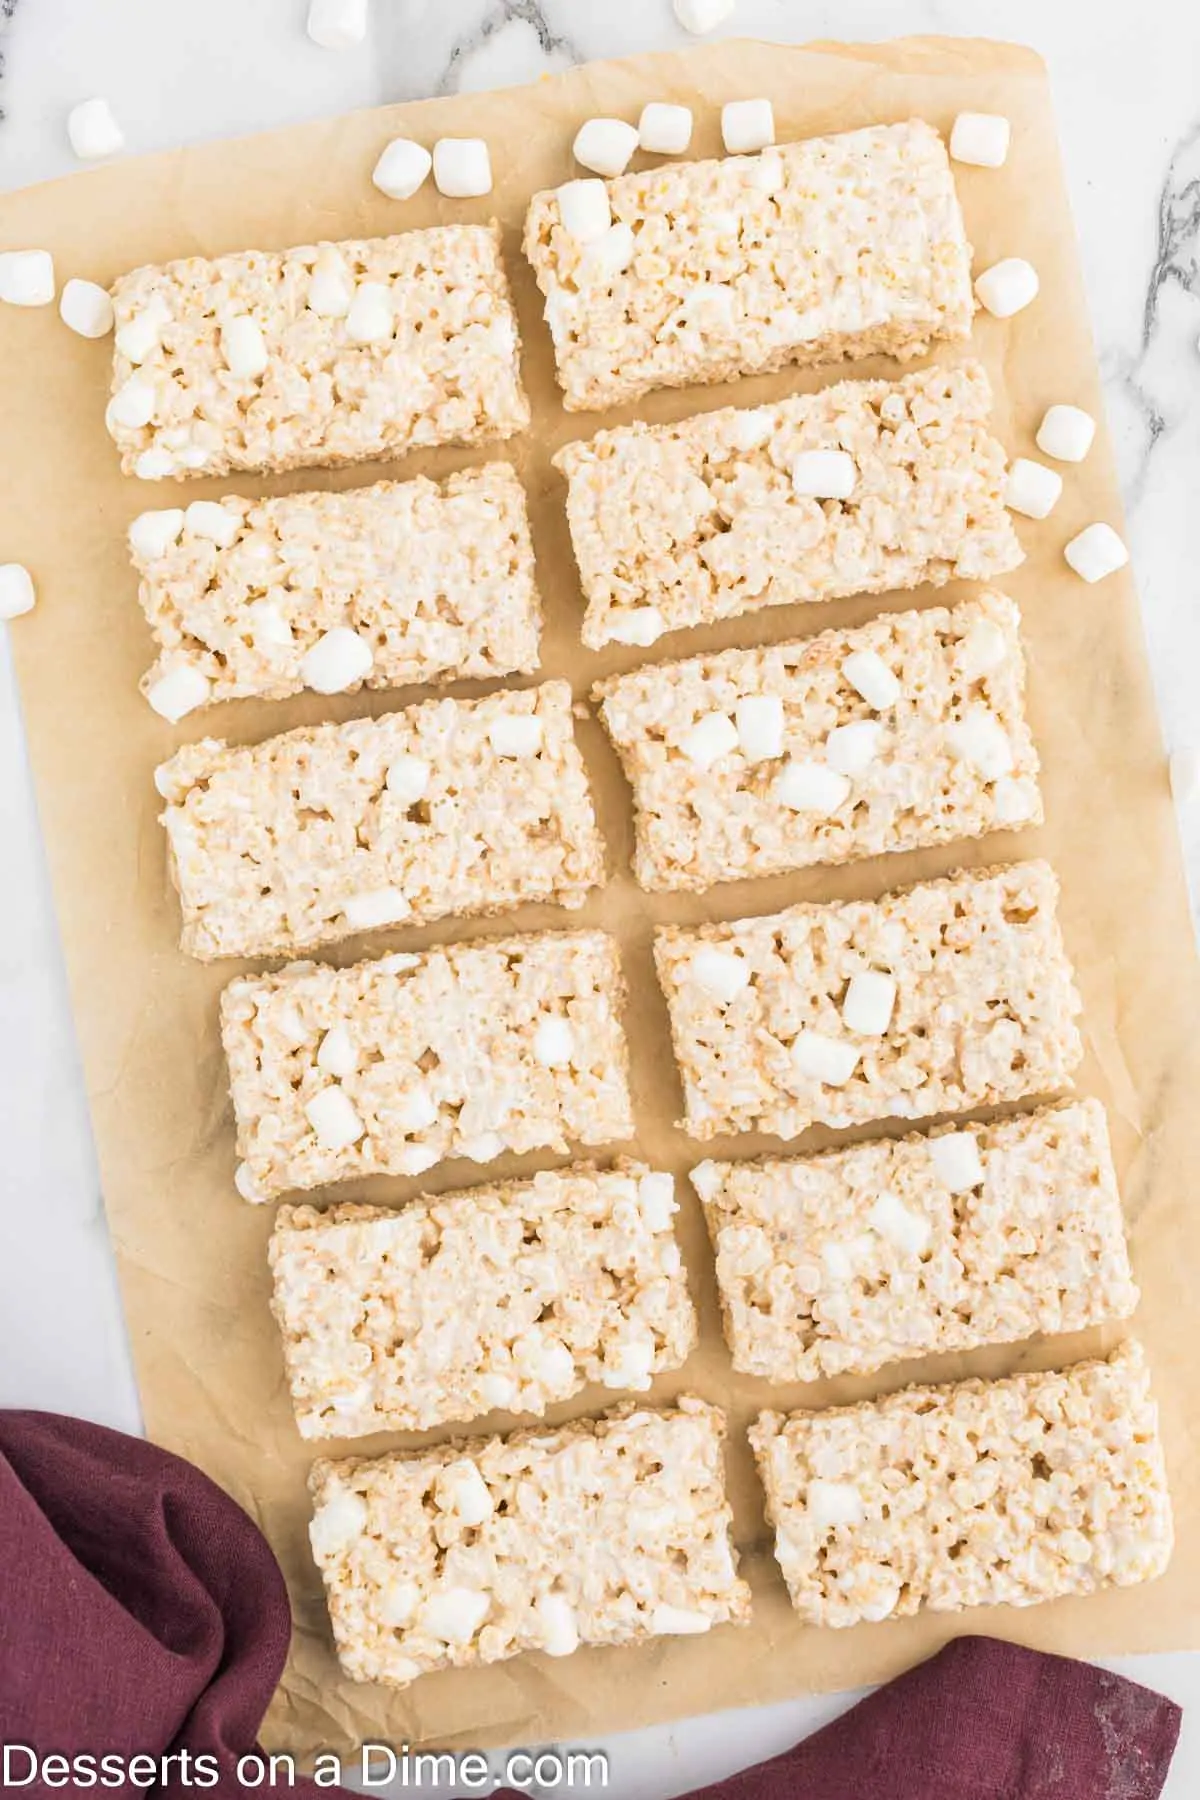
Store leftovers in an airtight container at room temperature for up to 2-3 days. Do not refrigerate — the cold makes the bars firm up and lose that soft, gooey texture. To freeze, wrap individual bars tightly in plastic wrap, place them in a freezer-safe bag or container, and freeze for up to 2 months. Let bars thaw at room temperature for about 30 minutes before serving.
The texture will be a touch firmer after freezing and thawing than it was fresh, but the marshmallow pockets stay soft — these are still great for lunch boxes even after a trip through the freezer.
FAQ
This usually means the mixture cooked a little too long, or the bars were pressed down too firmly into the pan. Stir just until everything is combined, and gently spread (don’t press) the mixture into the pan for the softest results.
Yes — wrap them tightly and freeze for up to 2 months. Let them thaw at room temperature for about 30 minutes before serving.
Yes, this recipe doubles easily in a half sheet pan (13×18 inches). It may take a little longer to fully set at room temperature.
Mini marshmallows melt more evenly into the butter mixture, so they’re the better choice here. If you only have large marshmallows, cut them into smaller pieces before melting so they melt at the same rate.
A standard box has about 10–12 cups of cereal, so one box covers the 6 cups this recipe needs with plenty left over for another batch or for snacking. If you’re doubling the recipe, one box should still be enough.
More Starbucks Copycat Recipes


Go ahead and make Starbucks Marshmallow Dream Bar recipe today. Then please leave a star recipe rating and comment.

Starbucks Marshmallow Dream Bar
Ingredients
- 1/2 cup Corn Syrup
- 4 Tablespoons Unsalted Butter
- 6 cups Rice Krispies Cereal
- 15 ounces Mini Marshmallows divided
- 1 1/2 teaspoon Pure Vanilla Extract

See how we calculate recipe costs.
Instructions
- Grease a 9X13 baking pan and set aside.
- Heat the butter and corn syrup in a large saucepan over medium high heat until the butter is melted and combined.
- Reserve approximately 6 ounces of mini marshmallows and pour the remaining marshmallows into the saucepan.
- Heat the mixture until the marshmallows are melted, stirring constantly.
- Remove the pan from the heat and stir in the vanilla extract.
- Stir in the cereal until combined.
- Then mix in the remaining mini marshmallows.
- Pour the mixture into the prepared pan. Use a piece of wax to press the Rice Krispies into the bottom of the pan. I spray the wax paper with a non-stick spray so that it doesn’t stick to the wax paper.
- Allow to cool completely before serving (approximately 1 hour). Then the dream bars are ready to slice, serve and enjoy!

So easy and love having them at home to save money!
The ingredients include vanilla extract, but the instructions doesn’t say when to add it. Is it still needed to replicate the Starbucks version?
Kristine – I’m so sorry for the confusion. That is a typo, vanilla extract is used in this recipe and is mixed into the marshmallow mixture before the cereal is added to give it that classic Starbucks Marshmallow dream bar flavor! I hope you try out the recipe and that you enjoy it!