
This easy Christmas Mints recipe is perfect for the holidays and so festive. They are smooth and creamy, and at just $0.56 per serving, they are an affordable addition to your dessert table.

Christmas is a busy time in our house, so I appreciate having a treat that can be prepared ahead of time and enjoyed throughout the holiday season. I especially like the red, green, and white colors because they make these little mints stand out among the other Christmas desserts.
Why You’ll Love This Recipe!

- Only 6 Ingredients. Simple ingredients make these mints easy to prepare.
- Rich and Creamy. Cream cheese and butter give them a smooth, creamy texture with refreshing peppermint flavor.
- No Mint Molds Needed. A fork is all you need to shape these festive mints.
- Festive and Fun. Red, green, and white colors make them stand out on any holiday spread.
- Easy to Make Ahead. Prepare them in advance to save time during the busy holiday season.
- Great for Gifting. Package them up for friends, neighbors, teachers, and family.
- Kid-Friendly. Rolling and shaping the mints is an easy kitchen activity for kids.
After years of creating recipes for my family, I know how valuable it is to have holiday treats that are easy to make and still feel special. These Christmas Mints have become a fun recipe to include when I’m putting together a variety of homemade sweets for the holidays.
You may also like to make Cream Cheese Mints and Butter Mints.
Ingredients
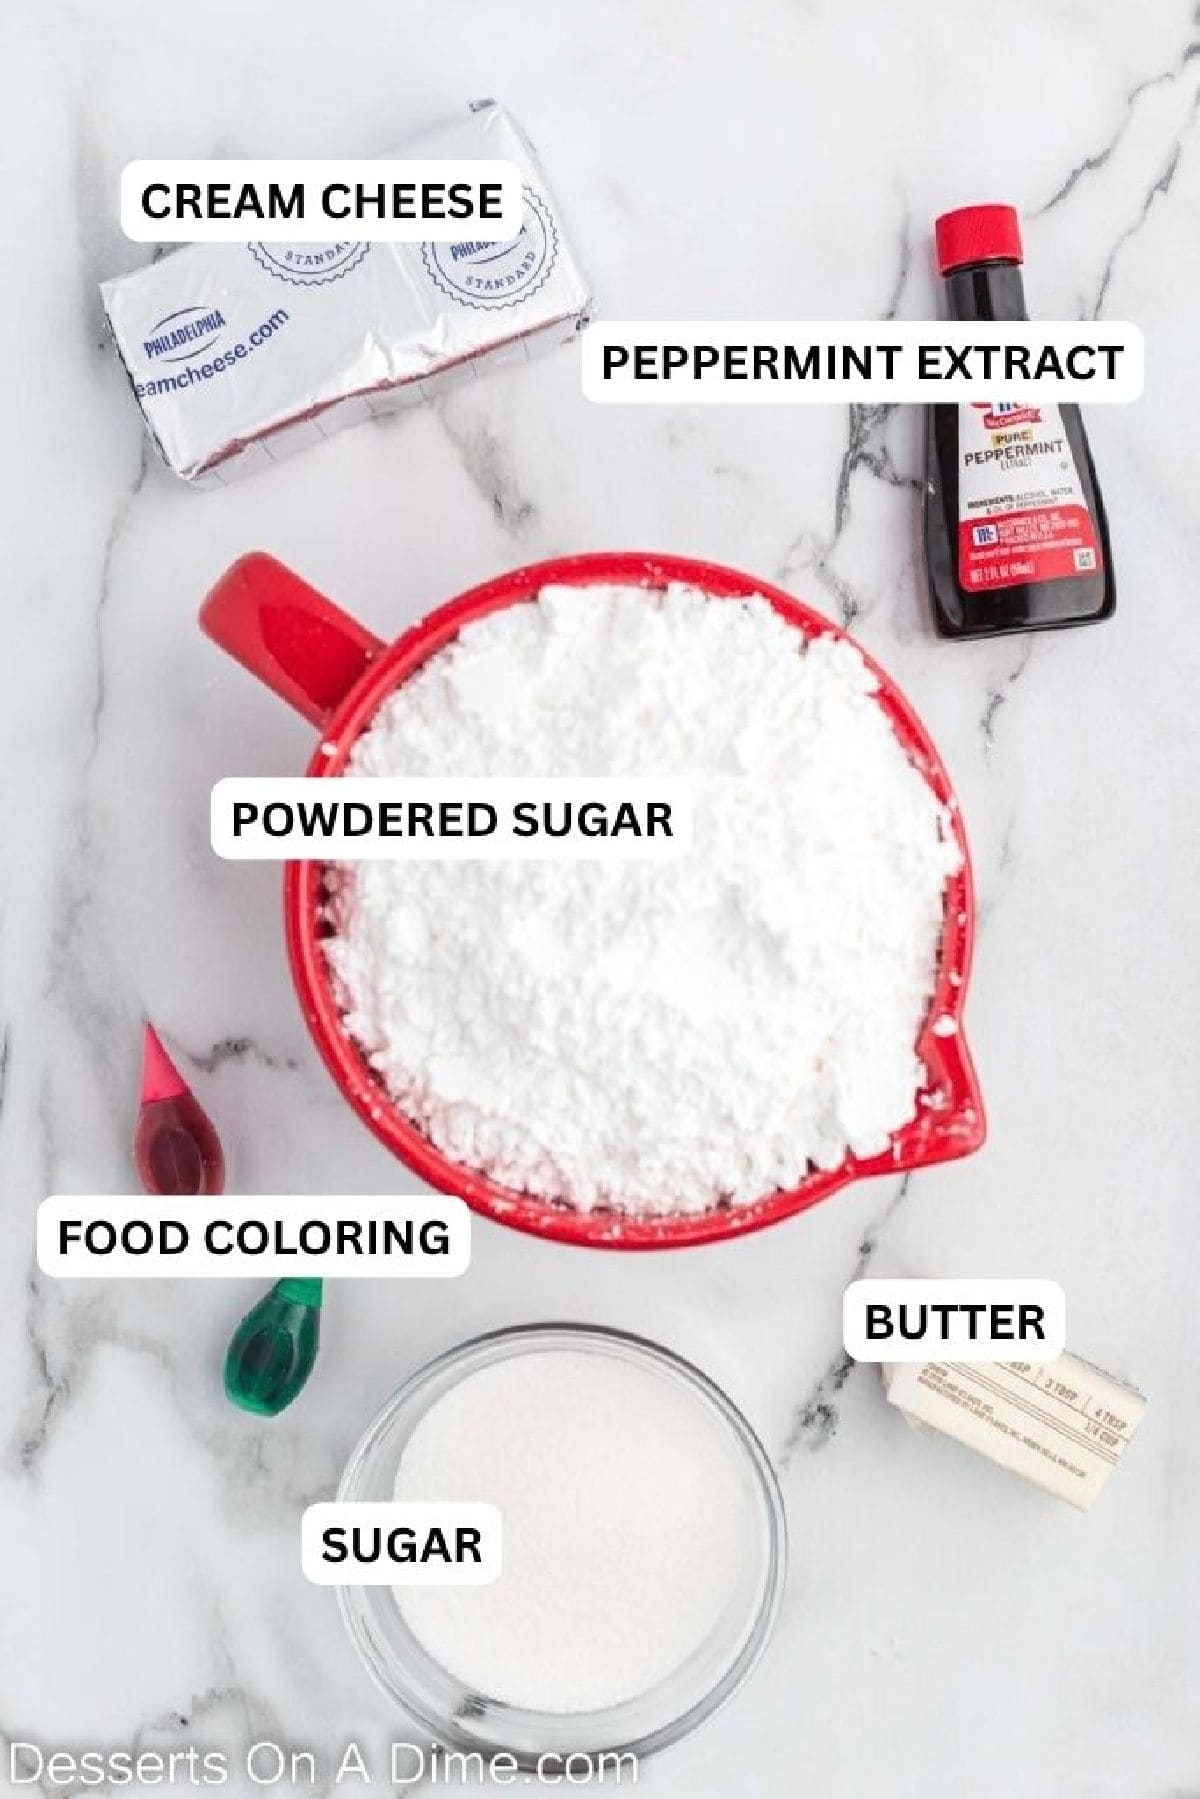
- Cream Cheese. Use full fat, softened at room temperature. Reduced-fat cream cheese has more moisture, which can make the dough too soft to hold its shape.
- Butter. Use unsalted butter softened to room temperature so it blends smoothly with the cream cheese. Soft butter also helps create a creamy, easy-to-mix dough.
- Powdered Sugar. Sift the powdered sugar before adding it to prevent lumps and create a smooth, creamy texture. It also provides the sweetness and structure needed to shape the mints.
- Peppermint Extract. A little peppermint extract adds the classic cool, refreshing flavor. Adjust slightly if you prefer a milder or stronger peppermint taste.
- Red and Green Gel Food Coloring. Gel coloring gives the mints their festive Christmas colors without adding extra moisture to the dough. Use as much as needed to reach your desired shade.
- Granulated Sugar. Used for rolling the mints and dipping the fork before pressing them down. It keeps the dough from sticking and adds a subtle sugary finish.
Find the complete ingredient list and instructions at the bottom of the post.
How to Make Christmas Mints

Step 1. Combine the cream cheese and butter in a mixing bowl with a hand mixer or stand up mixer. Combine until smooth and creamy in a large mixing bowl.

Step 2. Then add in 1 cup of the powdered sugar. And then add the peppermint extract. Continue until all the powdered sugar has been added. The dough should be thick and not sticky.

Step 3. Then divide the dough into 3 separate bowls. Add the red food coloring to one bowl, the green food color to another and then one white and mix well until you reach the desired colors. Roll into balls and place on the baking sheets.

Step 4. Dip the tongs of a fork in the sugar and then gently press the fork down onto each mint to flatten them out and make a pattern. Repeat until you have finished all the mints.

Step 5. Let the mints sit at room temperature until they have fully hardened.

Step 6. Serve and enjoy!
Pro Tips
- Use Gel Food Coloring. Gel coloring gives you vibrant colors without adding extra moisture to the dough, making it easier to work with.
- Use Peppermint Extract. Peppermint extract gives these mints their classic flavor. Avoid substituting mint extract, which has a different flavor and can taste more like toothpaste.
- Dip the Fork in Sugar. Coat the fork tines with granulated sugar before flattening each mint. This prevents sticking and adds a pretty sugary finish.
- Finish Mixing by Hand. If the dough becomes too thick for your mixer, use your hands to gently finish combining the ingredients.
- Soften the Cream Cheese and Butter. Let both come to room temperature before mixing so they blend smoothly and evenly.
- Don’t Add Too Much Food Coloring. Start with a small amount of gel coloring and add more as needed until you reach the shade you want.
Variations
- Extract. Swap the peppermint extract for another flavor to create a different twist. Vanilla, cherry, almond, or lemon are all fun options.
- Different Colors. Use any gel food coloring you like to match the occasion. Make pastel colors for Easter, school events, birthdays, showers, or other celebrations.
- Two-Tone Mints. Combine two colors of dough to create a fun swirled look for parties and special occasions.
- Sprinkles. Add a few holiday sprinkles to the tops of the mints for extra color and a festive finish.
What This Costs to Make for Gifting
This recipe makes a large batch of mints for the cost of a few pantry staples making it a fraction of what a similar quantity of store-bought peppermint patties or mints would cost. At just $5.55 for an entire batch, it makes it easy to package for several neighbors, teachers, or coworkers without stretching your holiday budget.
Frequently Asked Questions
Store in an airtight container in the refrigerator for up to 2 weeks, with a sheet of wax paper between layers so they don’t stick together. Let them sit at room temperature for a few minutes before serving so they soften slightly.
Place the mints inside a freezer container. Use layers of parchment paper in between the mints to prevent them from sticking.
The mints can be frozen up to 2 months. This is so helpful when preparing these for the holidays. You can make them ahead of time and thaw when ready to use.
No. These mints are shaped by hand and flattened with a fork, so no special molds are needed.
The cream cheese may have added extra moisture, or the dough may need more powdered sugar. Add powdered sugar gradually until the dough is thick and easy to shape.
Gel food coloring is recommended because it provides vibrant color without adding much moisture to the dough.
More Easy Christmas Desserts



If you make these Christmas Mints, I’d love to hear what you think! Leave a review and give the recipe a 5-star rating below, then let me know what colors you used for your mints.

Christmas Mints
Ingredients
- 8 oz Cream Cheese Softened at room temperature
- 4 Tbsp Butter Softened
- 9 cups Powdered Sugar sifted
- 2 tsp Peppermint Extract
- Red and Green Gel Food Coloring
- ½ cup Granulated Sugar for rolling the mints

See how we calculate recipe costs.
Instructions
- Cream together the cream cheese and butter with a hand held mixer or stand up mixer until smooth and creamy.
- Then add in 1 cup of the powdered sugar. Mix together until well combined.
- Then mix in the peppermint extract.
- Then place the mixer on low and gradually add in the remaining powdered sugar, 1 cup at a time, scraping down the sides of the bowl after each cup is added in. Continue until all the powdered sugar has been added. The dough should be thick (play-dough like consistency) and not sticky. If the dough is still sticky and not thick enough add in more powdered sugar.
- Then divide the dough into 3 separate bowls. Add the red food coloring to one bowl, the green to another and then one white and mix well until you reach the desired colors.
- Cover and refrigerate the dough for 2 hours.
- Then line 2 baking sheets with parchment paper or wax paper. Roll the dough in between your palms to form approximately 1 inch balls. Then place the balls on the baking sheets.
- Dip the tongs of a fork in the ½ cup granulated sugar and then gently press the fork down onto each mint to flatten them out and make a line pattern on the mints. Follow this process until all the mints are formed and keep dipping the fork in the powdered sugar when forming the mints.
- Then allow the mints to sit at room temperature until they have fully hardened (4-6 hours). They should be hard on the outside and soft on the inside.
- Store in an airtight container in single layers with a sheet of wax paper between each layer in the refrigerator for up to 2 weeks.
