
Skip the yellow box at the store — these Vanilla Wafer Cookies are ready in under 30 minutes with 8 ingredients you probably already have on hand. They’re crisp around the edges, buttery, and just sweet enough, whether you’re snacking on them straight off the cooling rack, layering them into banana pudding, or crushing them for a cheesecake crust.

If you love a good cookie jar staple, be sure to check out our other Vanilla Desserts — and if you’re craving something a little different, our Italian Cookies has been a family favorite for years.
Each bite offers a delicate vanilla flavor and satisfying crunch that everyone will love. Once you see how easy it is to make vanilla wafers, you will be hooked.
After more than 14 years of making recipes, I’ve learned that the best recipes are the ones that are simple enough to make on a busy day but delicious enough that everyone comes back for seconds. My 8 kids have always loved helping in the kitchen, and these cookies are the kind of recipe that makes baking together easy and fun. I also love making them for holiday parties, family gatherings, and anytime I need a simple homemade treat that everyone will enjoy.
Why You’ll Love This Recipe!

- Crisp, Classic Flavor – Lightly sweet with real vanilla flavor and the crisp edges of the cookie you remember from the yellow box
- Budget-Friendly – About $2.66 in pantry staples makes 24 cookies — a fraction of what a box costs at the store
- Versatile – Great for eating on their own or using in recipes like banana pudding or cookie crusts
- Easy to Make – Simple ingredients and straightforward steps make it beginner-friendly
- Homemade Touch – Freshly baked cookies have a flavor and aroma you can’t get from store-bought wafers
Homemade vs. the Box: The Real Savings
A standard 11-ounce box of Nilla Wafers typically runs about $4-$5 at the grocery store. This recipe uses about $2.66 worth of pantry staples — flour, sugar, butter, one egg, and vanilla — and makes 24 cookies you can size however you like. Double the batch on a weekend and you’ll have a full cookie jar, banana pudding wafers, and a cheesecake crust covered for the price of one box from the store.
Ingredients
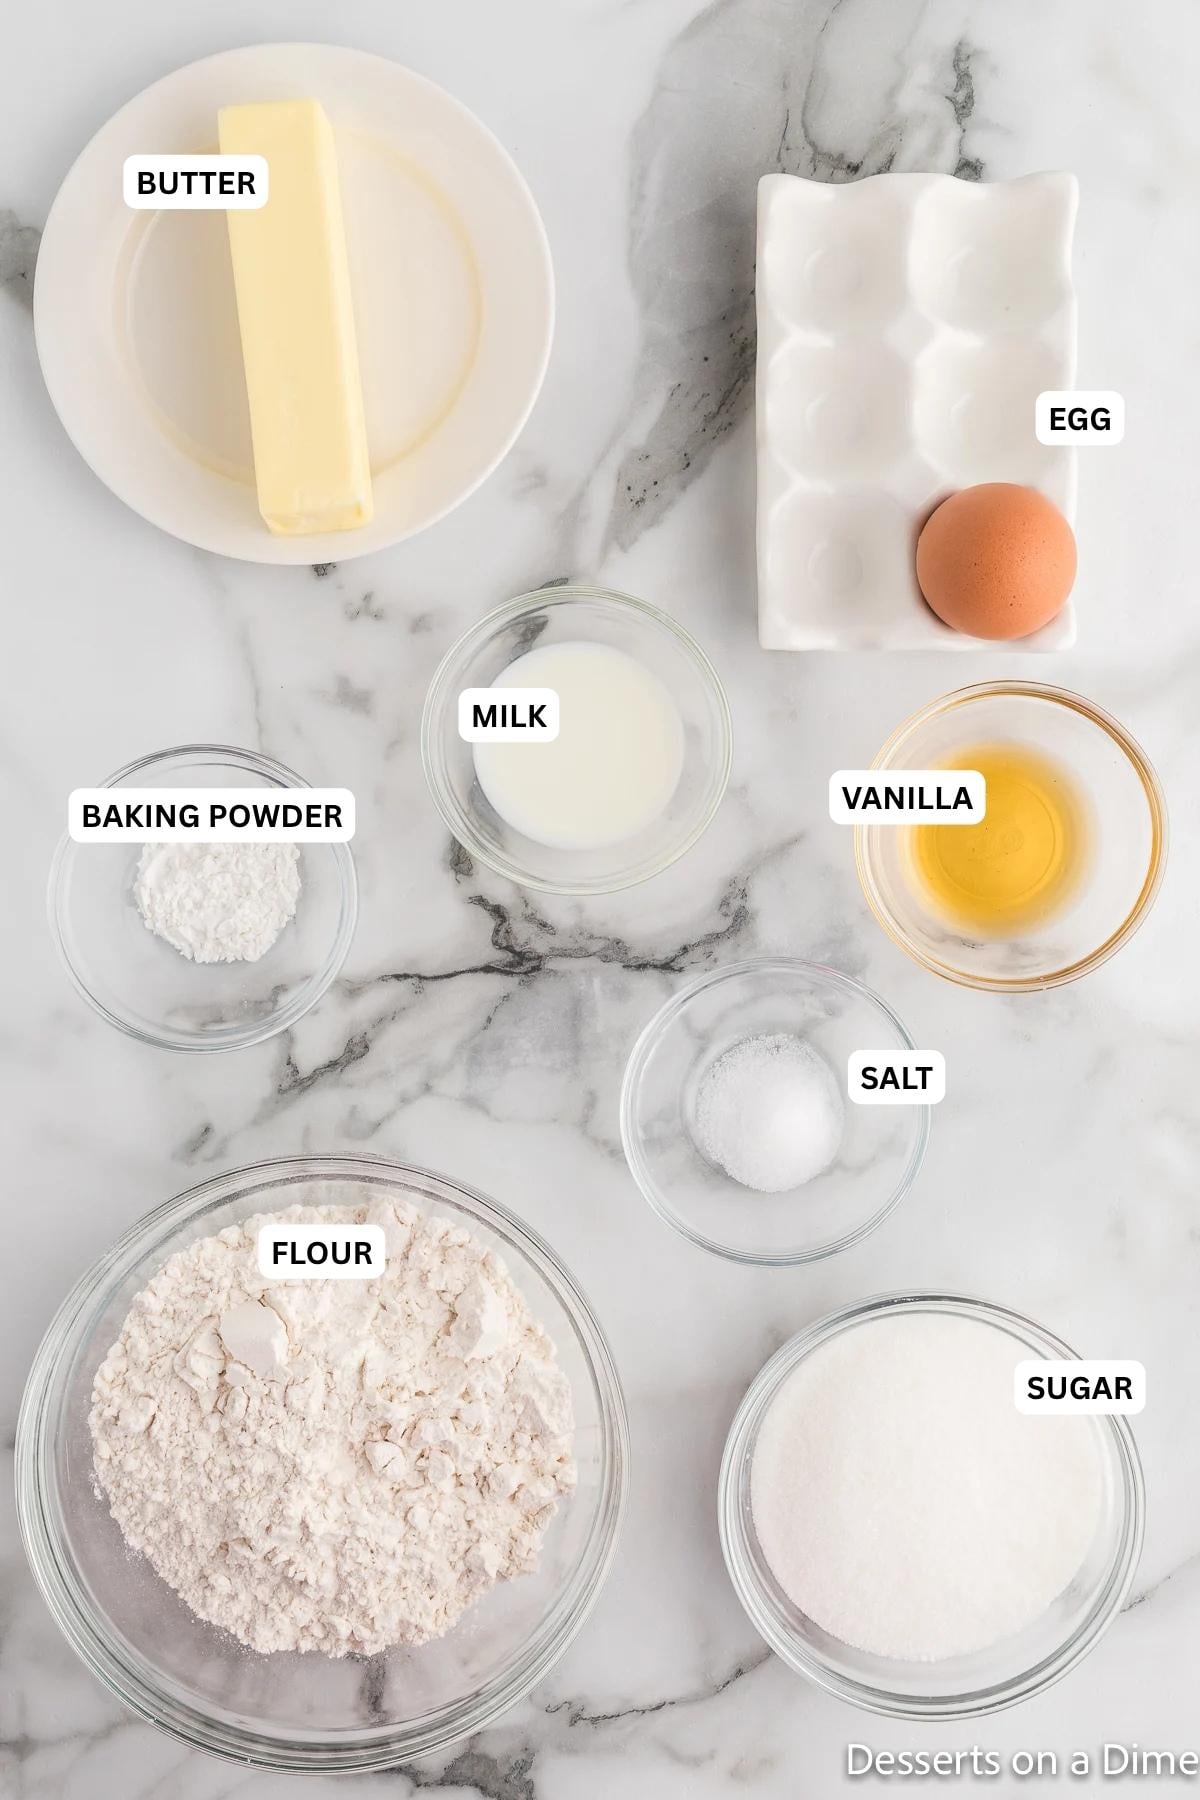
- All Purpose Flour. Spoon the flour into a measuring cup instead of scooping it. This helps to prevent excess flour getting packed into the cup. I recommend plain flour instead of cake flour for the perfect texture.
- Large Egg. It needs to be room temperature.
- Vanilla Extract. Use pure vanilla for best results.
- Unsalted Butter. Softened at room temperature.
- Milk. I prefer to use whole milk in this recipe.
- Budget Tip: No need to buy heavy cream for this recipe — a splash of whole milk gives these cookies the same crisp, buttery texture for a fraction of the cost. If all you have is 2% milk, that works too.
- Granulated Sugar. Sweetens the dough and helps the edges turn that classic light golden brown as they bake.
- Baking Powder. Gives these wafers just enough lift so they aren’t dense — you still want them thin, not puffy.
- Salt. Balances the sweetness so the vanilla flavor stands out instead of tasting flat.
Get the entire ingredients for this recipe at the bottom of the page.
How To Make Vanilla Wafer Cookies
Step 1. Preheat the oven. Set the oven to 350 degrees.

Step 2. Combine the softened butter and sugar in a bowl of a stand mixer.

Step 3. Beat together the butter and sugar in a large bowl. Use an electric hand mixer or stand mixer to beat until creamy on medium speed. Then add in the egg and vanilla extract.

Step 4. Get out a separate bowl for the dry ingredients. Whisk together the flour, baking powder and salt.
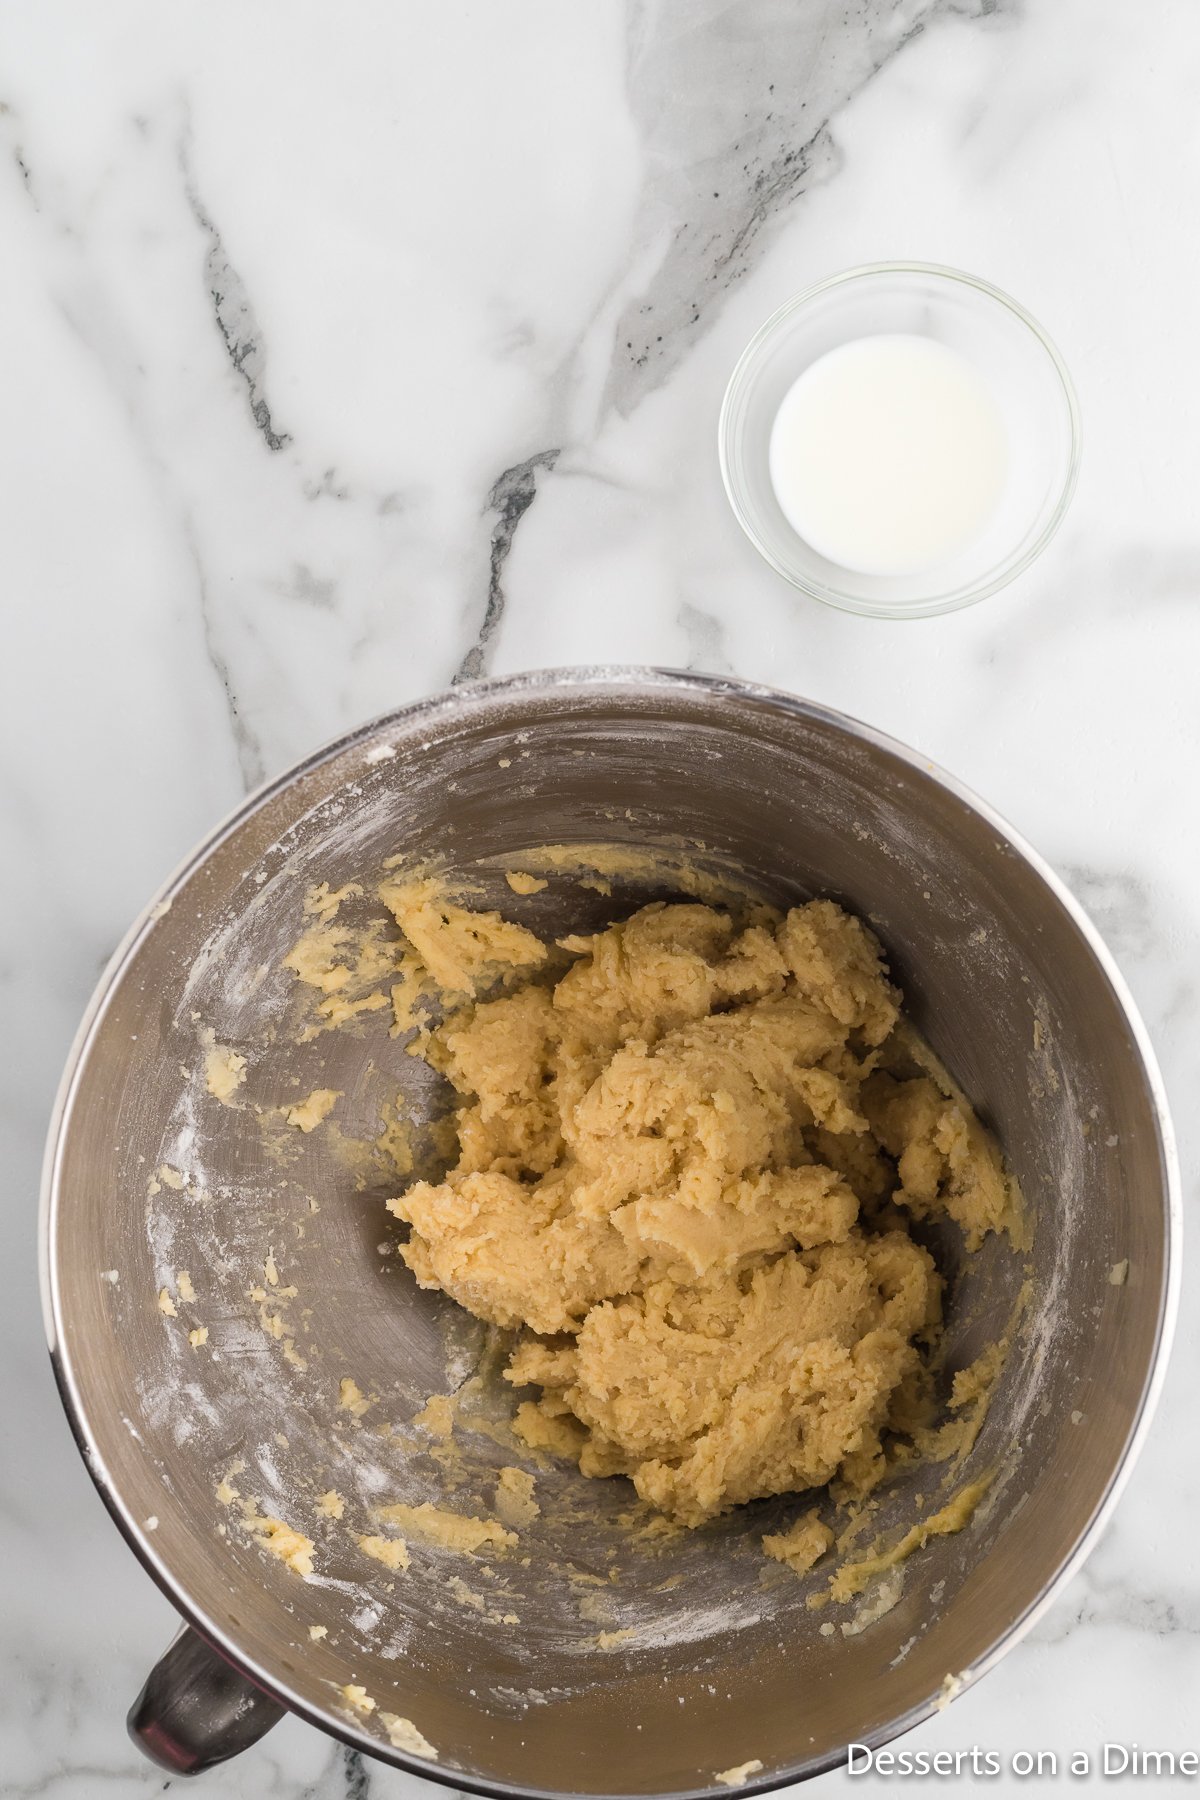
Step 5. Combine the flour mixture with the butter mixture. Be careful not to over mix the batter.

Step 6. Then add in the milk. Stir until the wet ingredients and dry ingredients are combined. Scrape down the sides of the bowl.

Step 7. Form the cookies with a cookie scoop. You can also pipe the dough into mounds using a piping bag, but I prefer using a cookie scoop.

Step 8. Gently flatten out the mounds with damp fingertips.

Step 9. Bake the cookies. Bake for 12 to 14 minutes until the edges of the cookies are a light golden brown. For a quick doneness check, flip one cookie over — the bottom should be deep golden too. If it’s still pale, give the pan another minute or two.

Step 10. Let the cookies cool on the baking sheet for 5 minutes. Then move them to a wire rack to cool completely.

Step 11. Finally, serve and enjoy!
Pro Tips
- Room temperature ingredients. Make sure the eggs are room temperature and the butter is softened at room temperature. The mixture will combine easier and have a smoother consistency.
- Vanilla. The vanilla is what gives these cookies their classic Nilla Wafer flavor — don’t leave it out or swap in a smaller amount.
- Double the recipe. If you plan to use some for snacking and baking, you might want to double the recipe.
- Prepare the baking sheet. Line the pan with parchment paper to make clean up easy.
- Chill the dough. It’s optional but you can chill the dough in the fridge for an hour before scooping if desired. This will help to prevent the cookies from spreading too much while baking.
- Baking more than one tray at a time? Rotate the sheets halfway through baking and swap their rack positions so both trays brown evenly — ovens often run hotter in the back or on one side.
Storage
Room Temperature: Store cooled cookies in an airtight container at room temperature for up to 1 week to maintain crispness.
Freezing (Baked Cookies): Let cookies cool completely, then place them in a freezer-safe bag or container for up to 3 months. Thaw at room temperature before serving.
Freezing (Unbaked Dough): See the Make-Ahead Dough Balls tip below to freeze the dough instead and bake fresh whenever you want warm cookies.
Avoid Moisture: Keep cookies away from humidity to prevent them from becoming soft or soggy.
Make-Ahead Dough Balls: Scoop and flatten the dough as directed, then freeze the unbaked cookies on a parchment-lined pan until solid, about 2 hours. Transfer the frozen dough balls to a freezer bag and freeze for up to 3 months. When you’re ready for fresh-baked cookies, bake straight from frozen at 350 degrees, adding 1-2 extra minutes to the bake time — no need to thaw first.

How To Serve Vanilla Wafer Cookies
- Snacks. Serve these cookies as a snack any day of the week. They are delicious as a lunchbox treat or an afternoon snack.
- Paula Deen Banana Pudding. Use the cookies in banana pudding and serve as a luscious dessert. If you’re making pudding, leave the wafers out uncovered overnight first — they’ll go slightly stale, which is actually what you want for the best texture once they’re layered in pudding.
- Banana Pudding Fluff. Top this dessert with homemade wafers. It will be so delicious.
- Eclair Cookies. This recipe is amazing already but homemade vanilla wafers will be so yummy.
- Banana Cream Cheesecake Bars. Use the wafers to make the pie crust.
- Kid-Sized Portions. For little hands and lunchboxes, use a 1-teaspoon scoop instead of a 2-teaspoon scoop and shave 1-2 minutes off the bake time. You’ll get smaller, extra-crisp wafers that are perfect for snack bags.
Troubleshooting Common Problems
- Cookies spread too flat. Your butter was likely too warm, or the dough sat out too long before baking. Keep the butter just softened, not melted, and bake as soon as the dough comes together.
- Cookies are pale and soft, not crisp. They probably need another minute or two in the oven — check that the bottoms are deep golden, not just the edges (see the Step 9 tip above).
- Cookies are dry or crumbly. Double check your flour measurement — scooping straight from the bag packs in extra flour. Spoon it into the measuring cup instead, as noted in the ingredient list.
- Cookies came out thick and cakey instead of thin and crisp. The dough wasn’t flattened enough before baking, or too much flour was packed into the measuring cup. Make sure you’re pressing the mounds down with damp fingertips in Step 8 until they’re noticeably flatter than a typical cookie dough ball — they won’t spread much more on their own once they hit the oven.
Frequently Asked Questions
This recipe makes about 24 cookies, which is close to what you’ll need for one batch of our Paula Deen Banana Pudding. If you’re making a bigger batch or a trifle-style dessert for a crowd, double this recipe so you’re not scrambling to make a second batch mid-recipe.
They’re a homemade copycat version with the same crisp, buttery vanilla flavor as the boxed cookies — just made with real ingredients you control, and without the preservatives.
Yes. Just leave out the added salt or cut it down to a pinch, since salted butter already brings some to the dough.
Yes! Scoop the dough into balls, freeze on a tray until solid, then transfer to a freezer bag for up to 3 months. Bake straight from frozen, adding 1-2 extra minutes.
Fun Ways to Change Up This Recipe
- Swap the extract. Use almond extract instead of vanilla for a completely different flavor.
- Roll in cinnamon-sugar. Coat the dough balls in a mixture of cinnamon and sugar before flattening and baking.
- Add mini chocolate chips. Fold ½ cup into the dough for a chocolate-vanilla twist.
- Dip them. Once cooled, dip half of each cookie in melted chocolate and let it set on parchment paper.
More Homemade Cookies Recipes



Bake a batch of these classic Vanilla Wafer Cookies today and enjoy their crisp, buttery goodness! Don’t forget to leave a star rating and comment to share how your cookies turned out.

Vanilla Wafer Cookies Recipe
Ingredients
- 1 1/2 cups All Purpose Flour
- 3/4 teaspoons Baking Powder
- 1 Large Egg room temperature
- 3/4 cup Granulated Sugar
- 1 Tablespoon Vanilla Extract
- 1/2 teaspoon Salt
- 1/2 cup Unsalted Butter softened
- 1 Tablespoon Milk

See how we calculate recipe costs.
Instructions
- Preheat the oven to 350 degrees F.
- Beat together the butter and sugar in a large bowl with a hand held mixer or stand up mixer until creamy. Then add in the egg and vanilla extract until combined.
- In a separate bowl, whisk together the flour, baking powder and salt.
- Slowly add the flour mixture to the butter mixture and mix on low speed until just combined. Be careful not to over mix.
- Then add in the milk and stir until combined.
- Scoop the cookie dough into 2 teaspoon size scoops onto a baking sheet at least 2 inches apart. Gently flatten out the cookies with damp fingertips.
- Bake for 12-14 minutes until the edges of the cookies are a light golden brown.
- Allow the cookies to sit on the baking sheet for 5 minutes. Then move them to a wire rack to cool completely. Enjoy!

I made these yesterday for my family, well all I can say. Yummy yum, not one biscuit left and have been asked to make more… absolutely delicious thank you for sharing your recipe
I’m so glad you enjoyed them! Thank you for sharing!