
These Christmas Cake Pops start with a boxed cake mix and get dipped in red, green, and white candy melts for a festive bakery-style treat. The whole batch costs about $14.54, or just $0.43 per cake pop.
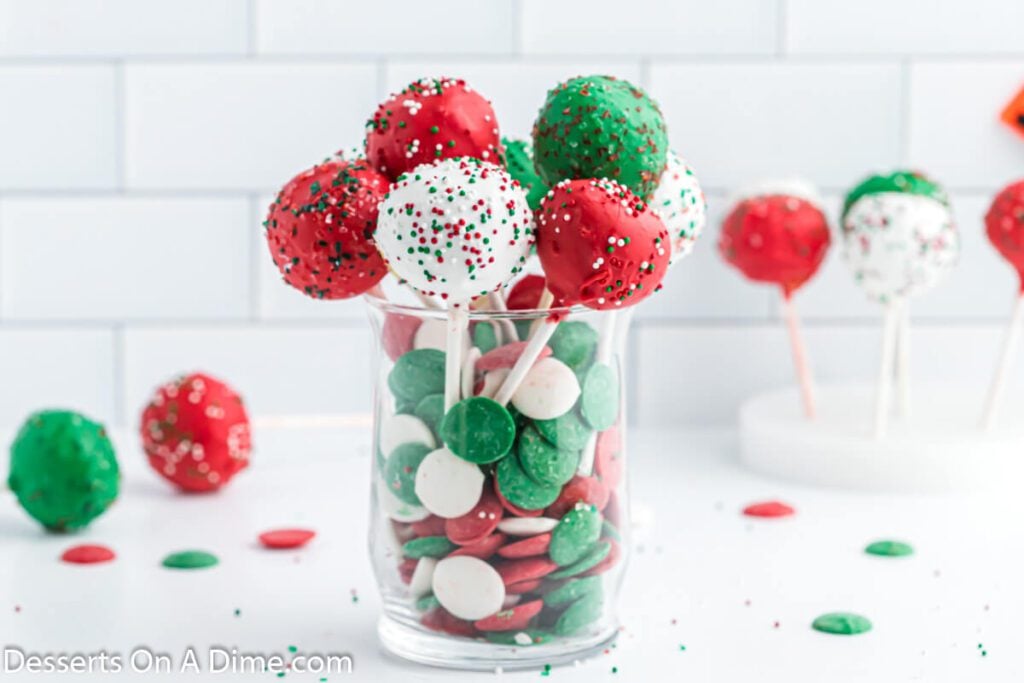
This is one of our favorite Christmas desserts, and the kids ask me to make it every single year. They’re simple enough for beginners, fun for kids to decorate, and they make any holiday dessert table look festive.
Love the snack cakes? Bake them into this Little Debbie Christmas Tree Cheesecake.
The rest of the year, our kids ask for these Starbucks Cake Pops.
Why You’ll Love This Recipe!

- Budget-friendly – One box of cake mix makes about 34 cake pops, for a fraction of what bakery or coffee-shop cake pops cost.
- Boxed mix shortcut – No from-scratch cake needed, and no one can tell.
- Kid-friendly project – Kids love picking colors and adding sprinkles.
- Make-ahead – Roll the cake balls a day early and dip them the day of the party.
After more than 14 years of developing dessert recipes, I know holiday baking should be fun and manageable, even during the busiest time of year. These Christmas Cake Pops are a festive addition to your dessert table without requiring advanced baking skills or complicated techniques.
If you love cake pops, try our classic Cake Pop Recipe and Grinch Cake Pops too.
Homemade vs. Bakery Cake Pops
One batch makes about 34 cake pops for roughly $14.54 total, or about $0.43 each. Want the coffee shop version? Try our copycat Starbucks Cake Pops.
A single cake pop at a bakery or coffee shop usually costs $3.00–$4.00, so a batch for a class party or cookie exchange saves you $50 or more. Watch for candy melts on sale in November and December to save even more.
Ingredients
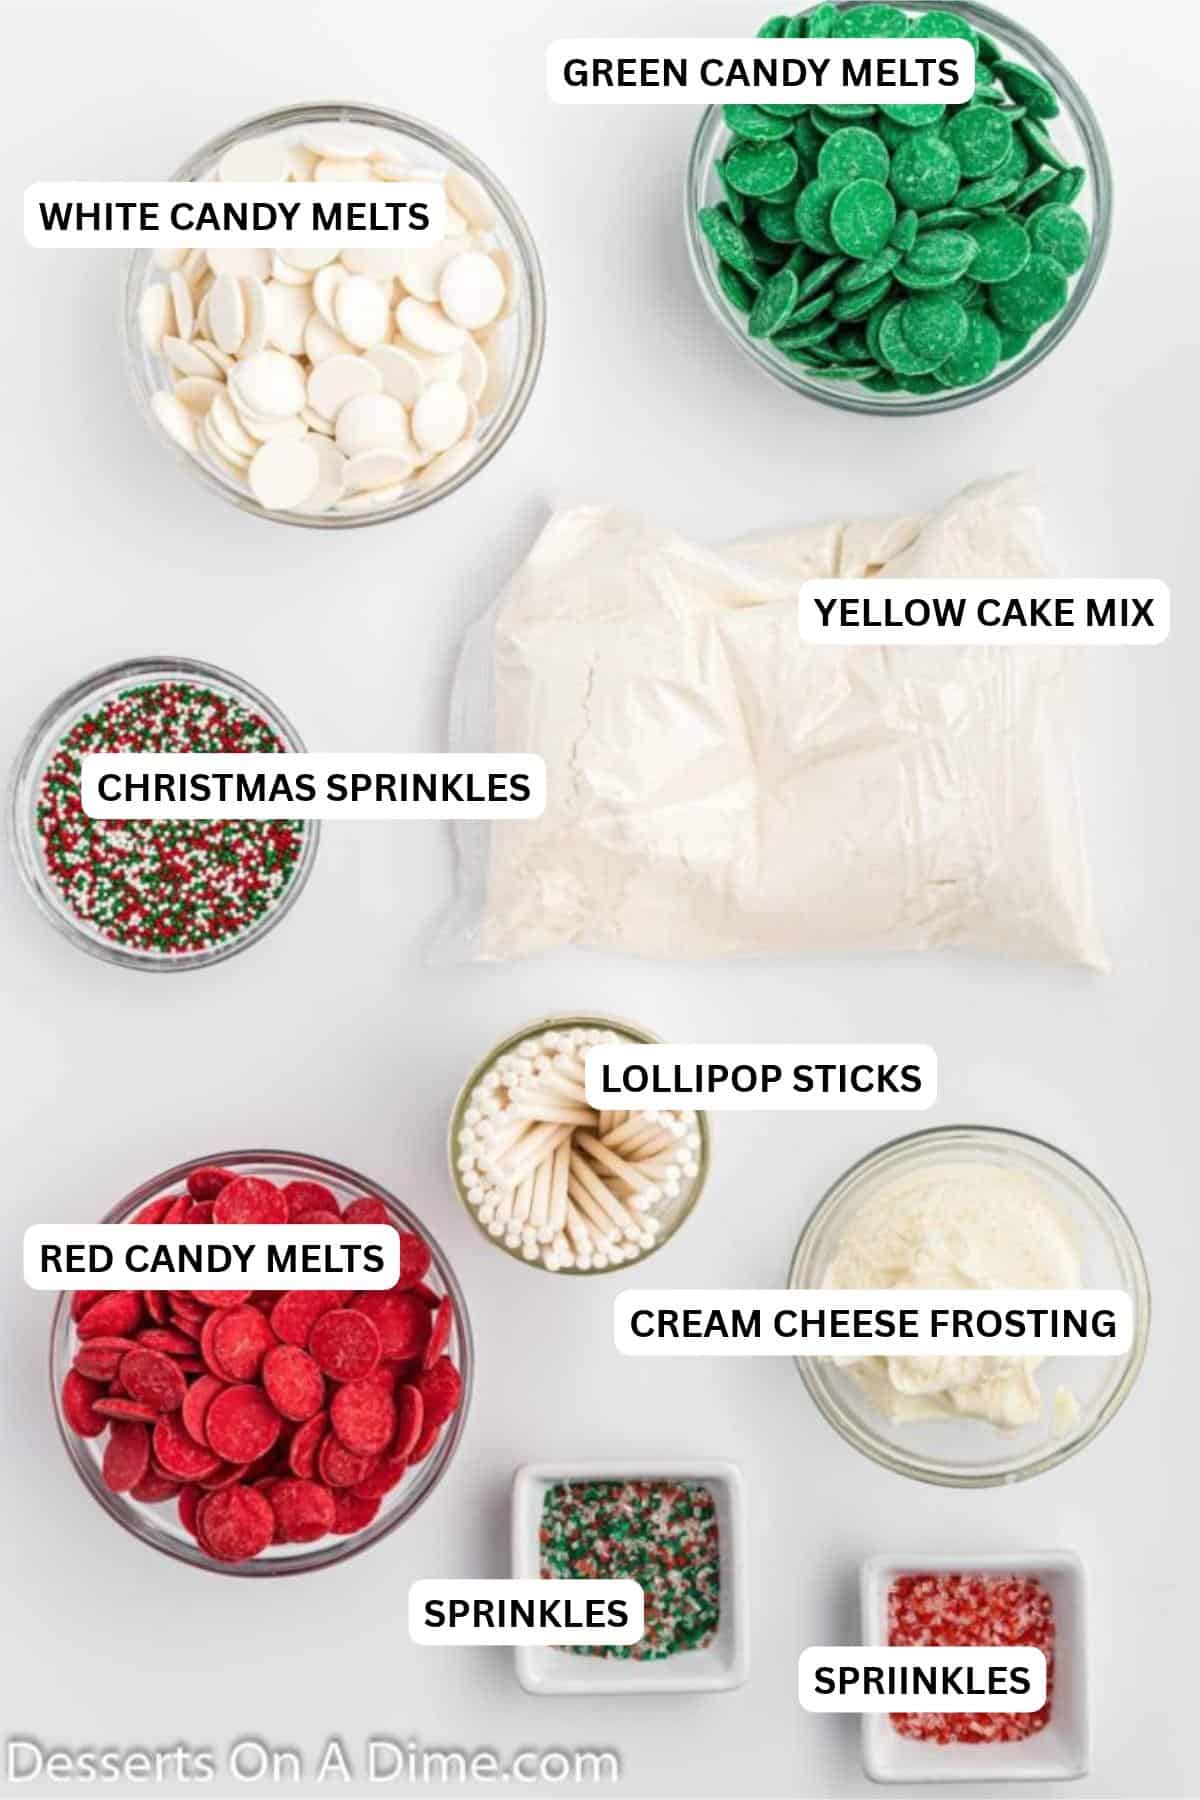
- Cake mix – We use a 15.25 oz yellow cake mix. Red velvet looks especially festive. Prefer to skip the box? Use our homemade cake mix.
- Cream cheese frosting – Store-bought is fine. A little goes a long way: the frosting just binds the crumbs. Too much makes the balls soft and heavy, and they slide off the sticks. I only use ⅓ cup because it keeps the cake pops firm enough to stay on the stick.
- Candy melts – They set firm and shiny without tempering, which is why we use them instead of chocolate chips. One bag of each color gives you enough depth to dip easily; you’ll have some left over. If they’re too thick for dipping, stir in ½–1 teaspoon of shortening or coconut oil.
- Lollipop sticks – 6-inch sticks are the easiest to hold while dipping.
- Christmas sprinkles – Use your favorite holiday mix.
Skip to the bottom of the post and get the complete recipe list and instructions.
How To Make Christmas Cake Pops

Step 1. Make and bake the cake per the box instructions. Allow to cool.

Step 2. Remove the cake from the pan and discard the brown outside layer from the cake. Crumble up the remaining cake into a large bowl.

Step 3. Mix the frosting into the crumbled cake until it looks like damp, moldable dough. Squeeze a little in your hand — it should hold its shape without feeling sticky or wet.

Step 4. Form the cake balls using a 1 1/2-inch cookie scoop. Then place on a lined cookie sheet. I used a cookie scoop to ensure that each one is approximately the same size.
Step 5. Melt each color of candy melts in its own tall, microwave-safe cup or mug. Heat in 30-second intervals, stirring after each, until smooth; overheated candy turns thick and grainy. A tall, narrow cup lets you dip each ball in one go.

Step 6. Dip the tip of each stick in a little melted candy, then push it about halfway into each cake ball. The candy works like glue. Freeze for 10–15 minutes, just until firm. Don’t leave them in much longer — very cold cake balls dipped in warm coating can crack as they set.

Step 7. Dip each cake pop straight down into the melted candy until the ball is covered and the coating touches the stick, then lift it straight out. Gently tap the stick on the edge of the bowl so the extra coating drips off instead of pulling the cake pop down.

Step 8. Add sprinkles right away, before the coating sets, then stand the cake pop upright to dry. No Styrofoam? Poke holes in an upside-down cardboard box or stand them in a mug filled with dry rice.

Step 9. Allow the candy coating to harden completely. Once dry, arrange them in a jar or display stand for serving.
Expert Tips
- Chill the cake mixture. If the cake mixture is sticky once combined with icing, put in the refrigerator. This will help to make the batter more firm.
- Chill a sticky mixture. If the dough feels sticky after mixing, refrigerate it for 15–20 minutes before rolling.
- Work one color at a time. Leave the other bowls of candy covered, and rewarm any that thicken for 15 seconds.
- Dip a few, then freeze the rest. Take only 6–8 cake balls out of the freezer at a time so the rest stay firm on the stick.
- Kids’ job: sprinkles. Let kids handle the sprinkles while a grown-up does the dipping. Set out the sprinkles in small bowls before you start.
Cake Pop Troubleshooting
- Falling off the stick? The balls are too soft, too big, or too warm. Use less frosting, keep the balls about 1 1/2-inch, dip the stick in candy before inserting, and chill until firm.
- Coating cracked? The cake balls were too cold. Let frozen balls sit for a few minutes before dipping.
- Coating too thick or lumpy? Stir in ½ teaspoon of shortening or coconut oil and melt in short bursts. Overheated candy melts get thick and won’t smooth out.
Variations
- Cake Flavor. Try different types of cake batter. We like red velvet cake, vanilla cake, chocolate and lemon.
- Gluten free. You can use a gluten free cake mix if you prefer.
- Christmas shapes. Shape the dough into cones for Christmas Tree Cake Pops, or add pretzel antlers for Reindeer Cake Pops.
- Coating. White chocolate melting wafers work in place of candy melts. Chocolate chips are harder to dip; they melt thicker and set softer, so thin them with 1 teaspoon of shortening per cup.
FAQ’s
Yes. Dip them the day before, let the coating set, and store them in an airtight container in the refrigerator. You can also bake the cake up to 2 days ahead; wrap it tightly once cool and keep it at room temperature until you’re ready to crumble it.
Because these are made with cream cheese frosting, store them in an airtight container in the refrigerator for up to 1 week. They’re fine at room temperature for a few hours while you serve them.
Cake pops can be frozen up to a month. Make sure to separate them with wax paper and wrap them in plastic wrap.
Store them using an airtight freezer container. When ready to serve, thaw overnight in the fridge. Find out more when you read Can You Freeze Cake Pops.

More Cake Pop Recipes


Try these easy cake pops for Christmas. Once you make them, please come back and leave a star recipe rating and comment.

Christmas Cake Pops
Ingredients
- 1 box Yellow Cake Mix 15.25 oz box
- *Plus ingredients to prepare the cake on the back of the box
- 1/3 cup Cream Cheese Frosting
- 8 oz. White Candy Melts
- 8 oz. Red Candy Melts
- 8 oz. Green Candy Melts
- Christmas Sprinkles
- 34 Lollipop Sticks

See how we calculate recipe costs.
Instructions
- Make cake and bake according to box instructions in a 9X13 pan. Then let the cake cool at room temperature.
- Remove the cake from the pan. Remove the brown outside layer from the cake and throw it away. Crumble up the remaining cake into a large bowl.
- Add the frosting to your crumbled cake and stir everything together until well combined.
- Shape mixture into 34 cake balls using a 1 1/2-inch cookie scoop and place on a lined cookie sheet. I used a cookie scoop to ensure that each one is the same size.
- Melt each color of candy melts in its own tall, microwave-safe cup or mug. Heat in 30-second intervals, stirring after each, until smooth; overheated candy turns thick and grainy. A tall, narrow cup lets you dip each ball in one go.
- Dip the tip of each stick in a little melted candy, then push it about halfway into each cake ball. The candy works like glue. Freeze for 10–15 minutes, just until firm. Don’t leave them in much longer — very cold cake balls dipped in warm coating can crack as they set.
- Dip each cake pop into 1 color of the melted candy melts. Make sure that the candy covers the cake pop completely. Allow the excess melted candy to drip off back into the bowl.
- Then place the stick of cake pops in a block of styrofoam. Top the cake pops with the sprinkles before the candy coating dries.
- Continue until all the cake pops have been covered. Once all the cake pops are dry, they are ready to serve and enjoy!

Can you use a cake mix from scratch
Hey Roma – Yes, you sure can! We have an easy recipe I will link below.
https://dessertsonadime.com/homemade-cake-mix-recipe/
Let us know if you try it. Have a great day!