
This No Bake Grinch Pie has a chocolate Oreo crust, a fluffy green cream cheese filling, and a layer of Cool Whip topped with red heart sprinkles for the Grinch’s heart that grew three sizes. It takes about 15 minutes to put together with no oven, and at just $1.00 per serving, it’s a fun, budget-friendly treat the kids can help make for a Grinch movie night or holiday party.
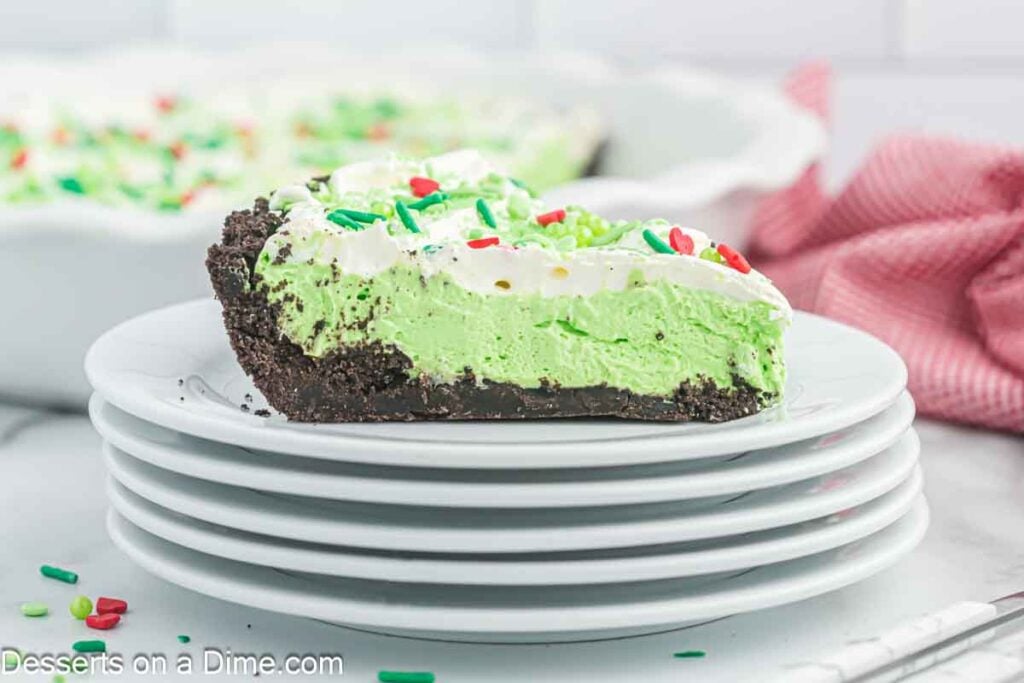
My kids always enjoy desserts inspired by their favorite holiday characters. I love giving them little jobs in the kitchen, and this pie is one they can help assemble from start to finish.
Why You’ll Love This Recipe!

- No oven needed. 15 minutes of mixing, then the fridge does the work.
- Kids can help. Crushing Oreos, stirring in the green color, and adding hearts are all little-hands jobs.
- Make it the day before. It’s ready to slice whenever the movie starts.
After 14 years of developing dessert recipes, I’ve learned that the holiday treats everyone remembers don’t have to be complicated. This pie comes together with simple ingredients, no baking, and a festive look that makes it a fun addition to any Christmas dessert table.
If you are hosting holiday parties, make these Grinch Pretzels, Grinch Bark, Grinch Cookies or this Grinch Fudge.
Ingredients
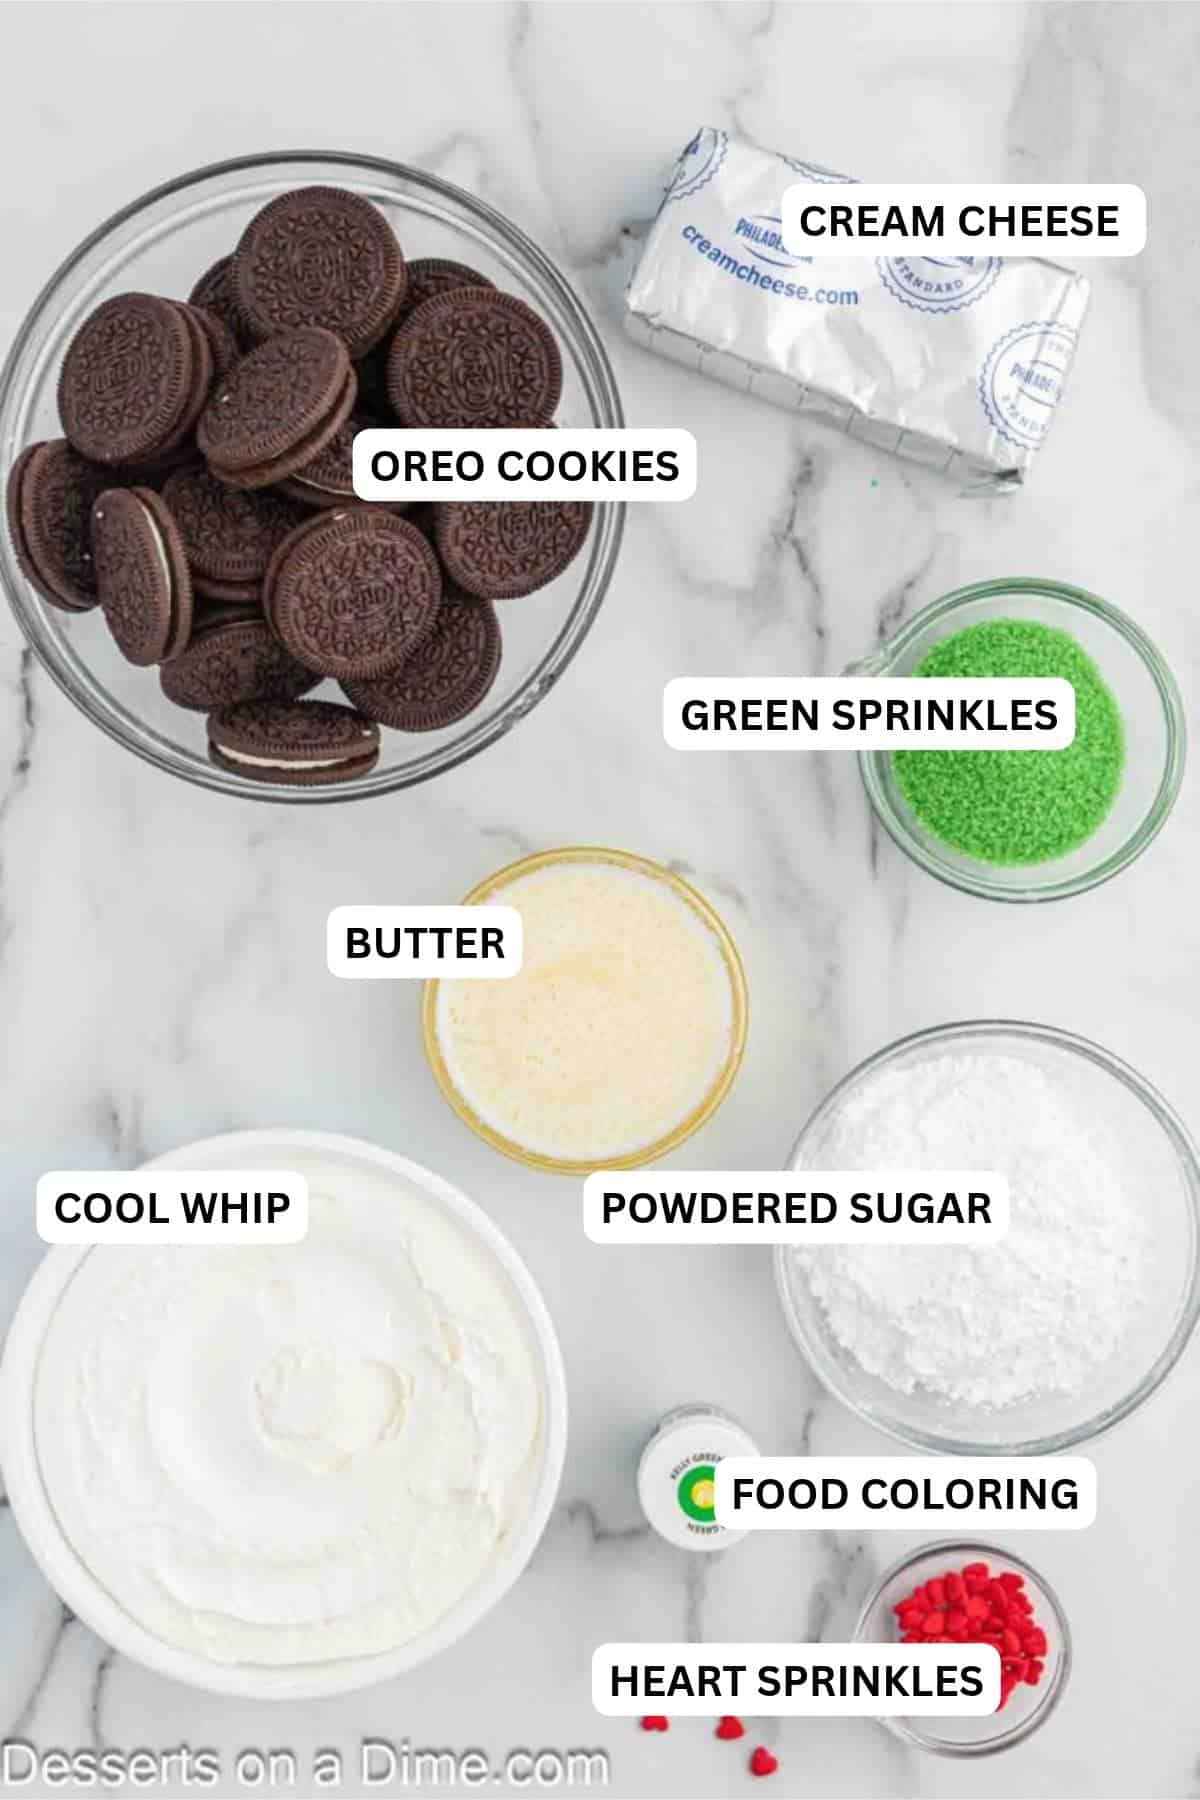
Oreo Crust
- Oreo Cookies: Use regular Oreos (about 25). Double Stuf has extra filling that makes the crust greasy and soft.
- Unsalted Butter. Melted.
If desired, a store-bought pre-made crust can be used to make this dish. We have even used a graham cracker crust.
Pie Filling
- Cream Cheese: Let it soften on the counter for about an hour. Cold cream cheese leaves small lumps that won’t mix out once the Cool Whip goes in.
- Green Gel Food Coloring: Gel gives bright color without thinning the filling. Start with a few drops and add more a little at a time.
- Powdered Sugar. Make sure it is lump free and sift.
- Cool Whip: Thaw it in the fridge first. You’ll use half in the filling and spread the rest on top. Store brand works great or use Homemade Whipped Cream.
Topping
- Green Sprinkles and Red Heart Sprinkles. This completes the Grinch theme.
Step By Step Instructions

Step 1 – Crush the Oreo cookies in a food processor.

Step 2 – Thoroughly mix the crushed cookies with melted butter in a large mixing bowl. Firmly press into the pie plate. You can use the bottom of a glass cup. Pop it in the fridge while you make the filling so it firms up.

Step 3 – In a large bowl, beat the cream cheese and powdered sugar together until completely smooth, with no lumps. Combine with a stand mixer or a hand mixer.

Step 4 – Continue to add green food coloring until the filling is the desired shade of green color.

Step 5. Gently fold in half of the Cool Whip with a spatula until no white streaks remain. Folding (instead of beating) keeps the filling light and fluffy.

Step 6 – Spoon the filling into the Oreo pie crust then smooth the top.

Step 7 – Spread the remaining cool whip on top.

Step 8 – Chill at least 1 hour until set, or 4 hours (up to overnight) for the cleanest slices.
Recipe Tips
- Pie Crust. If you do not have a food processor, feel free to place the cookies inside a ziploc bag and crush.
- Serve Cold: Keep the pie refrigerated until ready to serve for the best flavor and texture.
- For the cleanest slices: Chill at least 4 hours and wipe the knife between cuts.

How To Decorate Grinch Pie
- One big heart: Place one large red heart sprinkle in the center for the Grinch’s heart that “grew three sizes.”
- Piped border: Put the top layer of Cool Whip in a zip-top bag, snip a corner, and pipe dollops around the edge.
- Crushed Oreo rim: Save 2 tablespoons of Oreo crumbs and sprinkle them around the edge.
Pair it with a festive Christmas Jello pie for a colorful no-bake spread.
How to Make Grinch Pie Cups
For class parties, skip the pie plate and layer everything in clear 5-ounce cups. Put 1 heaping tablespoon of the Oreo-butter crumbs in each cup, add a scoop of green filling, then a dollop of Cool Whip. Top with one red heart right before serving. One batch makes about 12 cups. Cover with lids or plastic wrap and keep them in the fridge until party time. No slicing, no plates, and no mess.
Storage
Refrigerate the leftover pie for up to 3 days in an airtight container.
To make ahead, assemble the pie up to 1 day before, cover, and refrigerate. Add sprinkles before serving. You can also freeze it, covered, for up to 1 month. Thaw in the fridge for a few hours, or slice it partly frozen for a cool, ice-cream-pie texture.
FAQ
Yes. A 9-inch chocolate cookie crust works perfectly, and so does a graham cracker crust.
Not this version. It tastes like a light, fluffy cheesecake. For a minty twist, add ¼ teaspoon peppermint extract to the filling.
Want more easy pies? Check out our easy no bake pies.
More Easy Grinch Recipes



We love hearing from you. If you make this Grinch Pie Recipe, make sure to leave us a star review and comment.

No Bake Grinch Pie
Ingredients
For the Oreo Crust:
- 25 Oreo Cookies
- 5 Tablespoons Unsalted Butter melted
For the Pie Filling:
- 8 ounces Cream Cheese softened
- 3/4 cup Powdered Sugar
- Green Gel Food Coloring
- 8 ounces Cool Whip
For the Topping:
- Green Sprinkles
- Red Heart Sprinkles

See how we calculate recipe costs.
Instructions
For the Crust:
- Crush the Oreo cookies in a food processor. Or place them in a Ziplock bag and bash with a rolling pin.
- Mix the crushed cookies with melted butter.
- Press into the bottom and up the sides of a 9-inch pie plate. I like to use the bottom of a glass cup for this.
- Place in the fridge as you make the filling.
For the Filling:
- In a large bowl, beat the cream cheese and powdered sugar together until soft. Add the green gel food coloring until you get the color that you desire.
- Gently stir in half of the cool whip.
- Spoon the filling into the pie crust then smooth the top.
- Top with the rest of the Cool Whip. Chill at least 1 hour, then sprinkle with green sprinkles and red hearts before serving.
- Then the pie is ready to slice, serve and enjoy!
