Butterfinger Pie features a buttery graham cracker crust filled with creamy peanut butter and topped with crunchy Butterfinger candy and chocolate. This decadent dessert is perfect for holidays or any sweet craving.
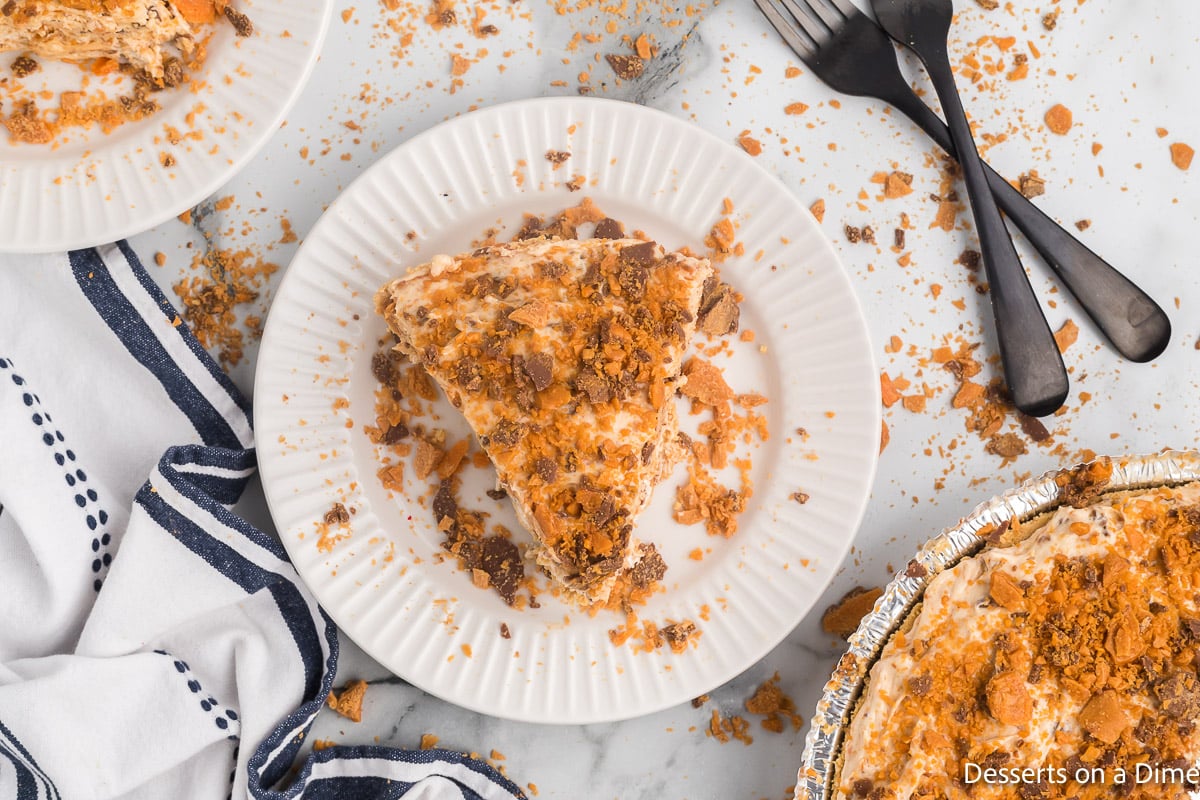
Butterfinger Pie starts with a buttery graham cracker crust that provides a crisp, sweet base for the rich filling. The creamy peanut butter layer pairs perfectly with the chocolatey, crunchy Butterfinger candy topping.
This pie is a crowd-pleaser for holidays, parties, or any time you want a decadent dessert. Its combination of textures and flavors makes every bite irresistible.
I have been making Butterfinger flavored treats for my family for years. From Butterfinger Cupcakes and Butterfinger Ice Cream to Homemade Butterfingers and Butterfinger Balls, we can’t get enough!
This recipe for Butterfinger Pie is one of my favorite pie recipes. The creamy Butterfinger filling is heavenly and melts in your mouth. If this is your favorite candy bars, you have to make this pie! I also love to make Butterfinger Cookies.
What's in this post: Butterfinger Pie Recipe
Why We Love This
- No-bake convenience. This Butterfinger pie requires no oven, making it quick and easy to prepare.
- Buttery graham cracker crust. Provides a crisp, sweet base without baking.
- Creamy peanut butter filling. Smooth and rich, ready to enjoy after chilling.
- Crunchy Butterfinger topping. Adds texture and chocolatey peanut butter flavor in every bite.
- Perfect for any occasion. Ideal for holidays, parties, or last-minute dessert needs.
Ingredients

- Graham cracker crust. We used store-bought for convenience, but homemade works too.
- Cream cheese. Softened at room temperature for easy mixing and a smooth filling.
- Creamy peanut butter. Skippy or Jif works best for a rich, smooth texture.
- Powdered sugar. Sift before using to avoid lumps and ensure a silky filling.
- Butterfinger candy bars. Fun-size bars add crunch and chocolatey peanut butter flavor.
- Whipped topping. Can use store-bought or Homemade Whipped Cream for a light, fluffy finish.
The complete ingredient list is in the recipe card at the bottom of this post.
Variations and Substitutions
- Pie Crust. This recipe is also delicious with chocolate pie crust or Oreo Crust. You can also make a homemade graham cracker crust easily using graham cracker crumbs in a pie pan.
- Homemade Whipped Cream. Substitute homemade whipped cream for store bought cool whip. It is easy to make with heavy whipping cream.
- Topping. Drizzle Chocolate Sauce on top of the cake for more decadence.
Step By Step Instructions

Step 1. Combine the cream cheese and peanut butter in a bowl with a hand held electric mixer or stand mixer. Then stir in the vanilla extract.

Step 2. Add the powdered sugar until smooth and creamy. Scrape down the sides with a rubber spatula.

Step 3. Crush the candy bars inside a ziploc bag. Gently beat them with a meat mallet or rolling pin.

Step 4. Mix the crushed candy into the cream cheese mixture. Don’t forget to leave some for the topping.

Step 5. Carefully fold in the whipped topping.

Step 6. Finally, spread the mixture into the pie crust. Top with the remaining chopped butterfingers. Allow to chill in the fridge before serving.
Storage
Refrigerator: Store the Butterfinger pie in an airtight container for up to 5 days. Keep it chilled to maintain the creamy filling.
Freezer: You can freeze the pie for up to 1 month. Wrap tightly in plastic wrap and again in aluminum foil. Place in a freezer-safe container. Thaw in the refrigerator before serving.
Avoid leaving out. Since this is a no-bake pie with a cream cheese and whipped topping filling, it should not be left at room temperature for extended periods.
Tips and Tricks
- Softened cream cheese. Make sure it’s at room temperature for a smooth, lump-free filling.
- Chill the pie. Refrigerate for at least 2–3 hours before serving so the filling sets perfectly.
- Cut Butterfinger bars small. Chop into small pieces to evenly distribute the candy throughout the topping.
- Make ahead. This no-bake pie can be prepared a day in advance, making it perfect for parties or holidays.
- Crust alternatives. Try a chocolate cookie crust for a richer flavor twist.

More No Bake Pie Recipes
Do yourself a favor and make this yummy pie for your family. Once you make it, please leave a star recipe rating and comment so we can hear all about it!

Butterfinger Pie
Ingredients
- 1 pre-made Graham Cracker Crust
- 8 ounces Cream Cheese softened
- 1/2 cup Creamy Peanut Butter
- 1 teaspoon Vanilla Extract
- 1 cup Powdered Sugar
- 1 bag Fun-Size Butterfinger Bars
- 8 ounces Whipped Topping Cool Whip – thawed
See how we calculate recipe costs.
Instructions
- Mix together the cream cheese and peanut butter with a hand held or stand up mixer. Then stir in the vanilla extract.
- Mix in the powdered sugar until smooth and creamy.
- Crush the butterfinger bars by placing them in a ziplock bag and gently beating them with a meat mallet or rolling pin.
- Reserve some of the crushed butterfingers for the topping and mix the remaining into the cream cheese mixture.
- Gently stir in the whipped topping.
- Spread the mixture into the graham cracker crust and top with the remaining crushed butterfingers.
- Refrigerate for at least 4 hours (or overnight) and then the pie is ready to slice, serve and enjoy!
