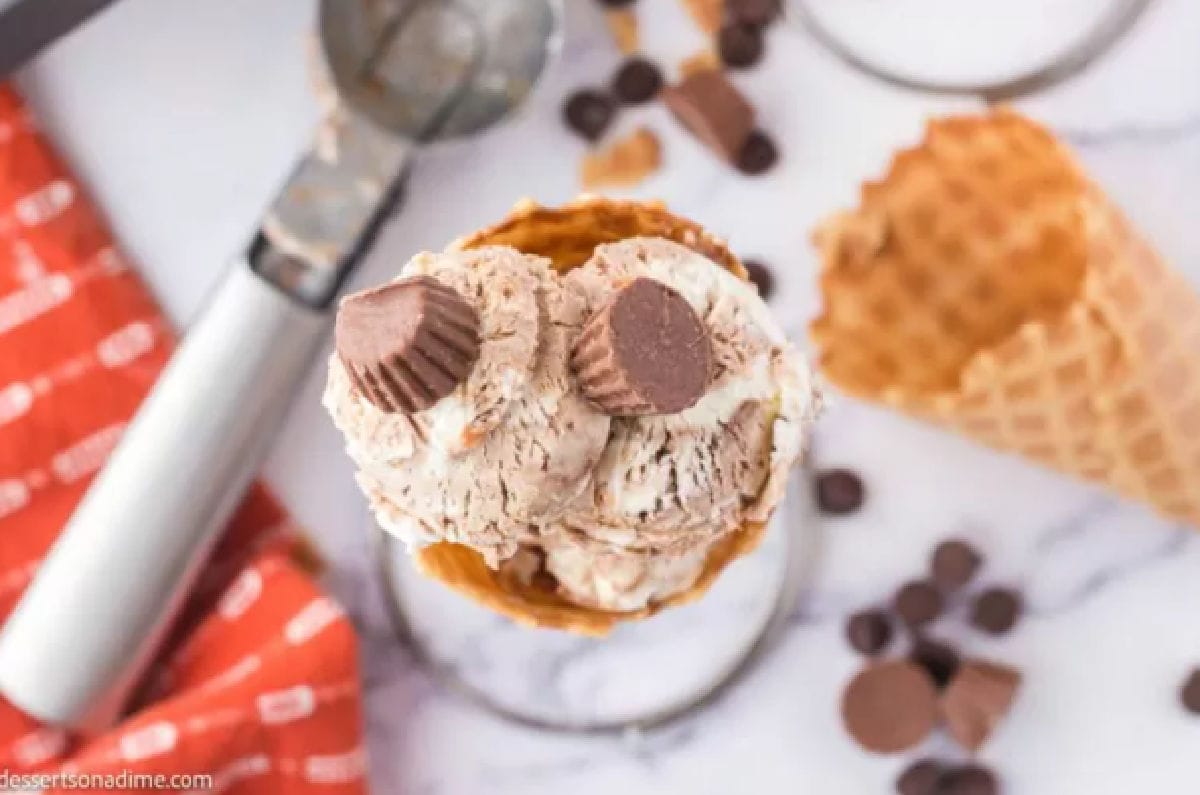
This rich and creamy Reese’s Peanut Butter Ice Cream is packed with chocolate and peanut butter flavor, featuring chunks of Reese’s cups in every bite. An easy, no-churn dessert perfect for any peanut butter lover.
If you’re a fan of chocolate and peanut butter, this Reese’s Peanut Butter Ice Cream is about to become your new favorite treat. Packed with creamy peanut butter and loaded with chunks of Reese’s Peanut Butter Cups, this indulgent dessert is rich, flavorful, and incredibly easy to make.
No ice cream machine required! Whether you’re cooling off on a hot day or just craving something sweet, this no-churn ice cream is the perfect way to satisfy your sweet tooth.
We have been making ice cream at home for years and it is super easy. Also try Nutter Butter Ice Cream, Twix Ice Cream Recipe and Oreo Ice Cream Cake Recipe. Another favorite is Pecan Praline Ice Cream Recipe.
Table of contents
Why We Love This Ice Cream
- No-Churn Convenience – No ice cream maker needed! Just mix, freeze, and enjoy.
- Rich Peanut Butter Flavor – Made with real creamy peanut butter for that bold, nutty taste.
- Loaded with Reese’s Cups – Every bite is packed with chunks of your favorite candy.
- Perfect for Peanut Butter Lovers – An amazing blend for anyone obsessed with the chocolate and peanut butter combo.
- Make-Ahead Friendly – Prepare it ahead of time and keep it in the freezer for an easy treat anytime.
- Crowd-Pleasing Dessert – Great for parties, birthdays, family nights, or just treating yourself to swirls of peanut butter.
Ingredients

- Heavy Whipping Cream – Be sure to chill the cream before starting; cold cream whips up faster and holds its shape better.
- Reese’s Peanut Butter Cups – For cleaner cuts, refrigerate the candy before chopping. Use full-sized cups for the best texture and flavor and not miniatures. You will love the chunks of real reese’s cups.
- Creamy Peanut Butter – Smooth peanut butter blends perfectly into the ice cream base, giving it a rich, velvety texture.
- Chocolate Syrup – A classic choice for a rich fudge swirl or try using Hot Fudge Sauce Recipe for a more decadent flavor.
Find the complete ingredients for this recipe at the bottom of the post.
Step By Step Instructions
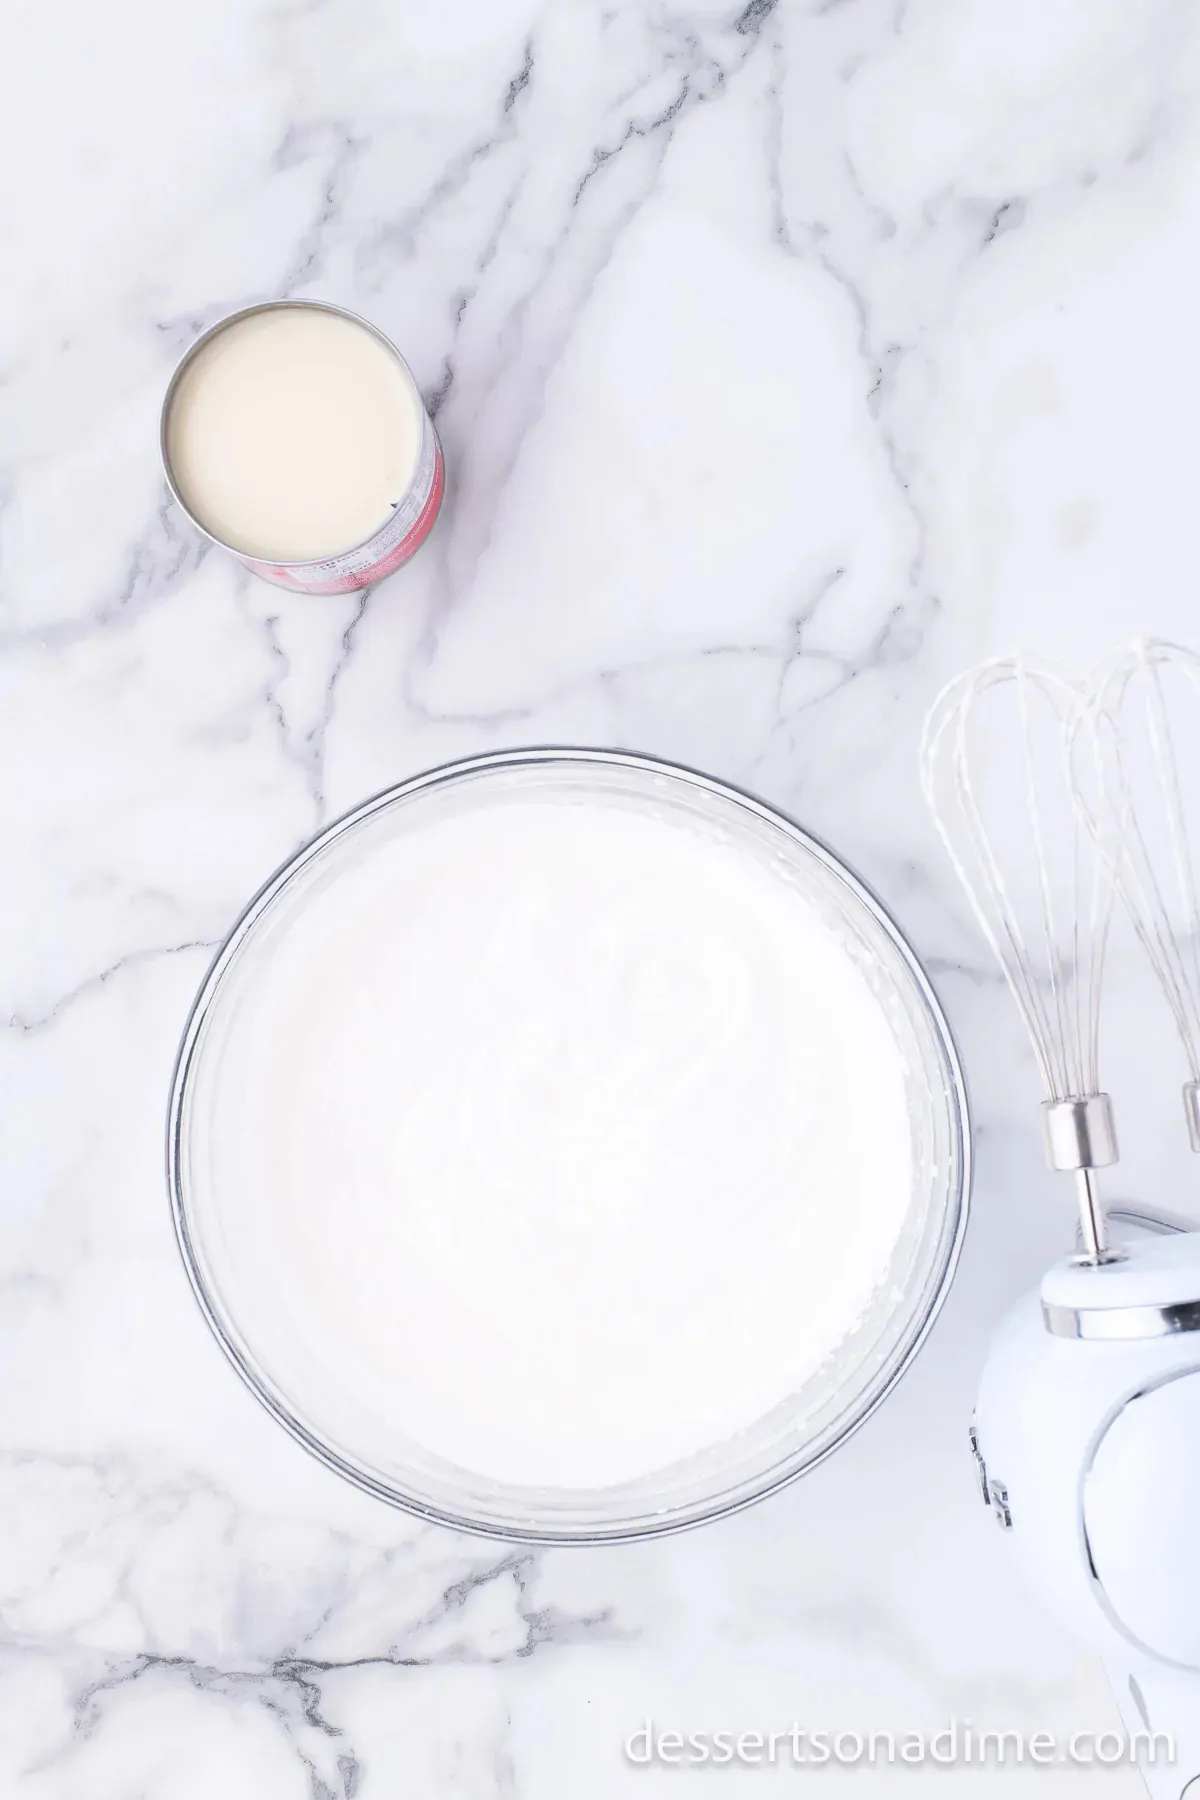
Step 1. Chill the mixing bowl and add the heavy whipping cream. Beat until the cream is whipped and forms soft peaks. You can use an electric mixer. Feel free to choose either a stand mixer or a hand-held mixer,

Step 2. Add the sweetened condensed milk and gently stir this into the whipped cream. Be mindful in this step as mixing too harshly will cause it to deflate.

Step 3. Coarsely chop the classic peanut butter candy. You want to have chunks of peanut butter cups. Then stir the Reese’s peanut butter cup pieces into the mixture.

Step 4. Drop spoonful’s of peanut butter and chocolate syrup – We do this by the tablespoon and drop into the mixture.

Step 5. Gently swirl the peanut butter and chocolate syrup into the whipped cream mixture.

Step 6. Pour the ice cream into a loaf pan and freeze for at least 4 hours until firm. I prefer to freeze the ice cream overnight. Then serve and add scoops to each bowl.
FAQs
Scoop the ice cream into a bowl, cup, or waffle cones. My kids love eating ice cream in cones.
You can also top each serving with extra chopped Reese’s Cups. If you are feeling really decadent, add a dollop of Homemade Whipped Cream Recipe and a drizzle of chocolate syrup. It is fun to make each personalized serving and you can even use this to make ice cream sandwiches or sundaes.
The ice cream will keep covered in the freezer for up to 1 month. Just make sure to cover with a lid or tightly with plastic wrap.
You might also want to place a layer of parchment paper on top of the ice cream as well. This will help to prevent ice crystals from forming on the Reese’s ice cream.
Our family loves peanut butter and chocolate together. Our ice cream never lasts past a week because we eat it pretty fast.
Expert Tips
- Chill Your Tools – Place your mixing bowl and beaters in the freezer for 10–15 minutes before whipping the cream. Cold tools help the cream whip faster and hold a better structure.
- Refrigerate the Candy – Chill the Reese’s Peanut Butter Cups in the fridge for at least an hour before chopping. Cold candy is firmer and easier to cut into clean chunks.
- Use Sweetened Condensed Milk (No Substitutes!) – Don’t swap this out for whole milk or anything else. It provides the perfect level of sweetness and gives the ice cream base its signature creamy texture.
- Create Beautiful Swirls – When adding the peanut butter and chocolate syrup, gently swirl them in. Avoid fully mixing as distinct swirls not only look great but also add bursts of flavor.
- Easier Scooping Tip – Let the ice cream sit at room temperature for 5–10 minutes before serving. This softens it just enough for smooth, easy scooping.
- Use a Metal Loaf Pan – Freeze the ice cream in a metal loaf pan for best results. Metal conducts cold more efficiently than glass and is safer to use at very low freezer temps.
- Get Creative with Mix-Ins – Add even more fun to your ice cream by tossing in extra treats like M&M’s, chopped Snickers, Reese’s Pieces, or crushed Oreos. Mix and match your favorite candies for a custom twist.
- Cover While Freezing – After transferring your mixture to the pan, cover it tightly with plastic wrap or foil to prevent ice crystals from forming and to keep flavors fresh.
- Let It Set Completely – For the best texture, allow the ice cream to freeze for at least 6 hours or overnight before serving.

More No Churn Ice Cream Recipes
- Homemade S’mores Ice cream recipe
- Chunky Monkey Ice Cream Recipe
- Cookie Monster Ice Cream Recipe
- Dulce De Leche Ice Cream Recipe
- No Churn Vanilla Ice Cream
- Hot Chocolate Ice Cream
Give this easy ice cream recipe a try if you are a fan of peanut butter cups. Please come back and leave a comment and star rating. I love hearing from you!

Reese’s Peanut Butter Cup Ice Cream
Ingredients
- 2 cups Heavy Whipping Cream chilled
- 14 oz. Sweetened Condensed Milk
- 10 Reese’s Peanut Butter Cups chilled (the whole cups not the miniature ones)
- ¼ cup Creamy Peanut Butter
- ¼ cup Chocolate Syrup
See how we calculate recipe costs.
Instructions
- With a stand up mixer or hand held mixer, beat together the heavy whipping cream until the cream is whipped and can form soft peaks.
- Then gently stir the sweetened condensed milk into the whipped cream.
- Chop up the peanut butter cups and stir them into the mixture.
- Then drop the peanut butter and chocolate syrup by the tablespoons into the mixture. Then gently swirl the peanut butter and chocolate syrup into the whipped cream mixture. Be careful not to over mix. You do not want this mixed in. You want them to be swirled throughout the mixture.
- Spread the mixture into a loaf pan and freeze for at least 4 hours until firm.
- Serve and enjoy! The ice cream will keep covered in the freezer for up to 1 month.
