
This 3 Ingredient Oreo Fudge tastes like a rich, creamy cookies and cream candy bar, but with the crunch of whole Oreo pieces running through every square. At about $0.53 per serving, this treat is an affordable way to satisfy a sweet tooth.
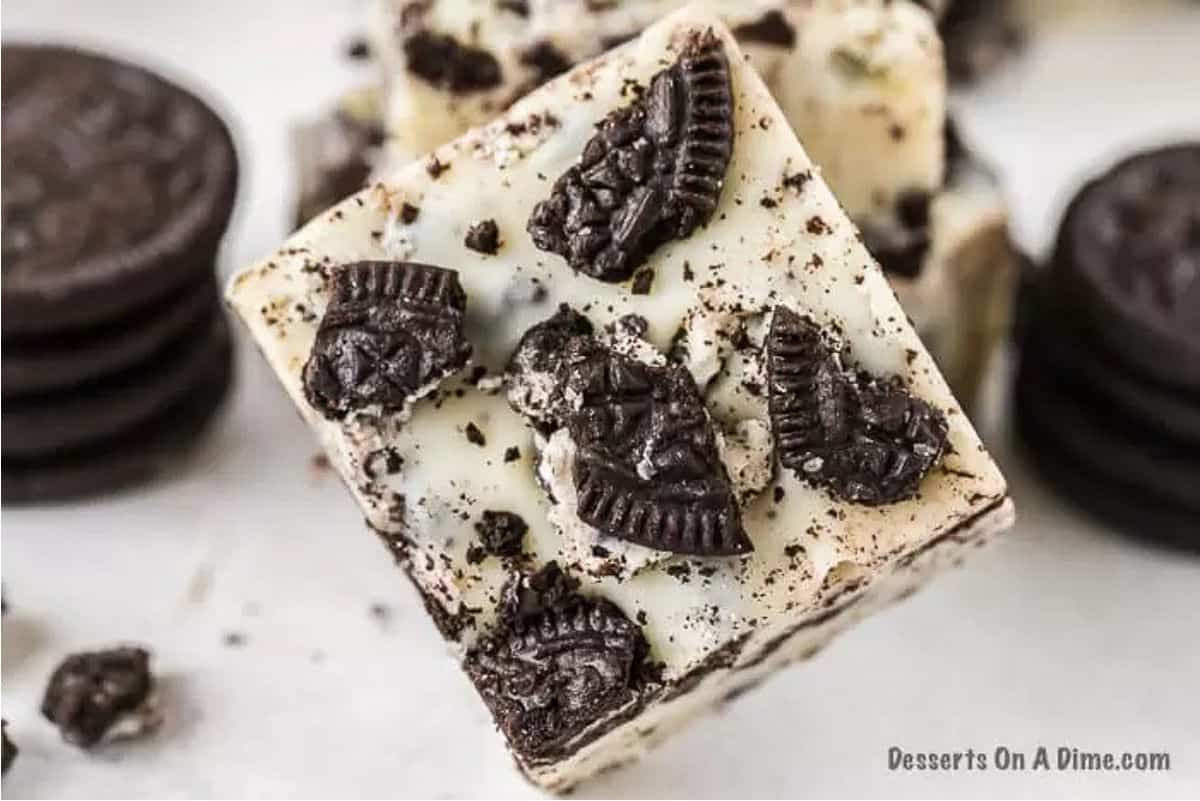
With eight kids, I love having simple desserts that everyone can enjoy, especially when we are craving something sweet after dinner. This fudge is also fun to make with the kids because they can help crush the cookies and sprinkle the Oreos over the top.
Why You’ll Love This Recipe!

- Only 3 Ingredients. White chocolate chips, sweetened condensed milk, and Oreos are all you need.
- No Candy Thermometer. There is no need to cook sugar to a specific temperature.
- Quick to Prepare. The fudge comes together in just a few simple steps before chilling.
- Creamy and Crunchy. The smooth fudge base pairs with crunchy Oreo pieces in every bite.
- Easy to Customize. Use different Oreo flavors, add peanut butter, or drizzle with chocolate.
- Great for Sharing. Cut the fudge into 24 squares for parties, holidays, cookie trays, or gifting.
- Budget-Friendly. At about $0.53 per serving, it is an affordable homemade dessert.
After more than 14 years of baking and creating recipes, I’ve learned that a great dessert does not need a long ingredient list. This recipe is one of those easy treats that delivers plenty of flavor with just a few simple ingredients and straightforward steps.
You may also want to try Homemade Chocolate Fudge Recipe and Easy Rocky Road Fudge Recipe .
Ingredients
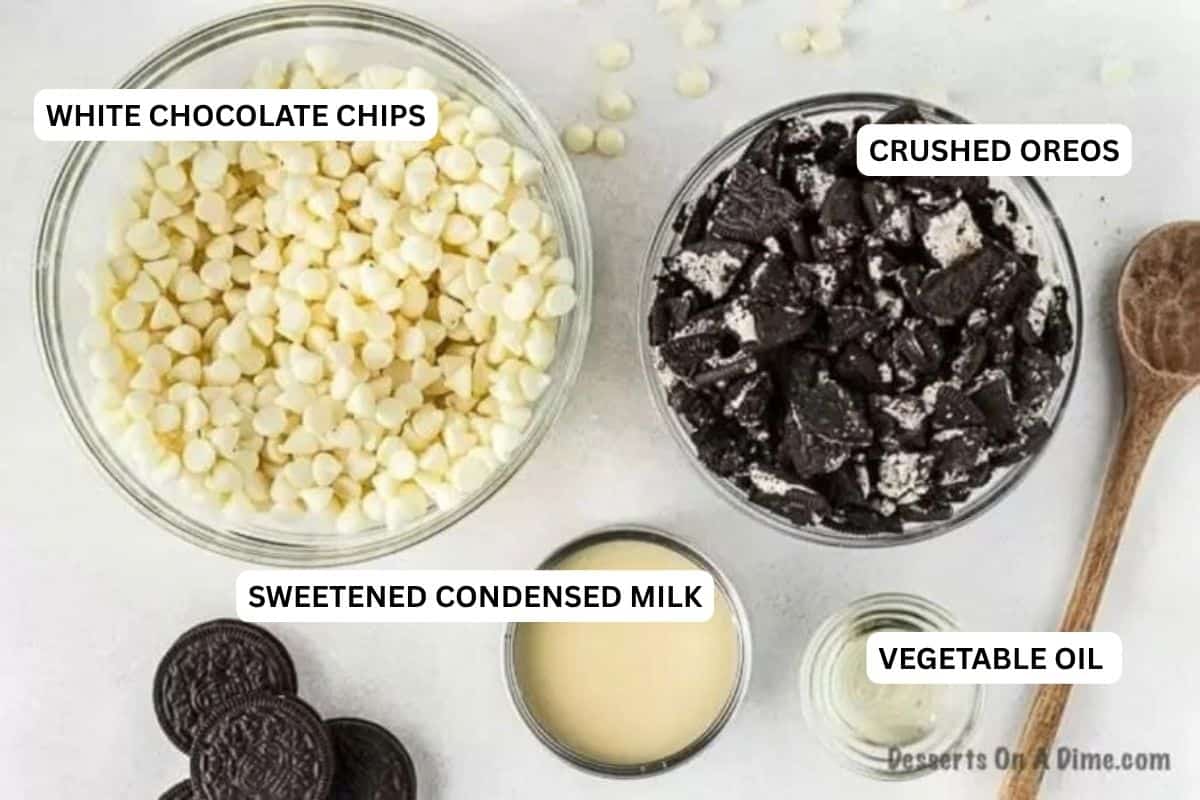
- White Chocolate Chips. Use good-quality white chocolate chips for a smooth texture and rich flavor.
- Sweetened Condensed Milk. This adds sweetness and helps create the creamy fudge texture. You can also try our Sweetened Condensed Milk Recipe.
- Crushed Oreos. Use regular chocolate Oreo cookies rather than Double Stuf. The classic Oreos provide the right balance of cookie and cream without adding too much filling.
Get all the ingredient details at the bottom of the page.
Step By Step Instructions

Step 1. Prepare an 8×8 baking dish by lining with parchment paper and set aside for later. Next, place the white chocolate in a microwave-safe bowl and microwave in 30 second intervals. Make sure to stir between each interval until they are completely melted.

Step 2. Then stir in the condensed milk and crushed Oreos. Don’t forget to save a little bit of Oreos for the top.

Step 3. Prepare the pan with foil or parchment paper. Once the pan is lined, pour the chocolate mixture into the prepared pan.

Step 4. Top with the reserved crush Oreos. Allow to cool at room temperature and then place in the refrigerator to set. Finally, remove from the pan place on a cutting board. Cut and serve in small pieces.
Pro Tips
- Use a Food Processor. A food processor makes quick work of crushing the Oreos. A mini food processor works too. If you don’t have one, place the cookies in a zip-top bag and crush them with a rolling pin. Leave some larger cookie pieces for added texture.
- Melt the Chocolate Slowly. Microwave the white chocolate chips in 30-second intervals, stirring well after each interval. This helps prevent the chocolate from overheating or burning.
- Stir Until Smooth. Make sure the melted white chocolate and condensed milk are completely combined before adding the crushed Oreos. This creates a smooth, creamy fudge base.
- Use Parchment Paper. Line the 8×8-inch pan with parchment paper, leaving some overhang on the sides. This makes it much easier to lift the chilled fudge from the pan.
- Allow Enough Time to Set. Refrigerate the fudge for at least 1 hour, or until firm enough to cut. The setting time can vary depending on the thickness of the fudge and the temperature of your refrigerator, so it may need additional chilling time.
- Don’t Cut Too Soon. Make sure the fudge is fully firm before cutting. If the center is still soft, refrigerate it longer.
- Use a Sharp Knife. A sharp knife makes cleaner cuts. Wipe the knife between slices and run it under warm water, then dry it, if the fudge starts sticking.
- Try a Double Boiler. If you prefer not to use the microwave, melt the white chocolate chips in a double boiler over low heat. Stir frequently until smooth, being careful not to let water come into contact with the chocolate.
- Kid-Friendly Tip: Crushing the Oreos and sprinkling the topping are both jobs my own kids like to help with. Just handle the melted chocolate yourself, since that’s the one part of this recipe with any real heat involved.
Variations
- Chocolate Oreo Fudge. Use semi-sweet chocolate chips instead of white chocolate chips for a rich, classic chocolate Oreo fudge instead.
- Different Oreos. Use your favorite Oreo flavor to change the taste. Lemon Oreos are delicious with a little lemon extract added to the melted white chocolate.
- Peanut Butter. Stir 1 tablespoon of creamy peanut butter into the melted chocolate for a chocolate peanut butter twist.
- Add Vanilla. Stir a teaspoon of vanilla extract into the melted chocolate mixture for extra flavor.
- Mint Oreo Fudge. Use Mint Oreos and add a small amount of peppermint or mint extract for a refreshing flavor combination.
- Birthday Cake Oreo Fudge. Use Birthday Cake Oreos and add colorful sprinkles for a fun party treat.
- Golden Oreo Fudge. Replace regular Oreos with Golden Oreos for a vanilla cookie version.
- Chocolate Drizzle. Drizzle melted semi-sweet or milk chocolate over the finished fudge before refrigerating.
- Add Sprinkles. Top the fudge with seasonal or colorful sprinkles before it sets for an easy way to customize it for holidays and celebrations.
Storage and Freezing
Store cooled, cut fudge in an airtight container at room temperature for up to 5 days, or in the refrigerator for up to 2 weeks. Refrigerating helps it stay firmer for longer.
To freeze, wrap pieces tightly in wax paper, then a layer of foil or plastic wrap, and store in an airtight container or freezer bag for up to 3 months. Thaw on the counter for about 2 hours before serving.
Making This Ahead for Gifts
This fudge is one of the easier homemade gifts to plan ahead. Make a batch up to 2 weeks before you need it (or freeze it up to 3 months out. See Storage & Freezing above.
Then wrap individual squares in wax paper or package them in a tin or cellophane bag the day you’re ready to give them. No last-minute cooking required during a busy holiday week.

Frequently Asked Questions
Yes, homemade fudge can be placed in the freezer if stored properly. Frozen fudge will last about 3 months in the freezer. This is a great option if you would like to begin your holiday baking.
-Keep fudge free from any air or moisture.
-Wrap fudge in wax paper completely.
-Then wrap in aluminum foil or plastic wrap to ensure no freezer burns or no air gets in.
-Store in the back of the freezer so that it stays the same temperature while in the freezer.
-When you are ready to serve, remove from freeze and let thaw on the counter for about 2 hours. Serve at room temperature if you prefer.
White chocolate can be sensitive to heat. Melt it slowly in 30-second intervals and stir well after each interval. If needed, stir in a small amount of vegetable oil to help create a smoother consistency.
Refrigerate the fudge for at least 1 hour, or until firm enough to cut. The exact time can vary depending on the thickness of the fudge and the temperature of your refrigerator.
The fudge may need more time to chill. Return it to the refrigerator and allow it to firm up completely before cutting.
Yes. Oreo fudge is a great make-ahead dessert. Prepare it, refrigerate until firm, and keep it covered until you are ready to serve.
More Easy Fudge Recipes


If you make this Oreo Fudge, I’d love to hear what you think! Leave a review and give the recipe a 5-star rating below, then let me know how you liked the creamy fudge and crunchy Oreo pieces.

Oreo fudge
Ingredients
- 18 oz White Chocolate Chips
- 14 oz Sweetened Condensed Milk
- 3 cups Crushed Oreos

See how we calculate recipe costs.
Instructions
- Place the white chocolate chips in a microwave safe dish.
- Microwave the chips in 30 second intervals, stirring between each interval until they are melted.
- Stir in the condensed milk and crushed Oreos (reserve a small amount of Oreos for the top).
- Line an 8X8 baking dish with foil or parchment paper.
- Pour the mixture into the pan and top with the reserved crush Oreos.
- Allow to cool at room temperature and then place in the refrigerator to set (for approximately 1 hour).
- Cut and serve. Enjoy!
- *Notes: If you have problems with the white chocolate being creamy when melted, add a small amount of vegetable oil to the melted chocolate.
