These St. Patrick’s Day Cake Pops are festive, fun, and easy to make! Dipped in green chocolate and decorated with sprinkles, they’re a sweet treat for parties and holiday celebrations.
Looking for a fun and festive treat to celebrate St. Patrick’s Day? These St. Patrick’s Day Cake Pops are bite-sized, colorful, and guaranteed to bring a little extra luck to your dessert table.
With moist cake centers coated in sweet green chocolate and topped with sprinkles, they’re as adorable as they are delicious—making them a hit at parties, classroom celebrations, or family gatherings.
It is such a fun cake recipe and just as easy to make as St. Patrick’s Day Lime Jell-O Poke Cake and St. Patrick’s Day Rice Krispie Treats. We have been making fun and easy treats for years and the kids love it!
I also like to make Guinness Brownies and St. Patrick’s Day Chocolate Covered Oreos. We also make Starbucks Cake Pops Recipe year-round.
Table of contents
Why We Love This Recipe
- Festive and fun: Bright green coating and sprinkles make them stand out on any dessert table.
- Bite-sized treats: Easy to serve and perfect for parties or classroom celebrations.
- Simple to make: Uses cake mix and candy melts for a stress-free recipe.
- Kid-approved: Fun for kids to help decorate and even more fun to eat.
- Make-ahead friendly: Can be prepared in advance and stored until ready to serve.
- Customizable: Add shamrock sprinkles, gold dust, or different cake flavors for a creative twist.
Ingredients

- White Cake Mix. A classic boxed white cake mix works best since it allows the green food coloring to really pop. You can substitute any cake flavor you prefer.
- Green Gel Food Coloring. Gel food coloring is recommended because it provides a vibrant color without adding extra liquid to the batter.
- Cream Cheese Frosting. Use store-bought frosting for convenience or homemade cream cheese frosting if you prefer.
- Cake Pop Sticks (Lollipop Sticks). Available in the baking or craft section of most stores.
- Green Candy Melts. Green candy melts create a smooth coating. (Any brand works well.)
- White Heart Sprinkles. These are used to create the shamrock design on top of the cake pops.
Get the entire recipe list at the bottom of the page.
Variations
- Change the Candy Design. Instead of white heart sprinkles, use candy hearts to create the shamrock shape on the front of each cake pop. You can also press a chocolate gold coin onto the front for a fun “pot of gold” theme.
- Switch Up the Cake Mix. While white cake mix gives the brightest green color, you can use yellow, vanilla, chocolate, or even funfetti cake mix.
- Different Frosting Options. Cream cheese frosting adds a slight tang, but you can use Marshmallow Frosting, vanilla buttercream or chocolate frosting.
- Melting Chocolate Alternatives. Candy melts create a smooth, easy coating, but you can substitute white chocolate chips. Simply melt and stir in green gel food coloring. You can also use dark or milk chocolate for a different look.
- Add Extract Flavoring. Mix in a little mint or almond extract to give the cake pops a subtle flavor twist.
- Decorate with Edible Glitter. Add edible gold dust, shimmer spray, or sanding sugar for a festive sparkle.
- Make Them Two-Toned. Dip halfway in green and halfway in white chocolate for a fun layered look.
Step By Step Instructions

Step 1. First, prepare the cake batter based on the package instructions with a hand mixer. Dye the batter a bright green color. Bake in the oven according to box instructions. Then let the cake cool. Remove the brown outside layer from the cake and throw it away. Crumble up the remaining cake into a large bowl.

Step 2. Add the tablespoons frosting to your cake crumbs. Stir everything together until well combined using a spoon. The dough should be firm, or it won’t hold its ball shape. Shape each portion into about 24-36 cake balls (depending on their size) and place on a lined cookie sheet. You can use the palm of your hand or a cookie scoop.

Step 3. Put the green candy melts in a small microwave safe bowl and microwave for 30 seconds until fully melted. Dip the end of the cookie stick into the green melted candy and then place them into the cake balls about halfway through the balls. Then place in the freezer for 10-15 minutes on a sheet pan.

Step 4. After the cake pops have been in the freezer, dip each cake pop into the melted candy melts or melted chocolate. Tap the stick on the side of the bowl to allow the excess melted candy to drip back into the bowl so it has a smooth finish.

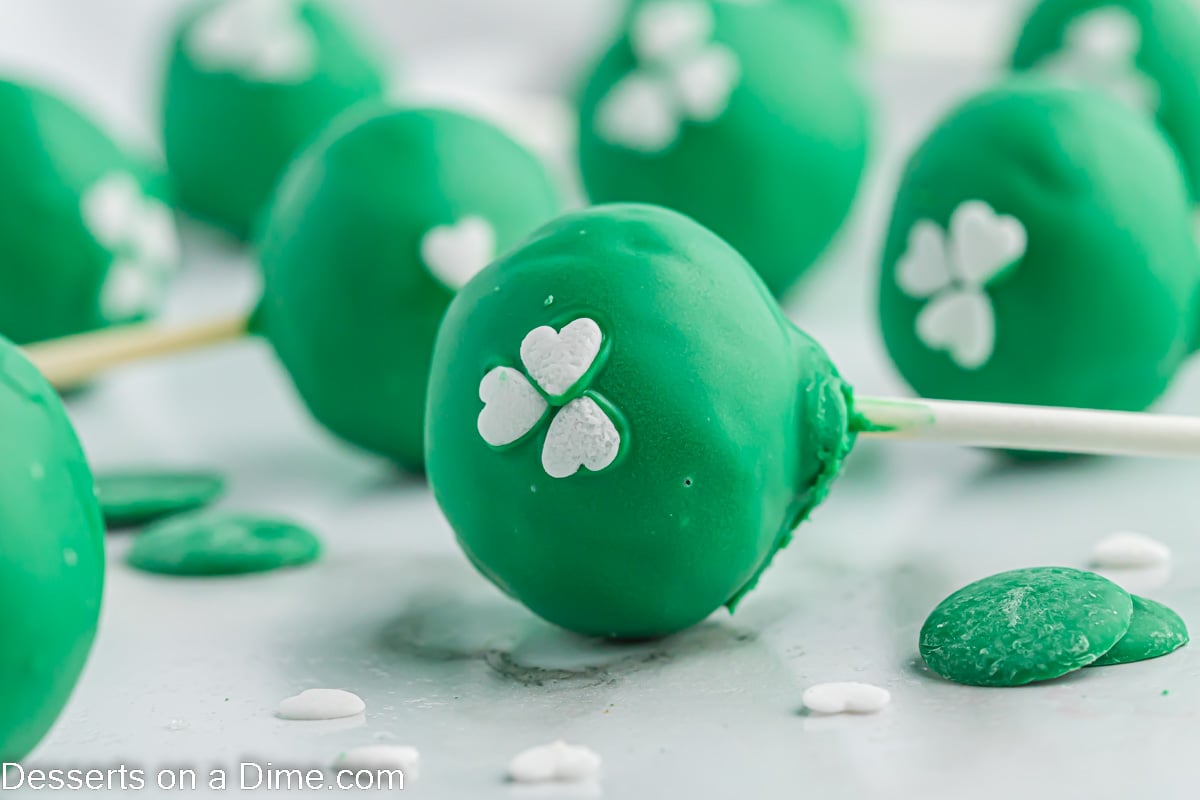
Step 5. Before the candy melts dry, add 3 white sprinkles to each cake pop to form a shape of a clover on the front of the cake pop. These decorations look so festive.

Step 6. Continue until all the cake pops have been covered and decorated. Once all the green cake pops are dry, they are ready to serve and enjoy.
Pro Tips
- Dip the Cake Pop Stick First. Before inserting the stick into the cake ball, dip the tip of the stick into melted candy coating. This helps secure the cake pop and prevents it from sliding off.
- Melt Candy Properly. Melt candy melts in a microwave-safe bowl in 20–30 second intervals, stirring between each interval, until smooth. Avoid overheating, as it can cause the coating to seize.
- Chill the Cake Balls. After forming the cake balls, freeze them for at least 15 minutes. This firms them up and makes dipping much easier while helping maintain their shape.
- Use Parchment Paper. Place prepared cake balls on a baking sheet lined with parchment paper before inserting sticks or dipping to prevent sticking.
- Dry Upright. Insert dipped cake pops into a Styrofoam block so they can dry upright. This keeps the coating smooth and prevents flat spots.
- Thin the Coating if Needed. Candy melts are smooth and ideal for dipping, but you can also use white or milk chocolate. If using chocolate chips or coating chocolate, thin it with a small amount of vegetable oil or coconut oil to achieve a smooth dipping consistency.
Storage
Refrigerate: Store leftover cake pops in an airtight container in the refrigerator.
Shelf Life: When stored properly, they will stay fresh for up to 1 week.
Layering Tip: If stacking, place parchment or wax paper between layers to prevent sticking.
Before Serving: Let cake pops sit at room temperature for 15–20 minutes before serving for the best texture and flavor.
Freezing Option: You can freeze cake pops (undecorated or fully coated) in an airtight freezer-safe container for up to 2 months. Thaw overnight in the refrigerator before serving.

More St. Patrick’s Day Desserts
- St Patrick’s Day Puppy Chow Recipe
- St Patrick’s Day Cake Mix Cookies
- Lime Jell-O Poke Cake Recipe
- Shamrock Cookies
- Shamrock Pretzels
- St. Patrick’s Day Cupcakes
- Leprechaun Bait
Make these festive St. Patrick’s Day Cake Pops for your next party, classroom celebration, or family treat — they’re as fun to make as they are to eat!

St. Patrick’s Day Cake Pops
Ingredients
- 1 box classic cake mix ( and ingredients called for on box to make the cake)
- Green Gel Food Coloring
- 3 Tbsp Cream Cheese Frosting I used pre-made
- 24-36 Cake Pop Sticks or Lollipop Sticks
- 12 oz Green Candy Melts
- 36 White Heart Sprinkles
See how we calculate recipe costs.
Instructions
- Prepare the cake batter based on the package instructions. Dye the batter a bright green color with the food coloring. Bake according to box instructions. Then let the cake cool at room temperature.
- Remove the cake from the pan. Remove the brown outside layer from the cake and throw it away. Crumble up the remaining cake into a large bowl.
- Add the frosting to your crumbled cake and stir everything together until well combined.
- Shape mixture into about 24-36 cake balls (depending on their size) and place on a lined cookie sheet. I used a cookie scoop to ensure that each one is approximately the same size.
- Put the green candy melts in a small microwave safe bowl and microwave for 30 seconds, then stir. Then continue to heat in 30 second intervals stirring between each one until the candy melts are fully melted and creamy.
- Dip each cake pop stick into the green melted candy and then place them into the cake balls about halfway through the balls. Then place in the freezer for 10-15 minutes.
- After the cake pops have been in the freezer, dip each cake pop into the melted candy melts (you may need to re-melt the candy melt if it has solidified some). Make sure that the candy covers the cake pop completely. Allow the excess melted candy to drip off back into the bowl.
- Then place the stick of cake pops in a block of styrofoam while the candy dries and solidifies. Before the candy melts dry, add 3 white sprinkles to each cake pop to form a shape of a clover on the front of the cake pop.
- Continue until all the cake pops have been covered and decorated. Once all the cake pops are dry, they are ready to serve and enjoy!
Recipe Notes
You can easily use any candy hearts instead of sprinkles if you prefer to make the shamrock design on the front of the cake pop.
