
Butterscotch Rice Krispie Treats put a rich butterscotch twist on the classic no-bake treat for just $0.39 per serving. Made with only 4 ingredients and about 10 minutes of hands-on time, they’re an easy way to use up a bag of butterscotch chips.
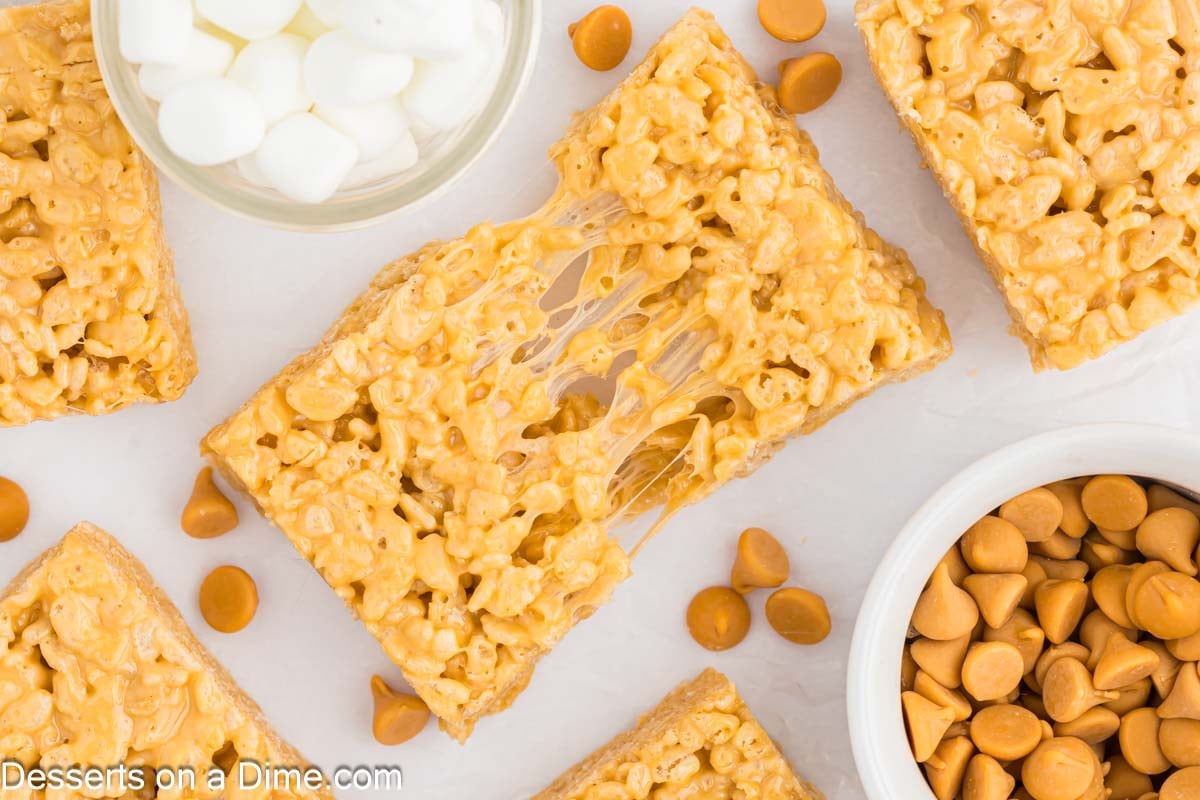
The buttery marshmallow mixture with sweet butterscotch chips makes these a fun twist on the classic treat.
Why You’ll Love This Recipe!

Butterscotch Rice Krispie Treats take the classic treat up a level with almost no extra effort. There’s no corn syrup to measure, no candy thermometer, and no boiling sugar — just melt, stir, and press into the pan. The butterscotch chips do all the flavor work, so you get a richer, more grown-up version of a childhood favorite in the same amount of time as the original.
I’ve been making homemade treats for my family for many years, and these butterscotch Rice Krispie treats are one of those easy desserts everyone gets excited about. With 8 kids, I love recipes that come together quickly but still feel like something special.
If you love rice krispie cereal, also try Avalanche Cookies. Get more butterscotch flavor when you make Oatmeal Scotchies and Butterscotch Cupcakes.
Why We Skip the Corn Syrup?
Some butterscotch rice krispie treat recipes call for boiling sugar and corn syrup on the stovetop, closer to making candy than making a no-bake treat. This version skips that step entirely — the butterscotch chips melt right into the butter and marshmallows, so you get the same rich flavor without watching a thermometer or worrying about a sugar mixture seizing up.
It’s the same 10 minutes of hands-on time as a classic rice krispie treat, just with a flavor upgrade.
Ingredients
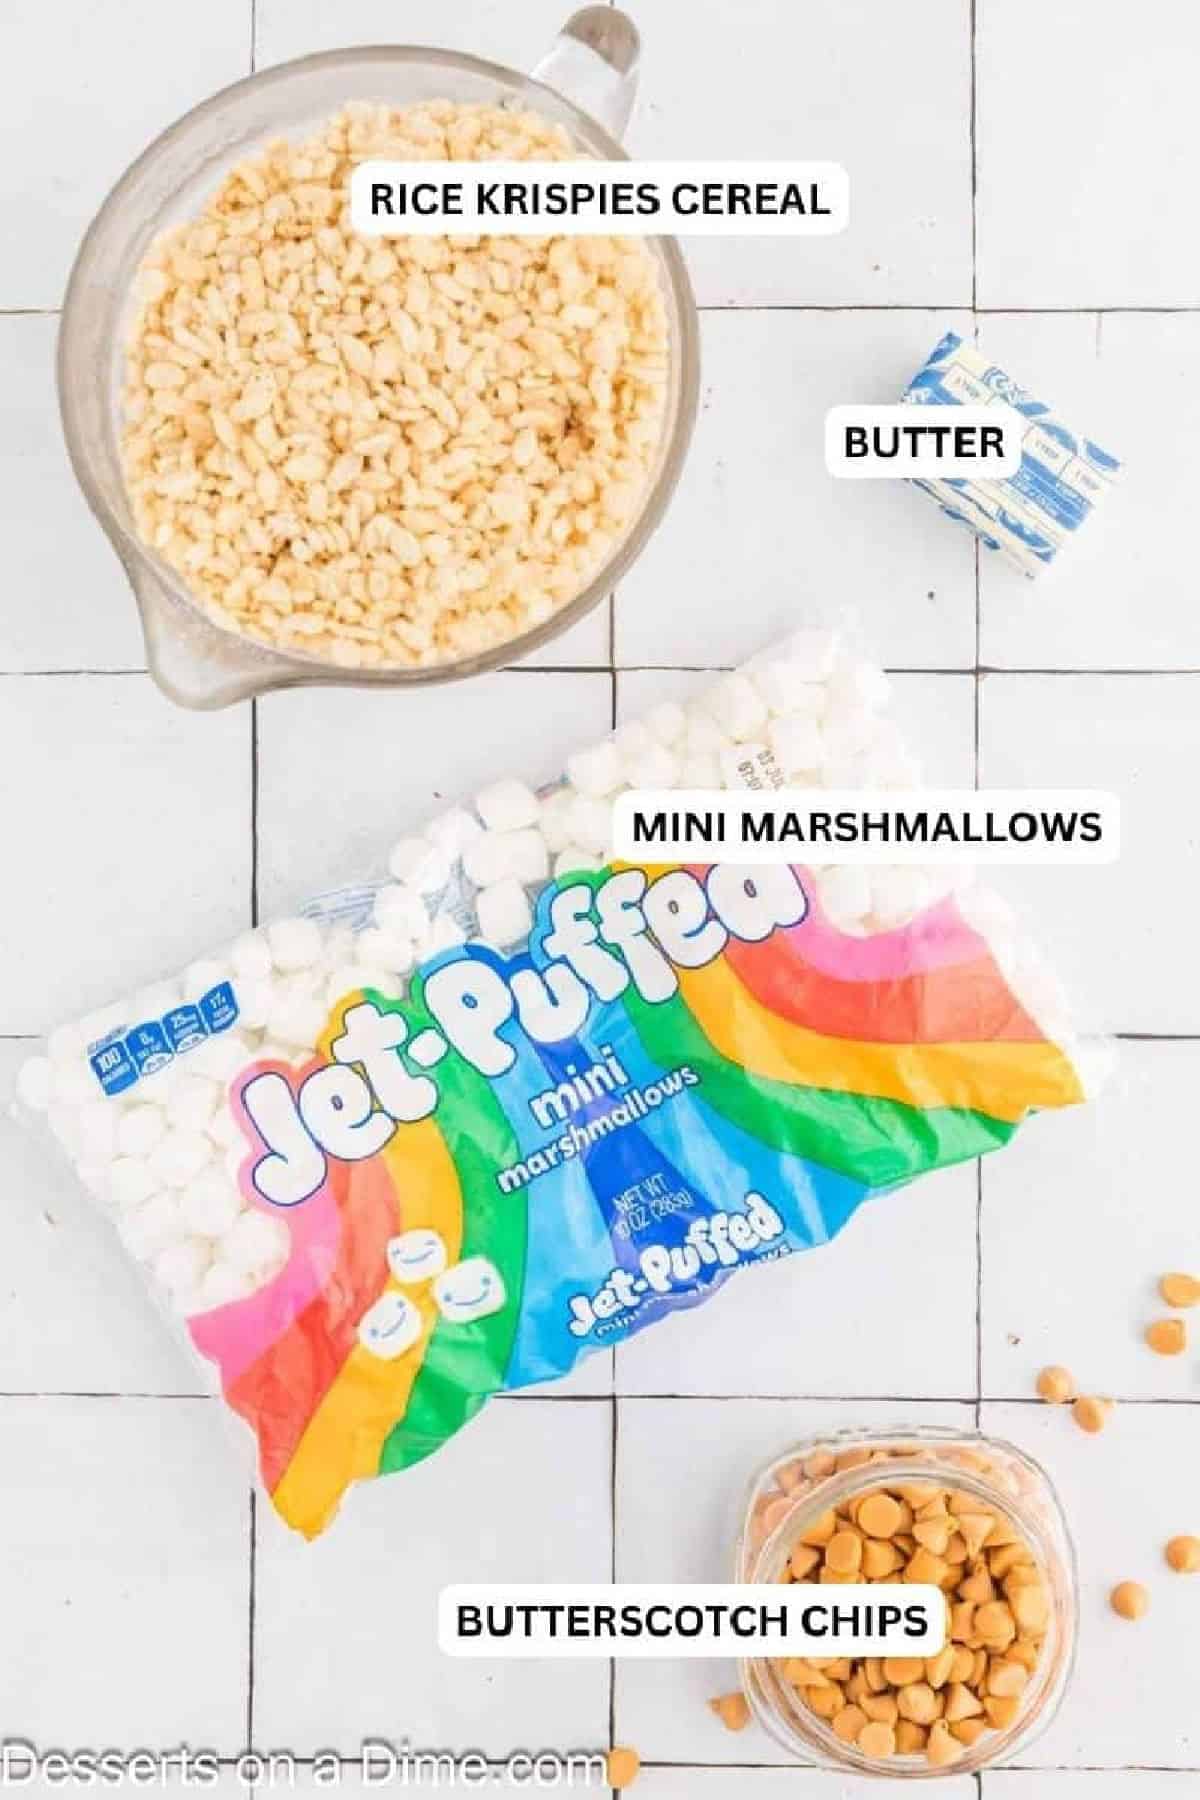
- Rice Krispies Cereal. Fresh cereal matters here — stale cereal loses its crispness and makes the finished bars taste flat and chewy instead of light and crisp.
- Mini-Marshmallows. Fresh marshmallows melt smoothly into the butter; stale, dried-out marshmallows melt unevenly and can leave the finished bars harder than they should be.
- Butterscotch Chips. These are the only flavor addition to the classic recipe — no corn syrup or candy thermometer needed to get real butterscotch flavor throughout.
- Butter. We use regular melted butter instead of browned butter to keep this recipe simple with one less step.
Scroll to the very bottom of the page for the complete ingredients list.
Step By Step Instructions
Step 1. First, grab an 8 or 9 inch square baking pan. Spray it with cooking spray and set aside.

Step 2. Then add the cereal to a large bowl. Use a medium saucepan and melt the butter. I used medium heat until the butter was completely melted. You can also do this using a microwave safe bowl. Once melted, add the marshmallows and butterscotch morsels.

Step 3. Finally, pour this mixture over the cereal and stir until it is coated. The mixture will harden fast, so you need to quickly do this part.

Step 4. Once combined, pour the mixture into the baking pan. Then press the cereal mixture into the pan. It will be sticky, so I like to spray a piece of wax paper with cooking spray to help press it down. Press gently and evenly — you’re just bringing the mixture together, not compacting it. Pressing too hard squeezes out the air pockets between the cereal, which is what makes the finished bars firm and dense instead of light and tender.

Step 5. The mixture needs to harden in the pan. This will take about 30-60 minutes. Once it has set, just slice and serve.
Pro Tips
- Double the batch to have extra to freeze. They are so delicious, and you will be glad you did this.
- Don’t overmix the cereal and marshmallow mixture. Stir until just combined or it will make the treats harden.
- Spray a spatula or wax paper with cooking spray to help push the mixture into the pan. This will make it so much easier and keep your hands mess free.
- Allow the mixture to set before trying to cut. It needs to solidify before cutting into bars or you will have a mess. Don’t rush this step.
- Butter your knife before cutting into bars. This will help you have clean lines every time you cut.
- Use fresh marshmallows to make these to ensure you have soft and gooey bars. Stale marshmallows will cause the treats to be hard.
- If you like chocolate, add 1 cup of semisweet chocolate or chocolate chips to the cereal mixture. The combination is so delicious.
- Check the edges, not just the clock. The treats are ready to cut once the edges feel firm and slightly cool to the touch rather than soft or warm. If the center still feels warm or tacky, give it another 10–15 minutes before slicing.
Frequently Asked Questions
The cereal treats should be stored at room temperature. If you put them in the fridge, they will harden and not be gooey anymore.
They will keep up to 1 week stored at room temperature. Just make sure to use a container with an airtight lid.
I also recommend placing wax paper in between the layers of bars to prevent sticking.
This could be caused by several reasons. If you use stale marshmallows or cook the marshmallows too long, it will make the rice crispy treats hard.
Over stirring the mixture can make them harden. Also, refrigerating the treats can make the bars hard.
Pressing the mixture too firmly into the pan is another common cause — it squeezes out the air pockets that keep the treats light, leaving them dense and hard instead. Press just firmly enough to bring the mixture together (see the tip in the instructions above).
Can You Freeze Rice Krispie Treats? Yes, you can freeze these bars. Just use a freezer container with an airtight lid.
I also would separate the layers of bars with wax paper. This will prevent them from sticking.
You can freeze these up to 6 weeks. When ready to eat, let sit at room temperature for 15 to 20 minutes.
Try using corn flakes, rice chex cereal or corn chex cereal as substitutions for rice krispie cereal.
Not quite. Scotcheroos are made with peanut butter mixed into the base and topped with a layer of melted chocolate and butterscotch. Butterscotch rice krispie treats skip the peanut butter and the topping, so you get the same rich butterscotch flavor with a simpler, one-bowl method.
More Rice Krispie Treat Recipes


Try this delicious recipe and leave a comment once you make it. I love hearing from you!

Butterscotch Rice Krispie Treats
Ingredients
- 5 cups Rice Krispies Cereal
- 4 tbsp Salted butter
- 1 pkg Mini marshmallows (10 oz.)
- 1 cup Butterscotch Chips

See how we calculate recipe costs.
Instructions
- First, grab an 8 or 9 inch square baking pan. Spray it with cooking spray and set aside.
- Place the cereal in a large mixing bowl.
- Then in a medium sauce pan, heat the butter on medium until melted. Then stir in the marshmallows and butterscotch chips. Heat on medium, stirring constantly until the mixture is combined and melted.
- Then pour this mixture over the cereal. You'll want to work quickly as the mixture will harden fast. Stir the cereal until the cereal is coated.
- Pour the mixture to the baking pan and press the mixture into the pan. To press the mixture, I spray a piece of wax paper or parchment paper with non stick cooking spray.
- Let the mixture sit for 30-60 minutes to solidify. Then slice and enjoy!
